How to Make a TikTok Video: Turn a Simple Idea Into a Short Video
 RoboNeo TeamSeptember 19, 2026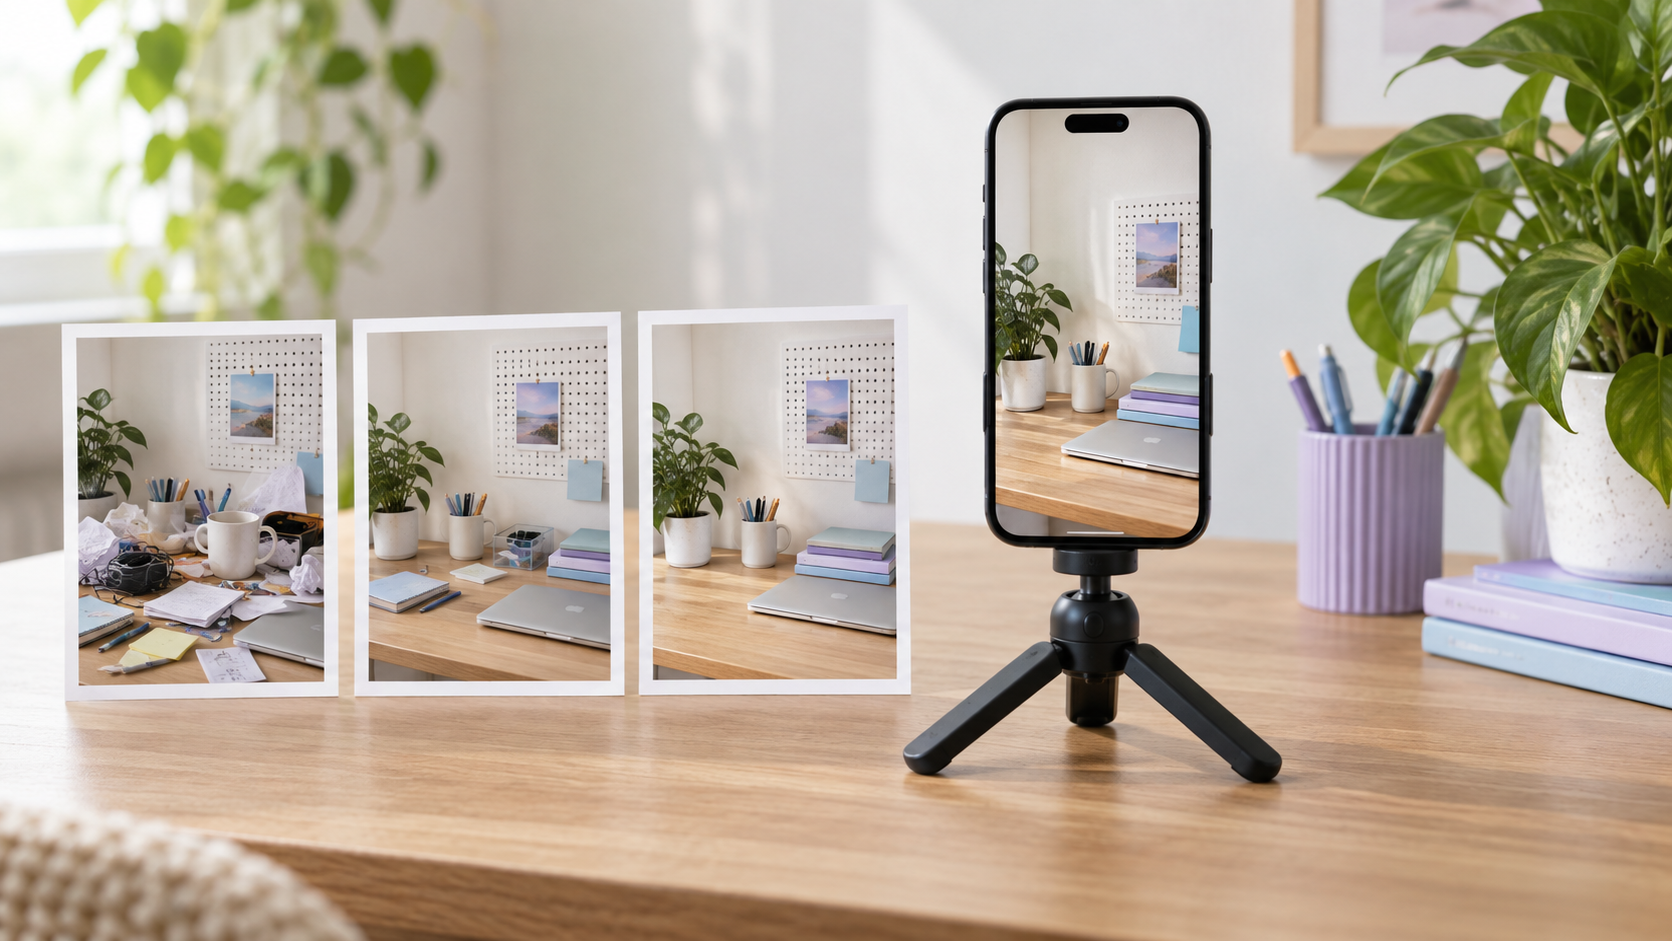
Learning how to make a TikTok video is easier when you treat it as a four-step process: choose one clear idea, prepare the footage or images, edit them into a vertical video, and publish it on TikTok. You do not need professional equipment to start; a phone and a focused concept are often enough. This guide covers planning, filming, using existing or AI-generated material, editing, captions, and final publishing settings.
Decide What Your TikTok Video Will Be About

Before you record anything, decide what the video should communicate. A clear purpose makes it easier to choose the right footage and keeps the final edit from feeling scattered.
Choose One Main Idea
A TikTok can teach a skill, demonstrate a product, tell a short story, share an opinion, or show a transformation. The topic should still be narrow enough to work as one video rather than several ideas pushed together.
A useful test is to describe the viewer takeaway in one sentence. Someone reorganizing a bedroom might focus on creating more storage around the bed instead of covering the entire makeover. Narrowing the angle gives the video direction and makes it easier to decide what belongs in the final cut.
Pick a Format for the Idea
Once the topic is clear, choose a structure that matches what viewers need to see. Tutorials often move from a problem to the process and then the result. Product content can begin with a practical need, show the item in use, and finish with the outcome. Short stories usually need a setup, a key event, and an ending.
Before-and-after videos work well for makeovers and repairs, while POV clips suit experiences where perspective matters. When learning how to create a TikTok video, start with a format that makes the idea easy to follow rather than forcing it into a trend. If the project will rely heavily on generated scenes, the same planning still matters when deciding how to make AI videos.
Outline What Viewers Will See
A detailed script is not always necessary, but the video should still have a beginning, middle, and end. The opening introduces the subject or result, the middle shows the main action, and the ending delivers the outcome.
A desk organization video could start with the cluttered workspace, move through a few changes, and end with the finished setup. That simple outline tells you which shots you actually need and prevents you from collecting material with no clear purpose.
Choose and Prepare Your Video Materials
With the structure in place, decide where each visual will come from. Some projects rely mostly on real footage, while others can combine recordings with photos, screen captures, or generated material.
Record New Footage
New footage is usually the best choice when viewers need to see a real person, product, process, or result. Talking videos, cooking demonstrations, beauty routines, and product tests all benefit from material that shows what is actually happening.
A smartphone can handle most TikTok shoots. Clean the lens, keep the phone stable, and make sure the subject has enough light. Recording shorter actions or lines separately also makes editing easier. A makeup tutorial might capture each stage as a separate clip so pauses can be removed later.
The recording method should also match the subject. Screen recording is often clearer for app walkthroughs, while product demonstrations should show the real item performing the function being discussed.
Use Photos and Existing Clips
A new shoot may not be necessary if your camera roll or previous projects already contain useful material. Review those files first and keep only the visuals that support the current idea.
The sequence matters more than the number of assets. Renovation photos can move from the original room through the work and into the finished space, while travel footage can follow the order of the day. When a still photo needs movement, a reference image to video tool can turn the existing visual into a short moving clip while keeping it as the main reference.
Remove blurry shots, repeated angles, and clips that add no new information. Horizontal footage may also need reframing so the important subject remains visible on a vertical screen.
Create Missing Footage With AI
After organizing the material you already have, genuine gaps become easier to spot. The video may need an opening scene, a background, a transition, or a visual that would be difficult to film yourself.
RoboNeo can help create additional footage around a specific scene or visual direction. A fantasy video might already have its main character but still need an animated landscape to establish the setting.
AI footage works best when it fills a specific gap rather than replacing real material that already works. Check faces, hands, products, logos, text, and backgrounds before using it. For real products, software, or events, accurate footage should remain the priority.
Make TikTok Videos with RoboNeo
Turn Your Materials Into a Finished Video
Once the material is ready, editing turns separate pieces into one clear sequence. The goal is to make each shot connect naturally to the next, not to add as many effects as possible.
Arrange the Clips
Place the footage in the opening, middle, and ending structure you planned earlier. The first shot should establish the subject quickly, while the following clips should develop the idea in a logical order.
A recipe video might open with the finished dish before moving into preparation, while a repair video could begin with the damaged item and then show the fix. When several generated still frames need to become part of one moving sequence, a frames-to-video workflow can help connect those frames into video footage.
The same principle applies to the rest of the edit. Learning how to make TikTok videos also means knowing when a shot does not belong: even a visually attractive clip can weaken the sequence if it interrupts the flow or repeats information the viewer already has.
Trim and Format the Video
Raw footage often includes more time than the finished video needs. Long pauses, repeated actions, camera adjustments, and moments where nothing changes can usually be shortened without losing useful information.
Keep each shot long enough to complete its purpose, then move forward. If the overall video feels too long, remove secondary details before speeding up every clip.
The finished edit should also work in a vertical mobile format. Faces, products, and important actions need to remain visible after cropping, while essential text should stay away from areas likely to be covered by TikTok's interface.
Add Sound, Text, and Captions
Audio may include original sound, dialogue, voice-over, music, or sound effects. Each element should support the video rather than compete with it.
Voice-over is most useful when it adds information the image cannot communicate on its own. In a furniture restoration video, narration might explain why a certain finish was chosen instead of describing the brush moving across the wood. Music can set the pace, but it should not make speech difficult to understand.
Captions help viewers follow spoken content without sound. Keep on-screen text concise and easy to read on a phone, and review automatic captions for names, technical terms, and timing errors.
Review the Final Cut
Watch the complete video before exporting it. The opening should establish the topic quickly, the middle should progress naturally, and the ending should deliver what the beginning promised.
This review is especially important when generated footage is involved because some of the common limitations of AI video generation can appear as inconsistent details, unnatural movement, or changes between shots. Check for those issues along with awkward crops, black borders, spelling mistakes, and watermarks.
Then watch the video once without sound. If the main idea becomes difficult to follow, the captions or visual sequence may need another adjustment.
How to Publish Your Video on TikTok
Publishing is the final stage, so the main structure and editing should already be complete before you move into TikTok's posting options.
Upload the Finished Video
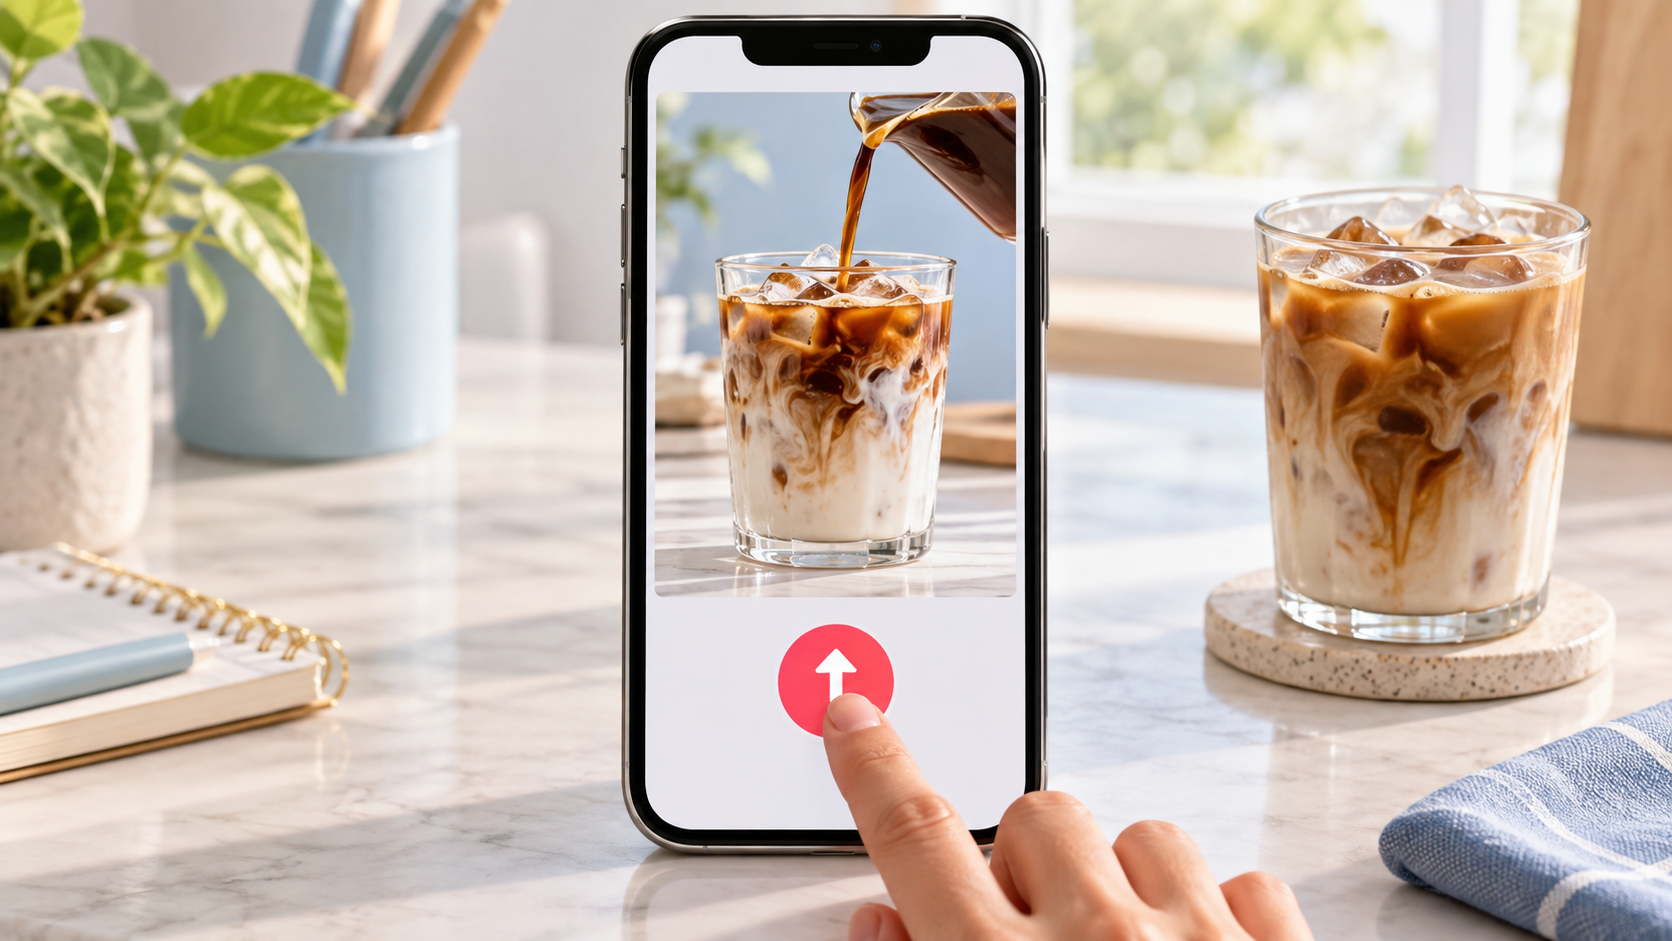
Open TikTok, tap the "+" button, and choose the finished video from your phone. If you recorded directly inside TikTok, continue from the app's editing screen instead.
After uploading, check the crop, playback, and audio. Small adjustments are fine here, but larger structural changes are easier to make in the original editing project. For anyone learning how to do a TikTok video from beginning to end, keeping editing and publishing separate makes the process easier to manage.
Add the Cover and Description
Choose a cover that makes the subject recognizable on your profile. A recipe can use the finished dish, a room makeover can show the completed space, and a product demonstration can feature the item in use.
Cover text only needs to identify the topic. The caption can add context or a short call to action without repeating everything shown in the video. Hashtags should relate directly to the content rather than becoming a long list of broad trending terms.
Set the Publishing Options
Before posting, review the audience and interaction settings available on your account. These may include comments, Duet, Stitch, downloads, location, and account tags.
If the video contains realistic AI-generated or heavily altered content, check TikTok's current disclosure requirements and apply an AI label when required. Music, photos, footage, recognizable people, and branded material should also be used only when you have the appropriate rights or permission. If the video is not ready to go public, save it as a draft.
Check Everything and Post
Give the video, cover, caption, sound, and settings one final review. Make sure the caption reflects what actually appears in the video and that important text is not hidden by the interface.
After publication, watch time and completion rate can show whether viewers stayed through the sequence, while comments and saves can reveal which parts were most useful or interesting.
FAQ
How do I make my first TikTok video?
Start with one focused idea, decide what viewers should see at the beginning, middle, and end, and gather the necessary visuals. Edit them into a vertical video, add sound and captions, review the final cut, and then upload it to TikTok. Choose a cover, add a caption, check the publishing settings, and post.
Can I make a TikTok video with only photos?
Yes. Photos work well for transformations, timelines, travel recaps, and before-and-after content when they follow a clear sequence. Music, narration, or short text can provide context, while image-to-video tools can add movement when needed.
Can AI make a complete TikTok video?
AI can help with concepts, scripts, visuals, voice-over, captions, and generated scenes. Fictional projects may rely heavily on AI, while videos involving real products, software, results, or events still need accurate material where facts matter.
Do I need special equipment to make TikTok videos?
No. A smartphone can handle most beginner projects. Good lighting, a stable camera position, and clear sound usually matter more than expensive equipment. Add a tripod, microphone, or light later if you actually need one.
Should I record in TikTok or upload an edited video?
Recording inside TikTok works well for talking videos, reactions, quick demonstrations, and simple trend-based content. Uploading an edited video gives you more control over tutorials, product videos, stories, and projects that combine several types of footage. Choose based on the complexity of the video and how much editing control you need.
You May Be Interested
How to Download YouTube Videos and Remove Watermarks

How to Create AI Video from Script: A Complete Guide
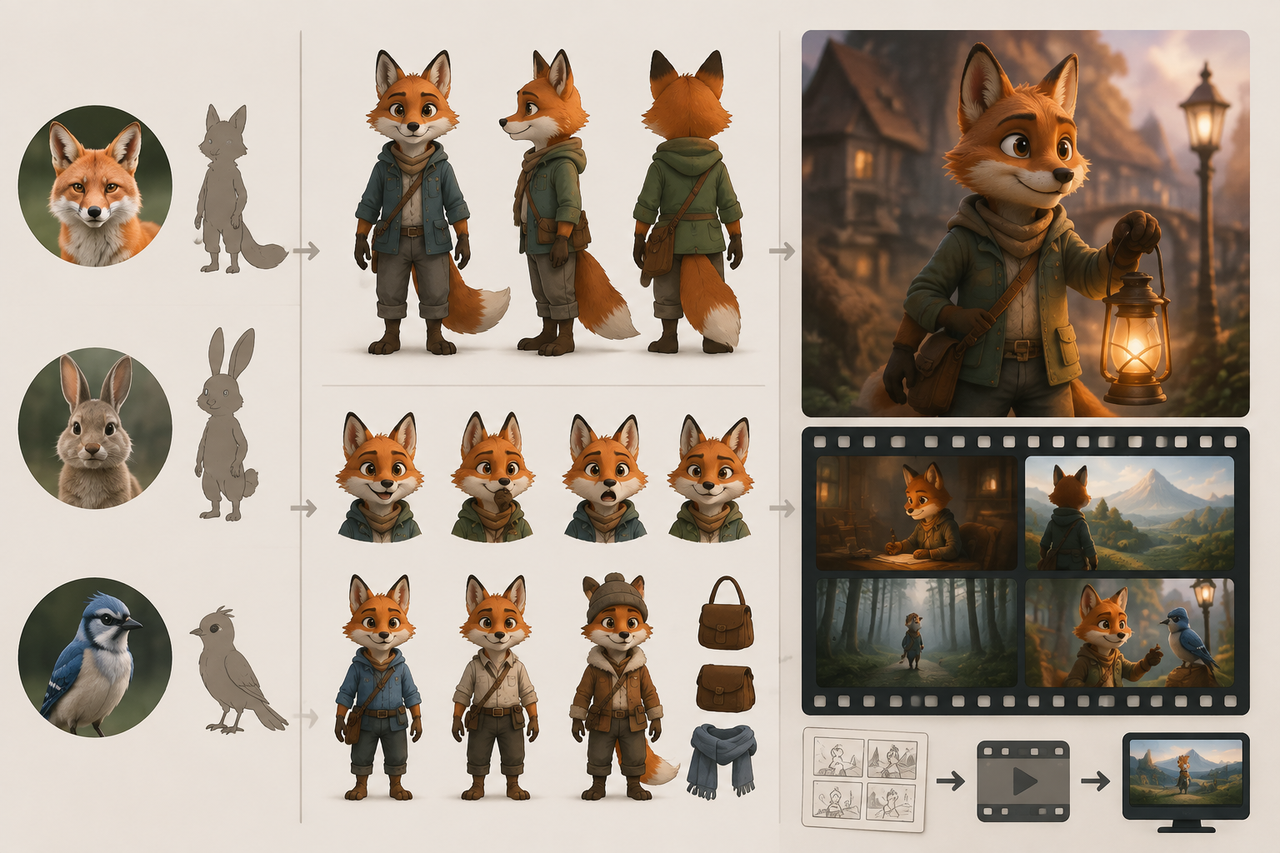
Talking Animals in Stories: Create AI Video Characters
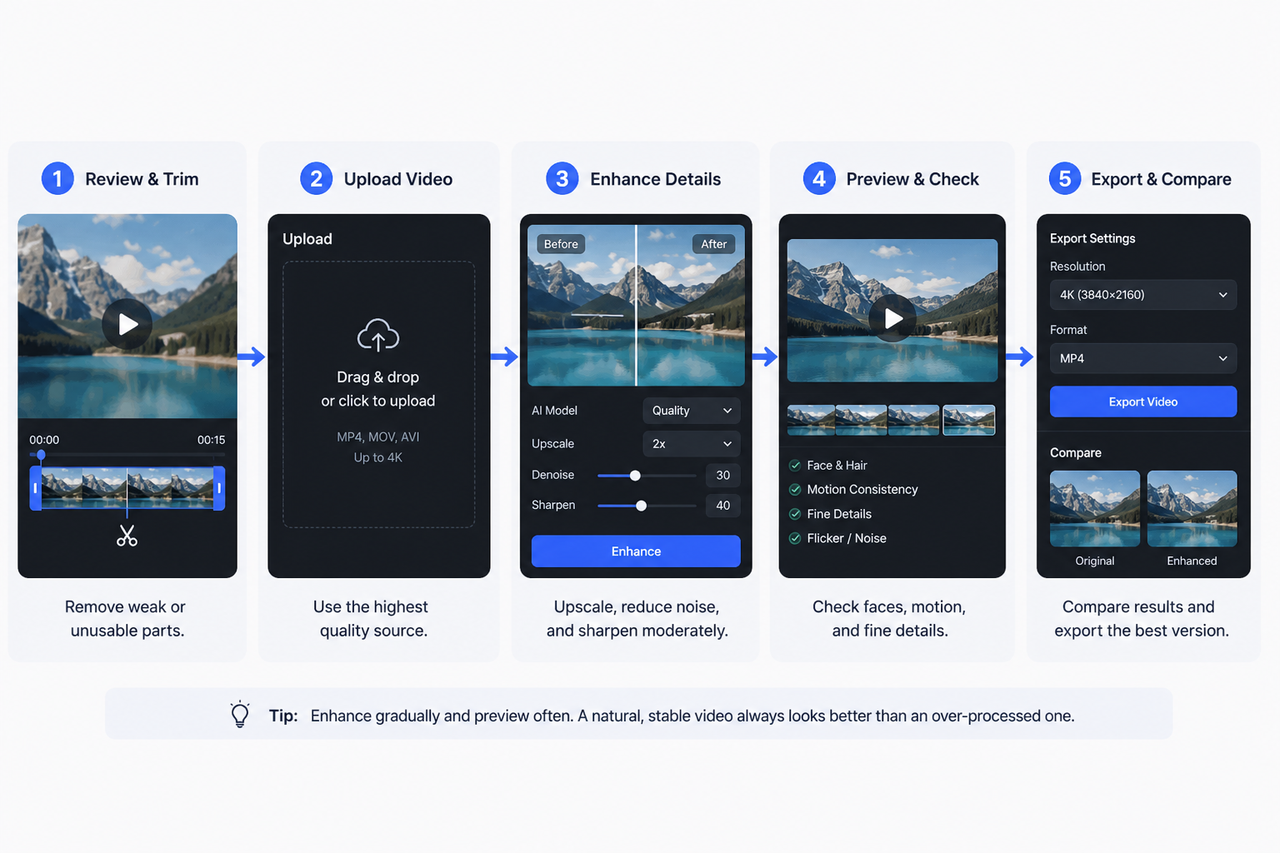
How to Enhance Sora AI Video Quality: Step-by-Step Guide
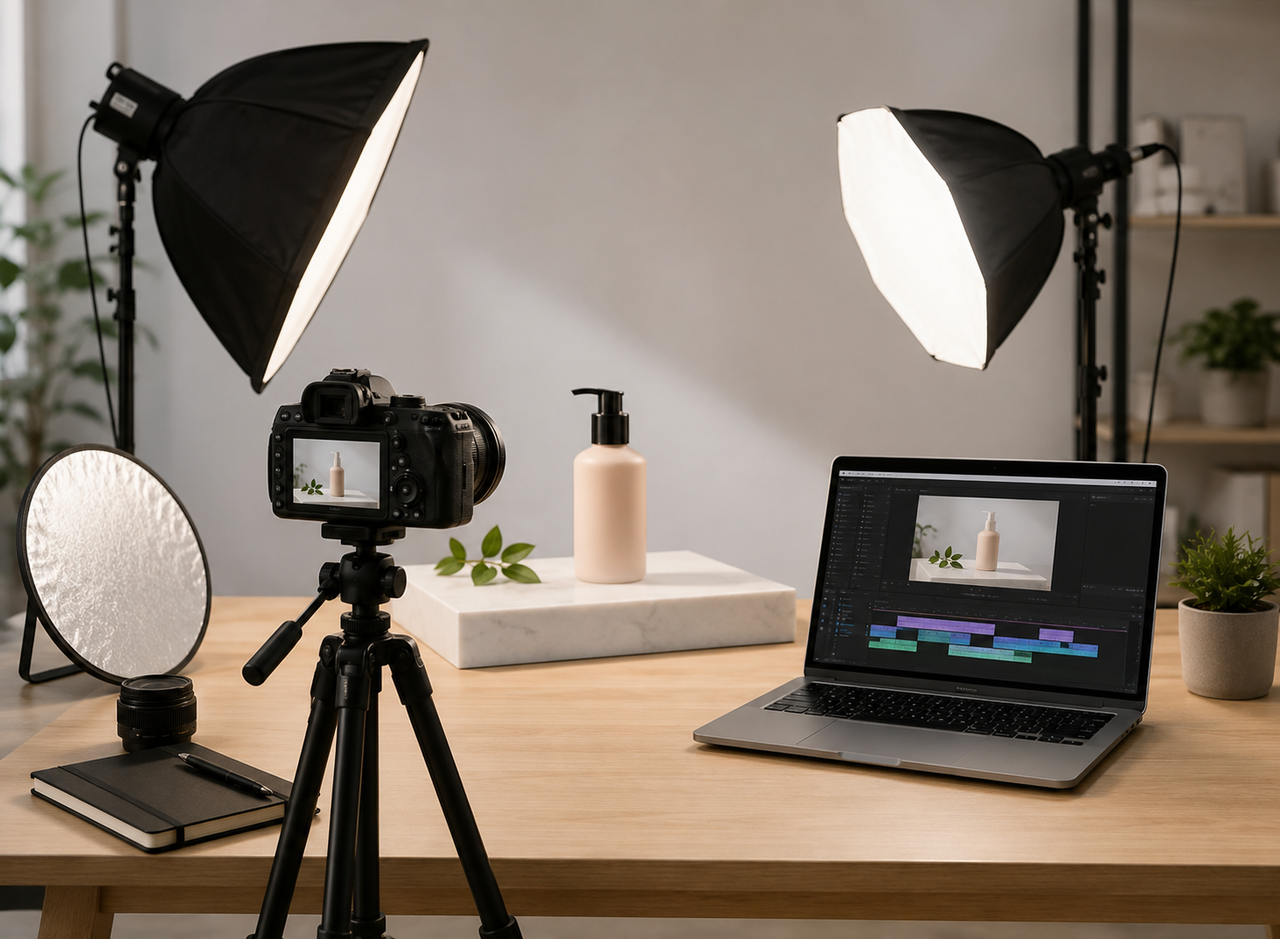
How to Make a Product Video: Scripts, Shots, and Sharing