
How to Remove Proof from a Photo: What Works and What to Avoid
 RoboNeo TeamAugust 25, 2026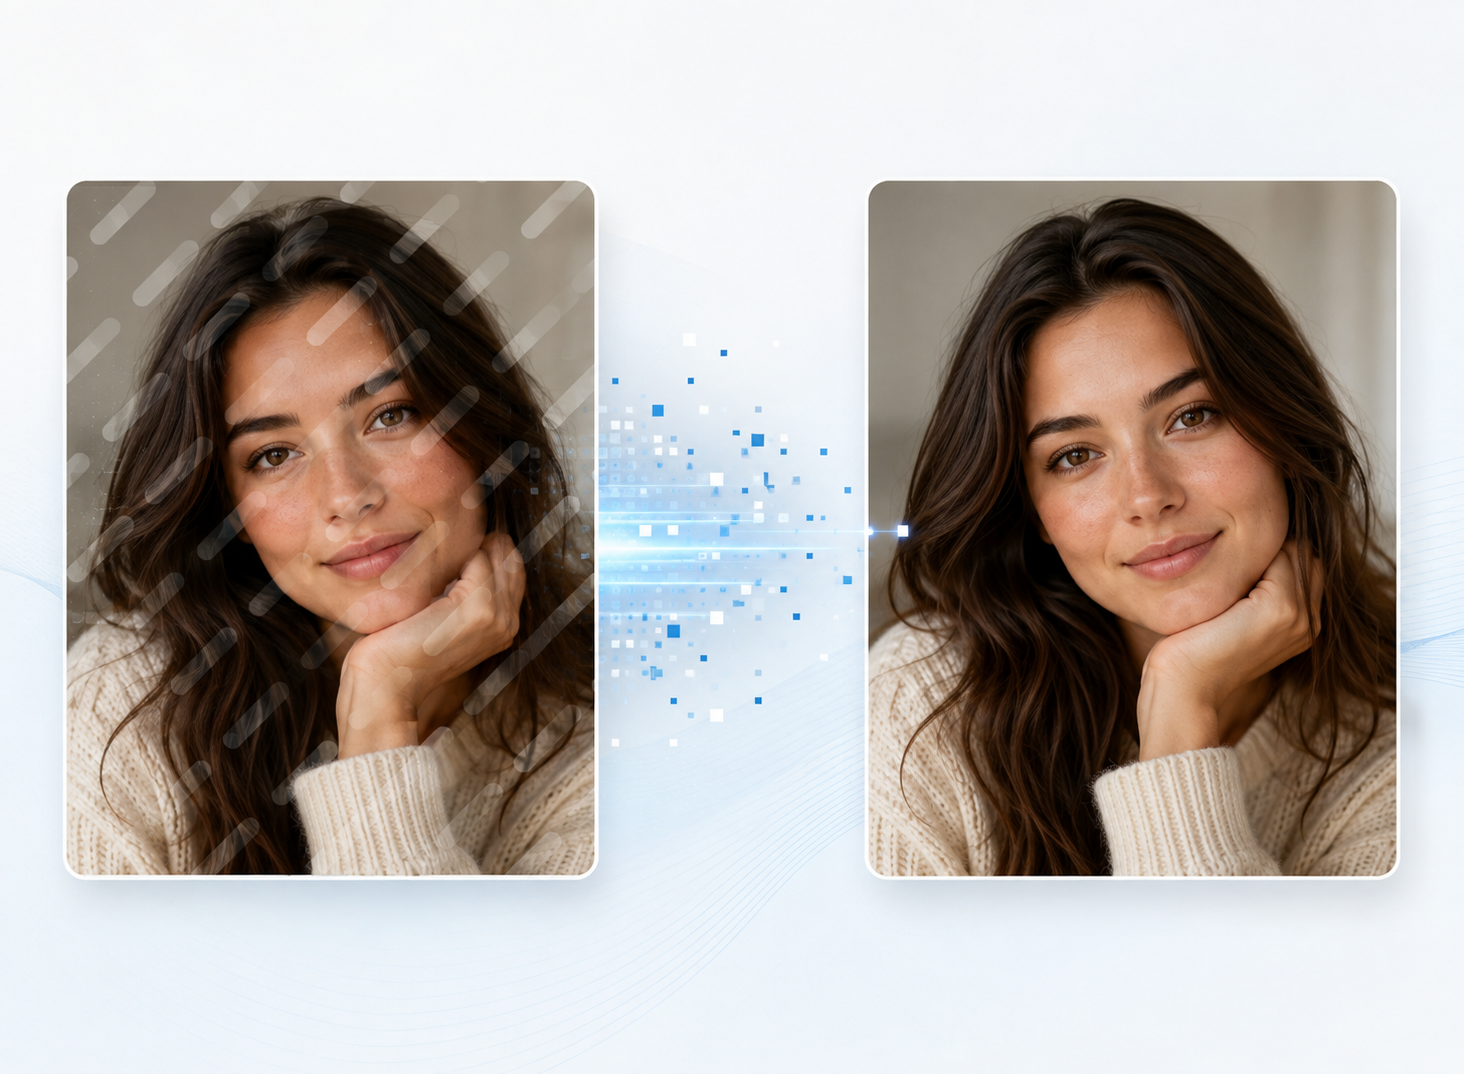
If the photo belongs to you or you have permission from the photographer, designer, or copyright owner to edit it, you can remove a "PROOF" mark by cropping the image, using a repair tool, or applying AI inpainting. The final quality depends on the mark's position, size, opacity, and the complexity of the content underneath it.
Removing visible text does not change the copyright status of an image. When "PROOF" appears on an unpurchased or unauthorized photography sample, the correct solution is to request the licensed, watermark-free version from the photographer.
What Is a Proof Mark on a Photo?
A proof photo is usually a preview supplied by a photographer, studio, or designer before the final image is delivered. The word "PROOF", a repeated pattern, or another visible overlay may indicate that the file has not been approved, purchased, or licensed for general use.
These marks serve a practical purpose. A wedding photographer may send a gallery of proof images so the couple can choose 30 favorites for final editing. A portrait studio might place "PROOF" across school photos until parents select a package. In both situations, the marked files are intended for review rather than printing or public distribution.
Proof versions are often compressed or reduced in size as well. Even if the visible mark is removed successfully, the remaining file may still lack the resolution required for a large print, portfolio, or advertising campaign. Understanding how to make an image high resolution can help you determine whether the file has enough usable detail for its intended output.
You can generally edit an image that you created, purchased with appropriate editing rights, or received with clear permission to modify. However, paying for a photo session or ordering a printed photograph does not always include ownership of the digital file. Check the license or contact the creator before making changes.
Choose the Right Removal Method
Learning how to remove proof marks from photos begins with choosing a method that matches the position of the mark and the content behind it. A small word near an empty corner requires a different approach from a repeated overlay crossing a person's face.
| Method | Best For | How It Works | Main Advantage | Quality Risk | When Not to Use It |
| Cropping | Marks close to an outer edge | Removes the marked part of the frame | Fast and does not generate artificial details | May weaken the composition or reduce image size | When the crop would remove an important subject |
| Healing tool | Small marks on simple backgrounds | Blends nearby color and texture over the selected area | Natural results on walls, sky, or soft backgrounds | Can create smears or repeated patches | On faces, text, or detailed patterns |
| Clone tool | Regular textures and areas needing manual control | Copies pixels from a clean source area | Offers precise control over the replacement texture | Repetition becomes visible if one source is overused | When no similar clean area is available |
| AI inpainting | Irregular marks over moderately complex backgrounds | Reconstructs the selected area from surrounding visual information | Handles larger shapes with less manual work | May invent inaccurate objects or details | When authenticity or exact reconstruction is required |
| Original file replacement | Marks covering faces, products, or important text | Uses the authorized, unmarked source instead of rebuilding it | Preserves accurate details and full image quality | The source file may need to be purchased or requested | No major limitation when the original file is available |
Tool capabilities can vary even when several products use similar AI inpainting methods. A detailed PicWish Watermark Remover review shows why selection controls, supported formats, output restrictions, and cleanup quality should all be considered before choosing a tool.
How to Remove a Proof Mark from an Authorized Photo
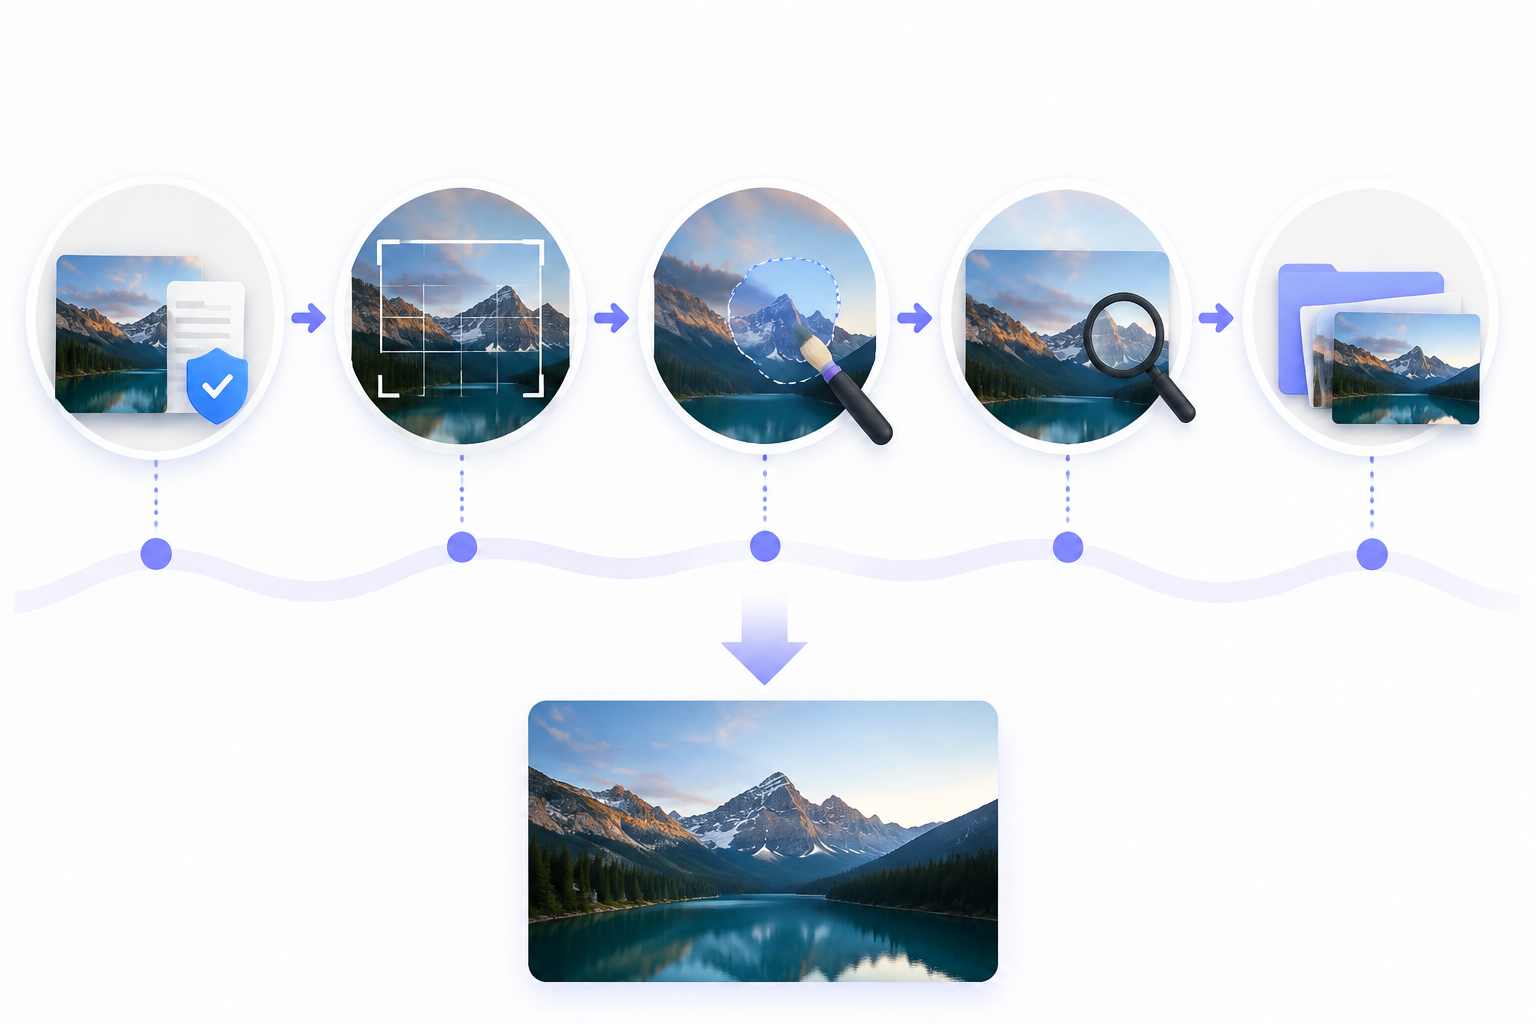
The following process explains how to remove a proof watermark from photos that you own or have permission to modify. It covers source verification, method selection, repair, quality review, and export.
Step 1: Check the Source
Before editing, confirm where the photo came from and what rights you received with it. Look through the original project folder, camera card, cloud storage, or delivery email for an unmarked export. The clean file may already exist, making reconstruction unnecessary.
When the marked image came from a photographer's selection gallery, ask whether a full-resolution version can be purchased or downloaded after approval. A family may have only a 900-pixel proof from a graduation session, while the photographer retains a larger edited original suitable for framing. Repairing the small preview would not produce the same quality.
The file dimensions also matter. A low-resolution proof might look acceptable on a phone but become visibly soft when printed. Confirm that the source is large enough for its intended use before spending time on detailed corrections.
Step 2: Select the Method
A mark near the border can sometimes be removed with a modest crop without changing the meaning of the photograph. This works well when there is extra wall, floor, or sky around the main subject.
Small marks on plain surfaces are usually suited to healing or cloning. A lightly transparent "PROOF" over a studio backdrop may require only a few careful strokes. More irregular overlays across textured backgrounds can be handled with AI inpainting, provided that the mark does not conceal critical information.
Extra care is necessary when the covered area includes:
A person’s face, hands, or identifying features
Product shapes, labels, or safety information
Signs, documents, or other readable text
Historically important details that must remain accurate
In these situations, finding the original file is more reliable than asking software to guess what was hidden.
Step 3: Mark the Proof Area
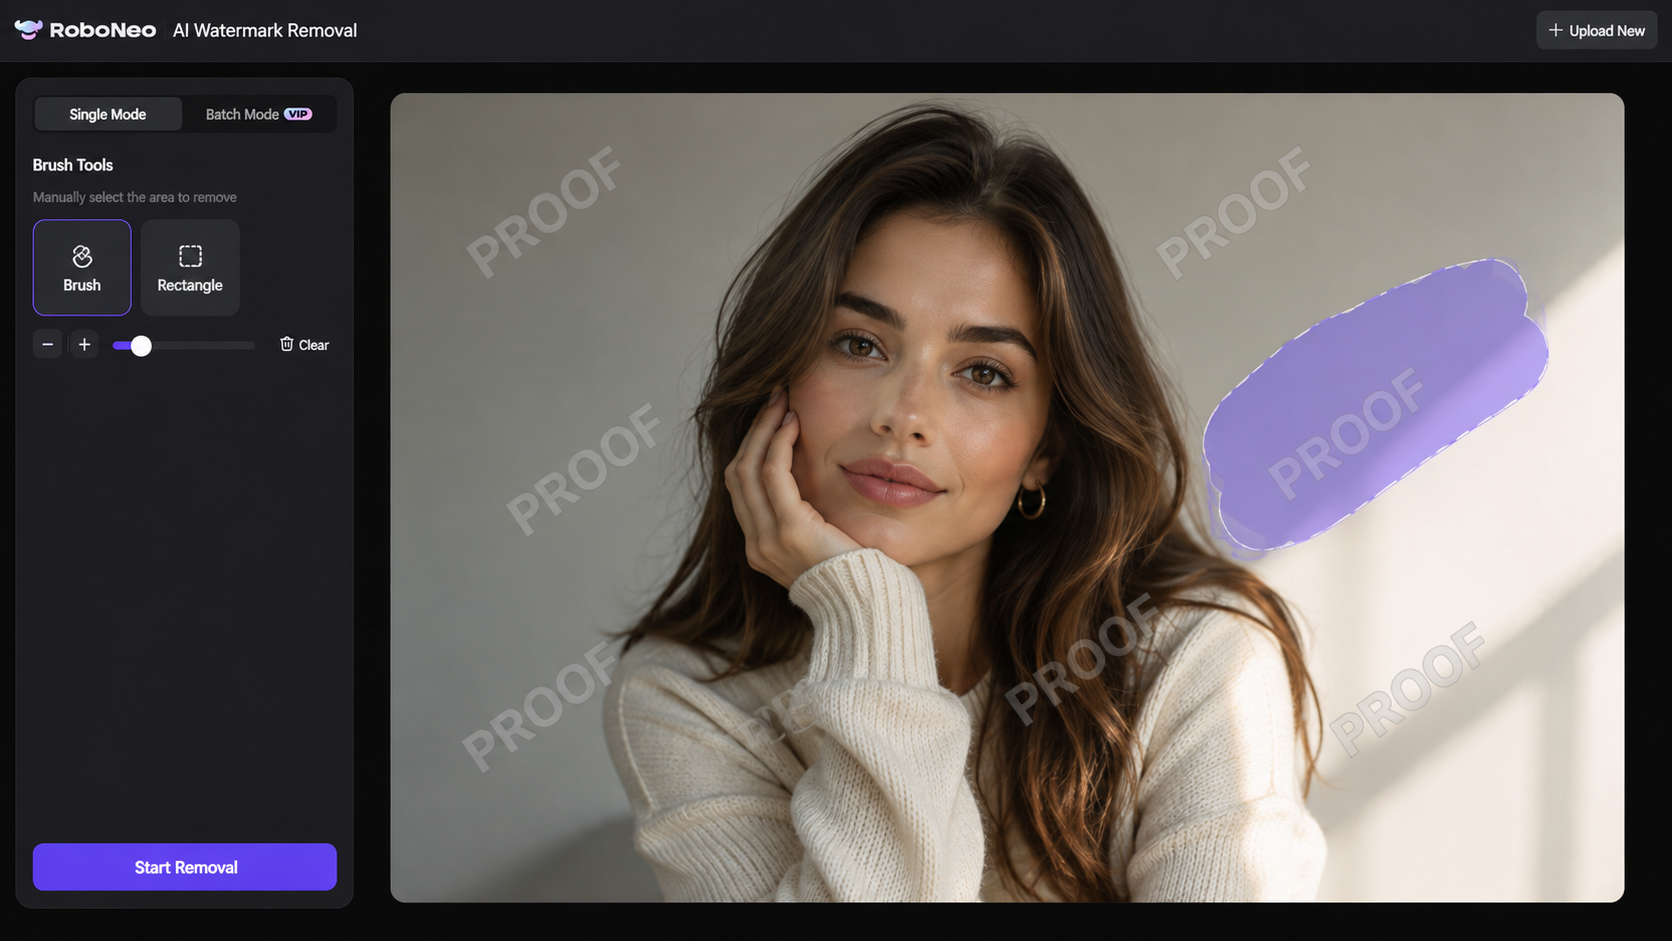
Accurate selection has a major effect on the result. Cover every visible part of the proof text with the selection brush, but avoid painting over clean surroundings. An unnecessarily large selection gives the tool more content to rebuild and increases the chance of unwanted changes.
Several separate marks are easier to manage in smaller sections. On an authorized photo with “PROOF” repeated across a curtain, processing one section at a time makes distorted folds or duplicated textures easier to notice.
For an AI-based workflow, upload the permitted image to RoboNeo AI Watermark Removal, mark the proof area, and run the removal process. The tool reconstructs the selected region using nearby visual information. It does not recover the original pixels hidden beneath an opaque mark.
Remove Watermarks with RoboNeo
Step 4: Refine the Result
A poor first result does not always mean the image cannot be repaired. A smaller selection or several controlled passes may produce cleaner transitions than one large generation.
Edges deserve close attention. Hair against a bright background, patterned clothing, straight architectural lines, and skin tones can expose even minor reconstruction errors. After AI inpainting, a healing or clone tool can correct a visible seam without regenerating the entire area.
Different tools may also require different levels of manual control. The workflow differences covered in the RoboNeo vs CapCut Watermark Remover comparison can help users decide between focused AI reconstruction and a broader editing workspace.
Repeated generation should be limited around important subjects. Each new pass may subtly change facial features, packaging, jewelry, or other recognizable details. A repaired portrait can gradually stop resembling the real person even though each individual edit appears minor.
Step 5: Review and Export
Inspect the image at both 100% zoom and its normal viewing size. The enlarged view reveals technical problems, while the normal view shows whether the repair attracts attention during everyday use.
Look for duplicated textures, blurred patches, bent lines, mismatched colors, and unnatural edges. Comparing the edited version with the original also helps confirm that the subject, lighting, and composition have not changed unexpectedly.
A proof photo may remain soft because the source itself was compressed or reduced in size. If the edited image needs modest improvements in clarity or resolution, RoboNeo AI enhancer can process the permitted file before export. Enhancement can improve its visible presentation, but it cannot verify or restore details that were never present in the proof.
Keep the source file untouched and export the edited version under a new name. JPEG is practical for web pages and social posts, while PNG can preserve sharper graphic edges. A high-quality JPEG or TIFF may be more appropriate for printing, depending on the printer's requirements.
What to Avoid When Removing Proof Marks
Knowing how to remove proof from a photo also means recognizing when editing would damage the image or conflict with the creator's rights. The following approaches commonly produce poor or inappropriate results.
Removing Marks Without Permission
Do not remove proof marks from unpurchased photography samples, stock previews, or other copyrighted material without authorization. The presence of a removable overlay does not grant permission to copy, edit, publish, or sell the underlying image.
A paid photo session may cover the photographer's time and a specific number of prints without transferring the digital negatives or modification rights. The contract or license determines what the customer can do with the files. Contacting the photographer or copyright owner remains the safest way to obtain a clean version.
Blurring the Entire Area
Heavy blurring may hide the letters, but it often leaves an obvious soft patch. The problem becomes especially noticeable across skin, hair, fabric, brickwork, or repeating patterns.
Sharpening afterward cannot restore the local structures destroyed by the blur. It may make surrounding edges harsher while the covered area remains unclear. A precise repair method or an authorized original file will usually produce a more consistent image.
A family portrait with a proof mark across a patterned shirt illustrates this problem. Blurring the area may remove the letters, but it also erases the fabric pattern and creates a smooth patch that stands out from the rest of the clothing.
Trusting the First Result
AI can generate convincing content that never existed in the original scene. It may create incorrect lettering, alter an eye, add an unfamiliar object, or change the shape of a product. These errors can be difficult to see in a small preview.
An edited image that looks clean on a phone may reveal obvious defects when viewed on a monitor or printed at 8 × 10 inches. Extra scrutiny is essential for identity photos, commercial products, historical records, and any image where factual accuracy matters. AI-generated areas should never be presented as recovered original evidence.
FAQ
Can I remove a proof mark after buying the photo?
After purchasing the photo, first ask the photographer or studio for the official watermark-free file. Buying a print does not necessarily include the right to edit the digital image. You can remove the proof mark yourself only when the purchase agreement or photographer clearly permits digital modification.
Why does the photo still look blurry after removing the proof mark?
The proof may already be a compressed, low-resolution preview. Removing the mark repairs only the selected area; it does not restore full-resolution detail across the entire photo. For printing or commercial use, request the official high-resolution source whenever possible.
Can a proof mark be removed without cropping the photo?
Yes. Healing, cloning, and AI inpainting can remove a proof mark while preserving the original canvas size. The result depends on the mark's coverage, transparency, and background complexity. When it crosses an important subject, obtaining the clean original is usually more accurate than automatic reconstruction.
Why does AI change the face behind a proof mark?
AI cannot see the original facial information hidden by an opaque proof mark. It predicts a possible face from the visible surroundings, so the generated eyes, skin, hair, or expression may differ from the real person. AI output should not be treated as an exact restoration when a face is covered.
Is removing a proof mark the same as removing copyright?
No. Removing visible proof text does not transfer, cancel, or weaken copyright ownership. Copyright and usage permission remain in effect whether a watermark is visible or not. You must still have the right to copy, modify, share, or publish the photograph.
You May Be Interested

480p vs. 720p: Which Resolution Should You Choose?

How to Turn Long YouTube Videos into TikToks with an AI Video Clip Generator

How to Use an AI Video Generator Online to Create Viral Content

Best 3D Character Creator to Make Custom Characters
6 Best AI Video Generators in 2026