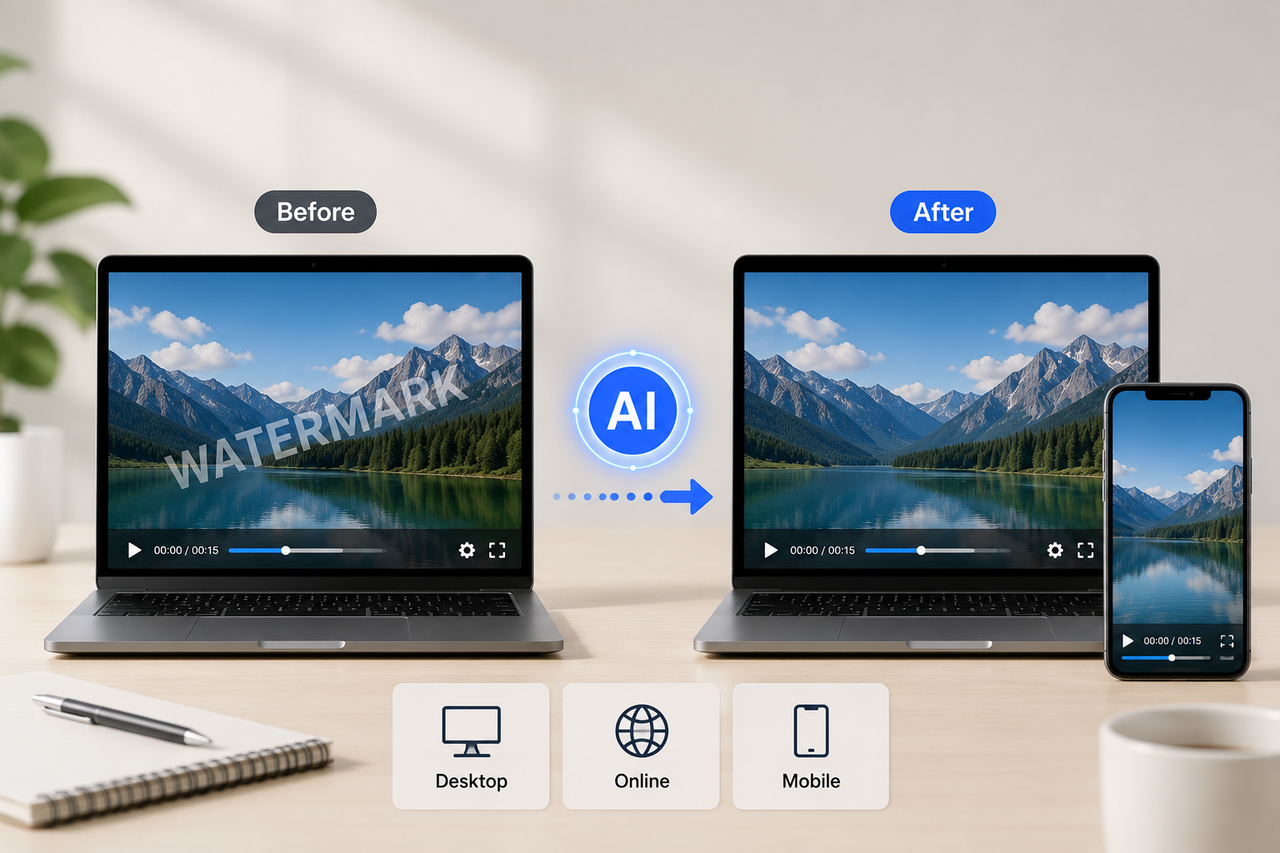
Best Setup for AI Video Generation: Beginner's Guide
 RoboNeo TeamSeptember 11, 2026
The best setup for AI video generation gives beginners one reliable platform, consistent video settings, prepared creative assets, an organized project structure, and a simple way to test results before producing every shot.
A good setup does not need to be complicated. Choosing the right tool, preparing useful references, and keeping your settings and files organized will make most beginner projects easier to manage. This guide covers the essential parts of an AI video setup, how to configure them step by step, and practical ways to improve the generation process.
Why the Right Setup Improves AI Video Generation
A consistent setup helps separate clips work together while reducing unnecessary revisions as a project grows.
More Consistent Clips
Visual differences often appear when settings or reference materials change from one shot to the next. A character may look slightly different, a product may change color, or the lighting may no longer match the previous scene.
Keeping the same aspect ratio, visual direction, and core references reduces these changes. A short ad following the same backpack from a bedroom to an airport and then a hotel room can reuse one clear product reference throughout the sequence.
Fewer Wasted Credits
Generation credits can disappear quickly when a shot is rendered several times before basic problems are fixed. A short draft is often enough to reveal incorrect framing, awkward movement, or poor subject placement.
If the product is too small in the frame or a character moves in the wrong direction, the prompt can be adjusted before creating more versions. Clear reference material also reduces retries caused by missing or conflicting information.
Faster Project Setup
An organized project makes prompts, references, clips, and selected versions easier to find. When one shot does not match the others, you can compare its inputs and settings rather than trying to remember what changed.
What a Beginner AI Video Setup Needs

A practical beginner setup has five main parts: a generation platform, default settings, creative assets, project organization, and a simple test process.
Generation Platform
Choose a platform based on the type of material you expect to use most often.
Text-to-video is useful when scenes begin as written ideas. Image-to-video makes more sense when a character, product, or location already has a visual reference. Video-to-video is useful when existing footage needs to be transformed.
The platform should also support the aspect ratios, clip lengths, reference options, and export quality required by your project. Beginners are usually better off learning one main AI video maker first instead of moving constantly between several similar generators.
Default Video Settings
Decide the aspect ratio, resolution, clip length, and general visual direction before generating a large number of shots.
The publishing platform will usually determine the format. TikTok, Reels, and Shorts commonly use vertical video, while standard YouTube content usually uses a horizontal frame.
Starting with the correct format also avoids difficult cropping later.
Creative Assets
Useful creative assets may include a script, shot list, prompts, character images, product photos, location references, and existing footage.
These materials should support the same visual direction. Several character references with different hairstyles, outfits, or facial details can make the intended appearance less clear.
If the script still needs structure, a clear approach to how to write a video script can help define dialogue, visuals, timing, and scene notes before generation begins. Any material you upload should also have the necessary usage rights.
Project Structure
AI video generation can create many files in a short time. Six shots with four versions each already produce 24 clips.
A simple folder structure is enough for most beginner projects:
Prompts
References
Generated Clips
Final Selects
File names should show the scene, shot, and version. S02_SH03_V2 is much easier to identify later than a random export name.
Test Workflow
Before producing the full video, take one simple shot through the complete process. Add the reference, apply the settings, generate the clip, save it correctly, and review the result.
This confirms that the setup works before more clips are created.
| Setup Part | Purpose | What to Prepare | Settings to Check | Common Beginner Problem |
| Generation Platform | Match the tool to the project | Prompt or reference media | Inputs, clip limits, export options | Using too many tools |
| Default Video Settings | Keep shots compatible | Publishing requirements | Ratio, resolution, duration | Changing format midway |
| Creative Assets | Guide each shot | Script, prompts, references | Quality and consistency | Conflicting references |
| Project Structure | Keep files organized | Folders and naming rules | Version labels | Losing track of clips |
| Test Workflow | Check the setup | One simple shot | Motion, framing, style | Generating too much too early |
AI Video Generation Setup Tutorial
The best setup for AI video generation for beginners can be built in five straightforward steps.
Step 1: Choose Your Generation Platform
Start with your most common type of input. Written concepts point toward text-to-video, while an existing product image, character design, or visual reference makes image-to-video more useful. Existing footage may call for video-to-video.
Then check practical details such as clip duration, aspect ratios, reference support, output quality, and credit usage.
Before building the full project, generate one or two shots similar to the content you actually plan to create. A short prompt or reference-based test in RoboNeo can show how the tool handles your subject, motion, and intended look before you move on to the rest of the video.

Step 2: Set Your Default Video Settings
Set the format according to where the finished video will be published. A vertical social video should ideally be generated vertically from the beginning instead of being cropped later.
Resolution and shot duration should also stay reasonably consistent. The same applies to the visual direction. If the first scenes use realistic textures, soft daylight, and restrained camera movement, later prompts should remain close to that look unless the story intentionally changes.
Step 3: Prepare Your Creative Assets
Bring the script, shot list, prompts, and references together before producing multiple clips.
Each shot should only include the material it needs. A scene showing someone opening a package may require a character image, product photo, and room description. The following close-up may only need the product image and a short motion prompt.
For a project that begins with only a rough idea, an AI script generator can help organize scenes, dialogue, shot details, and visual prompts before the final assets are prepared.
Remove references that contradict one another. If two product images show different packaging, decide which version belongs in the project before generation begins.
Step 4: Build Your Project Structure
Set up the folders and naming system before clips start accumulating.
Prompts and references should be easy to connect with their generated results. Scene numbers, shot numbers, and version numbers are usually enough for a beginner project.
Keep useful earlier versions instead of automatically overwriting them. One clip may have better movement while another has stronger framing, and either could become the better choice during editing.
Step 5: Test the Complete Setup
Choose a short shot with one clear action.
A person placing a coffee cup on a desk is easier to evaluate than a restaurant scene with several people, multiple actions, and changing camera angles. The simpler shot makes it easier to judge whether the problem comes from the prompt, reference, or settings.
Take the test from input to saved file, then check the framing, main movement, subject appearance, and overall style. Fix any obvious issues before moving on to the rest of the project.
Practical Tips for a Smoother Workflow
Once the setup is working, a few habits can make individual generations easier to control.
Keep Each Shot Simple
One main action usually gives the model a clearer task. A prompt asking someone to enter a room, sit down, open a laptop, answer a call, and trigger a camera move contains several events that may compete with one another.
Breaking that sequence into shorter shots makes each action easier to generate. The same shot-by-shot approach is useful when learning how to make AI videos, because one failed section can be replaced without recreating the entire scene.
Reuse Visual References
When the same character, product, or location appears across several shots, reuse the strongest available reference.
A skincare video may show the same bottle on a bathroom counter, in someone's hand, and in a close-up. Using one clear product image throughout those scenes helps keep the bottle's overall shape, label, and color more stable.
Test Before Upscaling
Draft quality is usually enough to judge composition, movement, and subject appearance.
Upscaling does not fix a distorted hand, incorrect product shape, or unrealistic action. It only improves the resolution of the existing result. Higher-quality generation is better reserved for clips that are already strong enough to keep.
Save Every Version
Different generations may have different strengths. One could have better movement while another has stronger framing.
Keep separate versions and save the prompt and key settings behind successful clips for later use.
FAQ
Do I need a powerful computer for AI video generation?
For most online AI video platforms, no. A regular computer is generally enough for accessing the tool, uploading assets, reviewing clips, and organizing files. More demanding hardware becomes important mainly when AI video models are installed and run locally.
Can I create AI videos using only a phone?
Yes. A phone can handle simple prompts, reference uploads, and short generations through supported apps or mobile browsers. Larger projects are usually easier on a computer because comparing references and managing many clip versions requires more screen space.
Should I use text to video or image to video?
Text to video works well when a scene starts mainly as a written idea. Image to video is more useful when the appearance of a character, product, or location has already been established. When visual consistency matters, an image reference usually provides more specific guidance.
How long should my first AI video clip be?
Keep the first clip short and the action simple. Short generations make movement, framing, and subject consistency easier to review. Once the setup is producing reliable results, you can move on to longer or more complicated shots.
Should I generate the full video at once?
Generating separate shots gives you more control over individual actions and compositions. If one clip needs another attempt, only that section has to be regenerated, and the approved shots can be combined later during editing.
You May Be Interested
480p vs 1080p: Which Resolution Should You Choose?
New from RoboNeo: Agent Team. The AI That Hired You a Whole Creative Squad
6 Best Ai Character Generator in 2026: Tested & Compared
How to Create Stunning Visuals with the Best AI Music Video Generator
Best Free AI Photo Enhancer: Top Tools Compared in 2026