
How to Fix Overexposed Photos: Common Mistakes and Better Fixes
 RoboNeo TeamAugust 25, 2026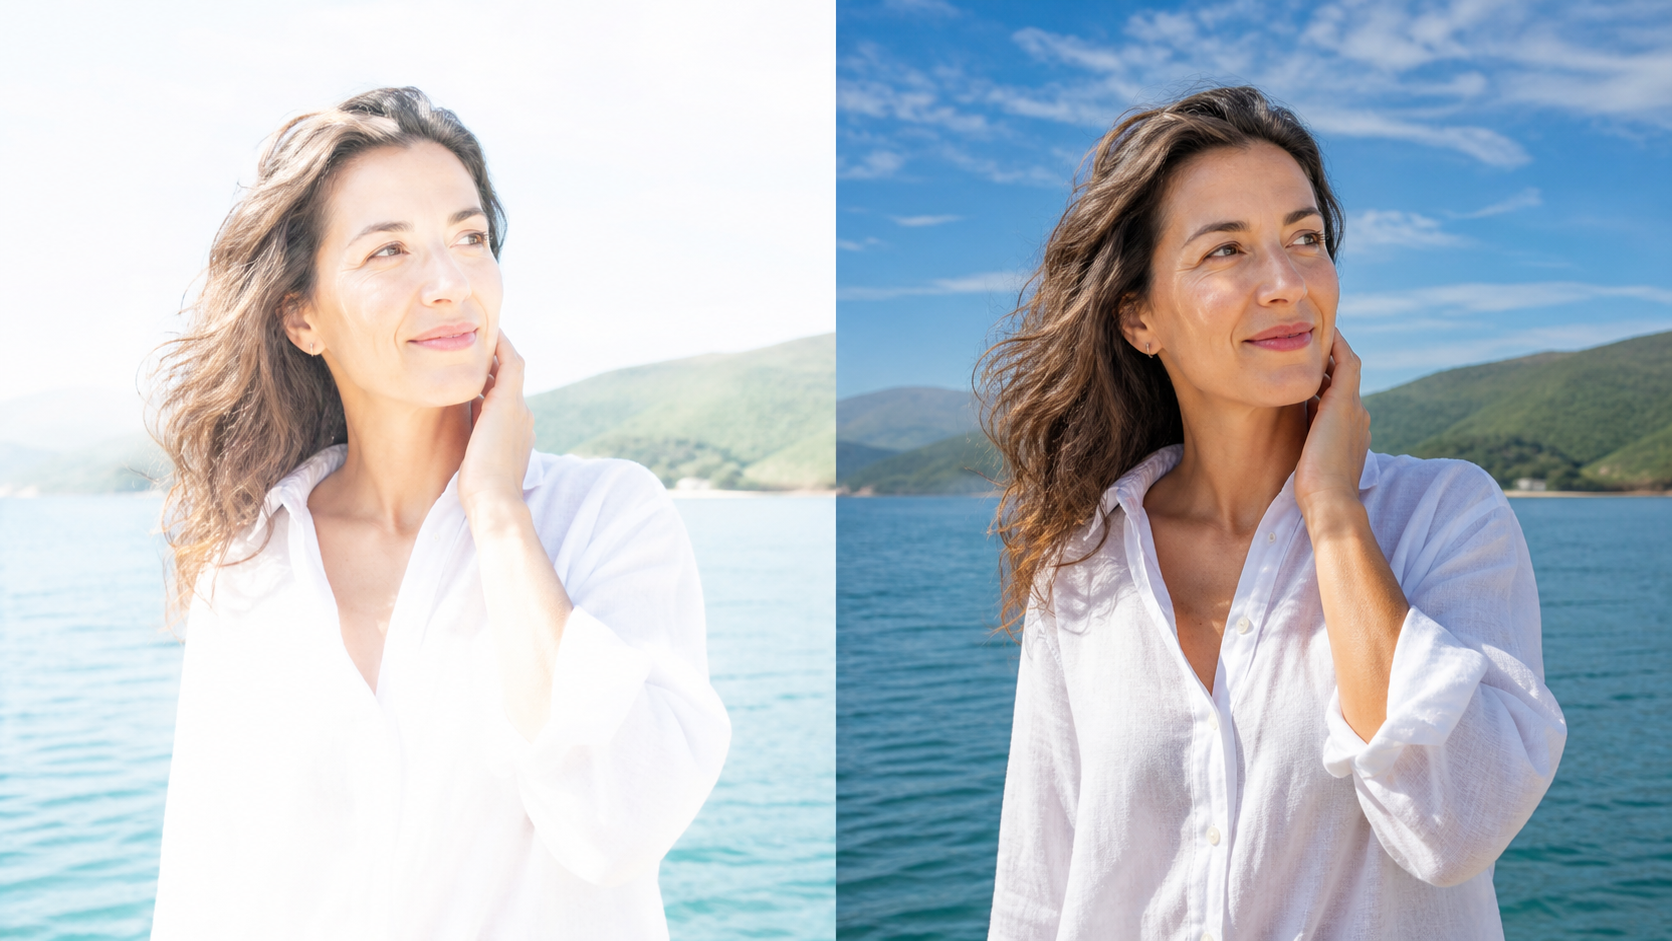
Overexposed photos often look too bright or washed out. The sky may lose its color, while windows, white clothing, and skin can appear flat or completely white. Mild and moderate overexposure can usually be improved with AI enhancement, basic exposure adjustments, or local editing. However, pure white areas without recorded color or texture cannot be accurately restored.
This guide explains how to judge whether a photo is recoverable and how to fix overexposed photos with AI, global adjustments, local corrections, or RAW editing. It also covers common editing mistakes and ways to prevent blown highlights while shooting.
Can an Overexposed Photo Be Recovered?
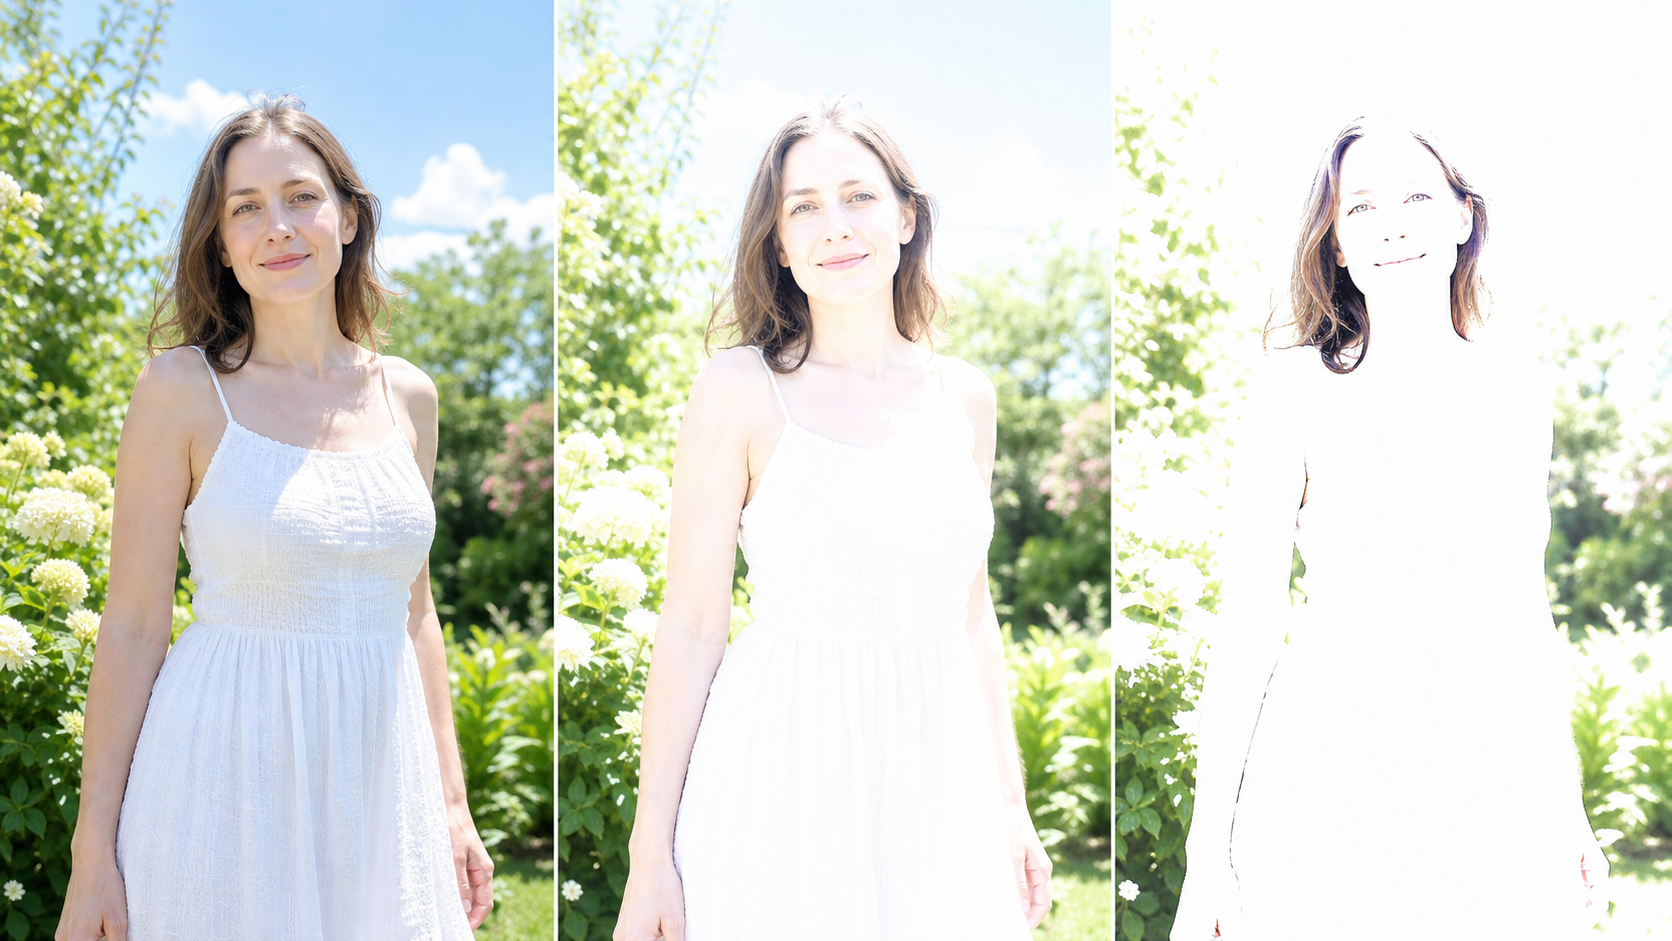
An overexposed photo can often be recovered if the bright areas still contain visible color, texture, or edges. The result depends on the severity of the damage, whether the problem affects the whole image or one area, and whether the original file is RAW or JPEG.
Overexposure generally falls into three levels:
Mild overexposure: The image looks too bright, but the subject, sky, and background still contain clear colors and textures. This is usually easy to improve.
Moderate overexposure: Some highlights have faded, although edges or small amounts of detail remain visible. Highlight recovery and local adjustments may be required.
Severe overexposure: Important areas have become pure white without color or texture. Editing can make them less distracting but cannot accurately recreate missing information.
RAW files usually preserve more highlight information than JPEG files. Still, RAW cannot recover an area when every color channel is fully clipped. This limitation also applies when you make an image high resolution: software can improve the appearance of existing information but cannot guarantee an accurate reconstruction of details that were never captured.
Before editing, duplicate the original file. Check the histogram, enable highlight warnings, and inspect important areas at 100% magnification. A bright window may still contain faint curtain details, while a white patch on someone’s face may already be completely clipped.
How to Fix Overexposed Photos Step by Step
Different levels and locations of overexposure require different approaches. AI is useful for quick overall improvement, while manual and local adjustments provide greater control.
Method 1: Use AI for Fast Exposure Correction
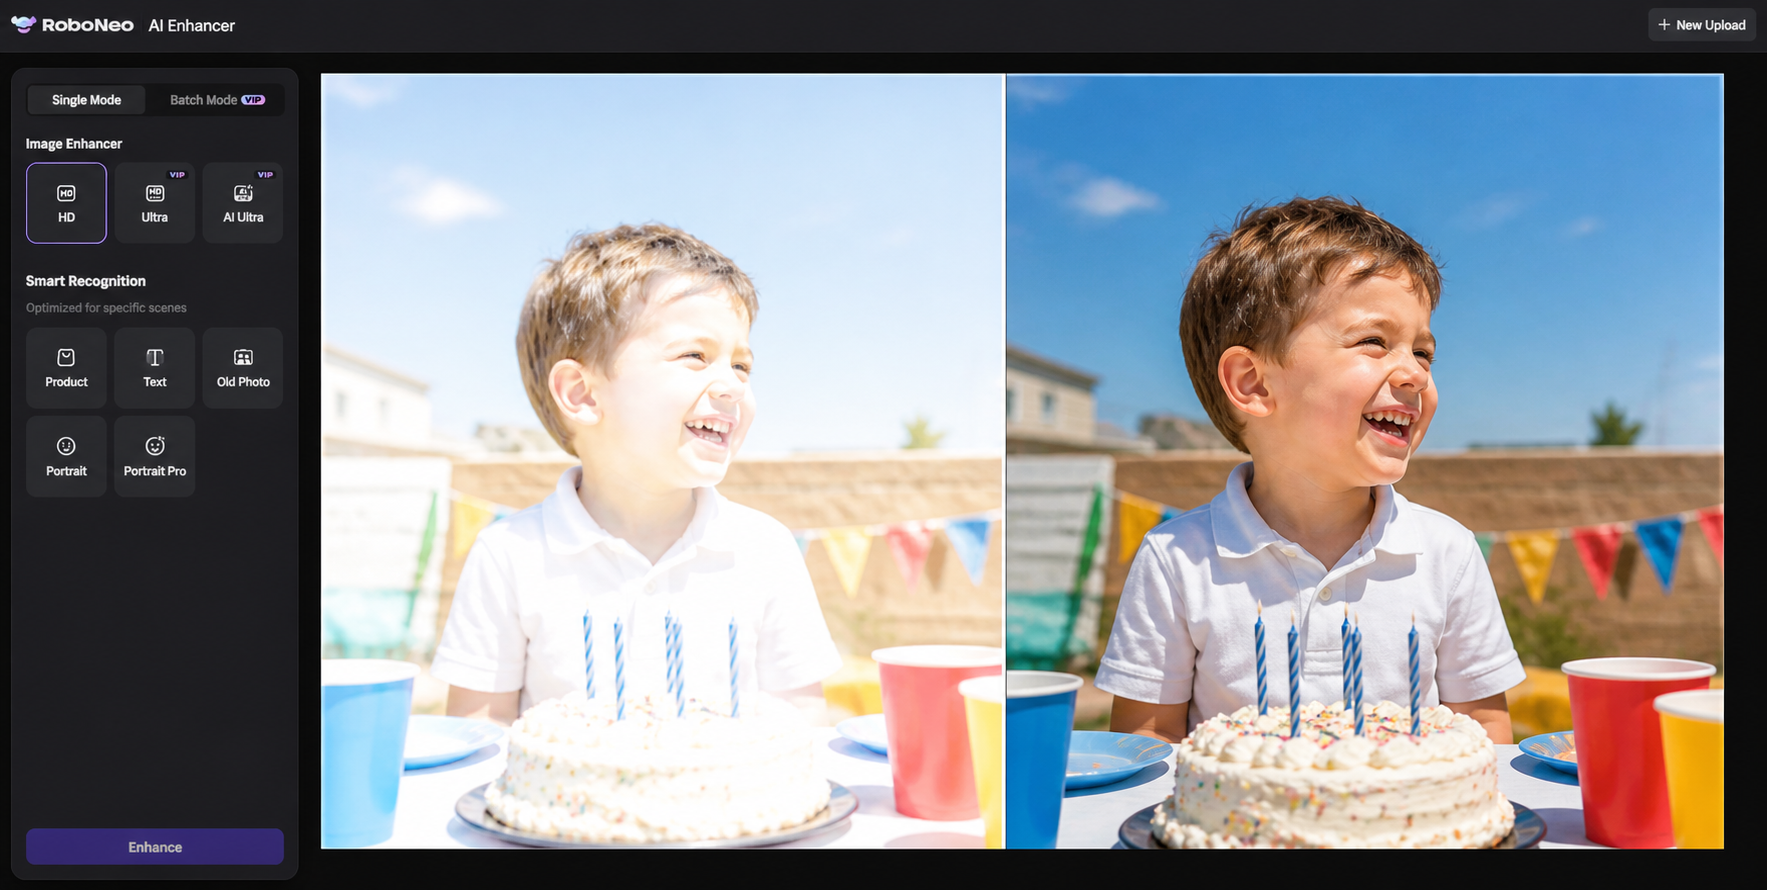
AI enhancement suits beginners, batches of similar images, and photos that need a quick improvement. A set of outdoor birthday pictures taken under the same harsh sunlight can often be processed more efficiently with one consistent workflow.
To correct an overexposed photo with AI:
Upload the highest-quality original instead of a screenshot or compressed copy.
Use RoboNeo AI Enhancer to analyze the brightness, color, contrast, and existing detail.
Compare the result with the original, focusing on the sky, skin, white clothing, and background.
Reduce the effect if the colors or textures look unnatural.
Export at a resolution suited to social media, printing, or storage.
RoboNeo AI Enhancer can improve overall brightness, washed-out color, and weak contrast. AI may also generate visually plausible textures, but these should not be treated as factual recovery. A completely white face, label, or sign cannot be reconstructed with guaranteed accuracy.
When an older image also contains fading, scratches, dust, or scan damage, a broader AI photo restoration tool may be more suitable than exposure correction alone.
Fix Overexposed Photos with RoboNeo
Method 2: Adjust the Entire Photo Manually
Global adjustments work best when the whole image is too bright but its highlights still contain some color and texture. Most phone editors, desktop programs, and online tools provide the necessary controls.
Start with a small Exposure reduction. Lower Highlights next to reveal remaining information in clouds, skin, and pale objects. Whites controls the brightest end of the tonal range, so change it carefully to reduce clipping without making every bright surface gray.
The photo may look flat after these corrections. Shadows, Blacks, and Contrast can restore depth, while minor Temperature, Tint, and Saturation adjustments can correct dull skin or faded colors. A portrait taken beside a bright window, for instance, may need lower highlights around the window and a small color adjustment to keep the subject’s skin natural.
Correct exposure and noise before applying sharpening. This order also matters when trying to make a photo less blurry, since sharpening an uncorrected image can make grain, halos, and compression artifacts more visible.
Avoid copying fixed adjustment values from another photo. Snow, white clothing, and pale product backgrounds are naturally bright. Small changes with frequent comparisons to the original usually look more realistic than one large reduction.
Method 3: Correct Localized Overexposure
Local editing is better when only the sky, a window, a forehead, a lamp, or white clothing is too bright. A global adjustment may correct that area while making the properly exposed subject and shadows too dark.
Use a brush, gradient, radial mask, or automatic subject mask to select the affected area. Exposure, Highlights, or Whites can then be lowered inside the mask without changing the rest of the image.
A window behind a person can be darkened separately. A gradient can reduce the brightness of an outdoor sky, while a soft-edged brush can control small highlights on a forehead or white shirt. Gentle feathering helps the correction blend with nearby areas.
This is often the most practical answer to how to fix an extremely overexposed photo when only part of the frame is damaged. Instead of forcing artificial detail into a clipped area, local editing reduces the distraction and protects the usable parts of the image.
Method 4: Recover Highlights From a RAW File
RAW editing offers the most flexibility because the file preserves more sensor information. Begin by reviewing the histogram and highlight warnings, then gradually lower Highlights and Whites.
Check color as brightness returns. A recovered sky may become gray, skin can develop a yellow cast, or bright fabric may show uneven color. Small adjustments to white balance or individual color channels can create a more natural result.
Sharpening should come later. Tools used to unblur an image can improve existing edges, but they cannot recover clipped pixels. Even in a RAW file, an area with all color channels fully blown out cannot be accurately restored.
Common Mistakes When Fixing Overexposed Photos
Making an image darker does not necessarily mean its details have been recovered. The following mistakes often replace overexposure with another visual problem.
| Common Mistake | Why It Fails | Better Fix | Recommended Adjustment |
| Lowering only Exposure | Subjects and shadows become too dark | Combine a small exposure change with highlight control | Reduce Exposure gently, then adjust Highlights |
| Heavily reducing Highlights and Whites | Bright areas become flat and gray | Preserve natural brightness in pale surfaces | Change one control at a time |
| Adding too much Contrast, Clarity, or Dehaze | Halos, noise, and harsh skin appear | Restore depth with restrained adjustments | Inspect skin and edges at 100% |
| Using Sharpening to restore highlights | Sharpening cannot recreate missing pixels | Recover tones first, then sharpen lightly | Sharpen only after exposure correction |
| Using global edits for a local problem | Correctly exposed areas become too dark | Mask only the affected area | Use a brush or gradient |
| Repeatedly exporting a JPEG | Compression loss continues to accumulate | Keep a master file and export once | Edit from the original file |
How to Prevent Overexposed Photos
Protecting important highlights while shooting provides a better starting point than relying on editing later. Extra care is especially useful around windows, snow, stage lights, white clothing, and strong midday sunlight.
Check Exposure Before Taking Important Photos
A bright camera screen can make exposure difficult to judge. Use the histogram and highlight warning instead. If the histogram is pressed against the right edge or important areas flash repeatedly, lower the exposure and retake the photo.
During a school performance, strong stage lights may turn a child’s face white even though the dark background looks acceptable. A quick test shot can reveal the problem before the main performance begins.
Protect Important Highlights
Give priority to skin, wedding dresses, clouds, product labels, and signs. Slightly dark shadows are usually easier to brighten than completely clipped highlights are to restore.
Someone wearing a white shirt at noon may require slightly lower exposure. The shaded side of the face can be brightened later, while missing folds in a blown-out shirt cannot be recovered accurately.
Use RAW or Exposure Bracketing
RAW is useful for travel, events, portraits, and other moments that cannot easily be repeated. High-contrast scenes can also benefit from exposure bracketing, which captures several versions at different brightness levels.
A sunset viewed through a hotel window may be difficult to capture in one shot. Protecting the sky makes the room dark, while exposing for the room turns the sky white. Bracketing provides multiple exposures that can later be selected or combined.
FAQ
Can a completely white area in a photo be restored?
If the camera recorded no color or texture, a pure white area cannot usually be restored accurately. Editing or AI can reduce its brightness, but generated details may not match the original scene.
Why does my photo look gray after reducing exposure?
The bright area may no longer contain enough color or texture. Lowering Exposure or Highlights simply darkens those pixels. Restore some contrast and color, and avoid reducing highlights too heavily.
Can I fix an overexposed photo on an iPhone or Android phone?
Yes. Most phone editors include Exposure, Highlights, Whites, and Contrast controls. Some apps also support local masks, RAW editing, and AI enhancement.
Is RAW always easier to recover than JPEG?
RAW usually stores more image information and provides greater highlight recovery range. However, fully clipped areas may remain unrecoverable even in a RAW file.
Should I use AI or manual editing?
AI works well for quickly correcting overall brightness, washed-out color, and weak contrast. Manual editing provides more control over isolated highlights, skin, and backgrounds. Important photos can be enhanced with AI first and refined manually afterward.
You May Be Interested
4K vs 1080p: Should You Upscale 1080p Video to 4K?

How to Turn Long YouTube Videos into TikToks with an AI Video Clip Generator
6 Best Ai Character Generator in 2026: Tested & Compared

How to Choose the Best AI Text to Video Generator in 2026 (+ Our Top Pick)

Best App to Remove Tiktok Watermark in 2026