
How to Restore Old Photos: Bring Old Pictures Back to Life
 RoboNeo TeamAugust 25, 2025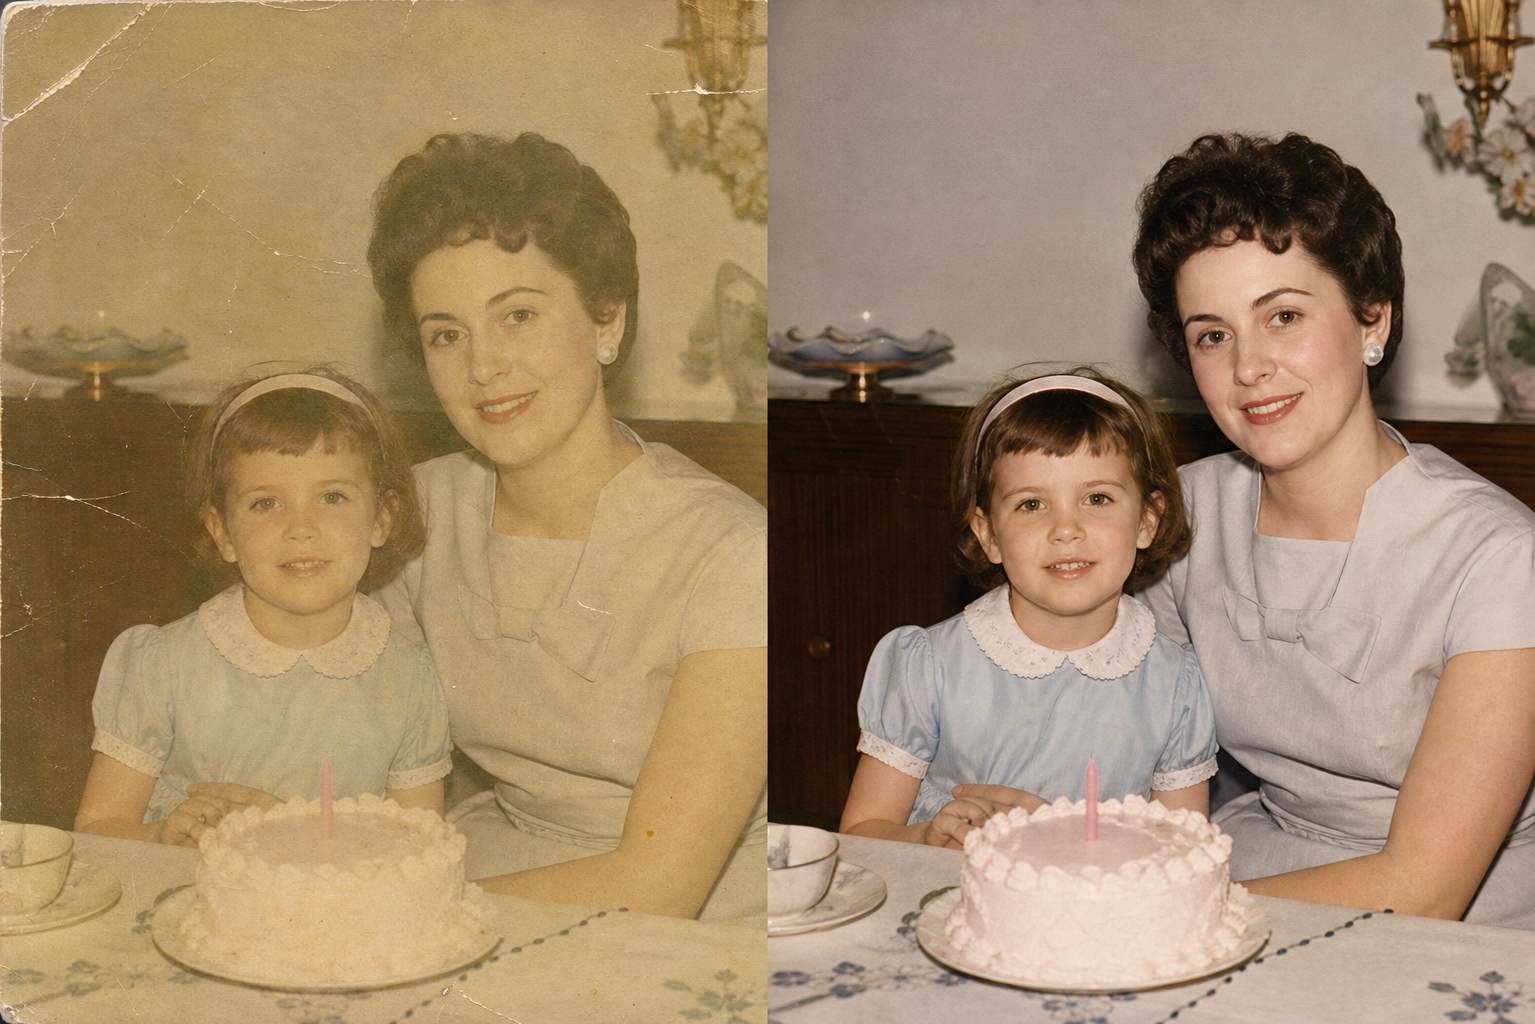
Restoring an old photo begins with a high-quality digital copy, followed by damage repair, color correction, and careful detail enhancement. Minor fading, grain, softness, and small scratches can often be improved with photo-editing software or AI. Severe tears, large missing areas, mold, or historically valuable prints may require a professional conservator.
This guide explains how to inspect damage, scan a paper photograph, repair common problems step by step, and decide whether AI enhancement, manual editing, or professional restoration is the most suitable approach for your picture.
What to Check Before Restoring an Old Photo
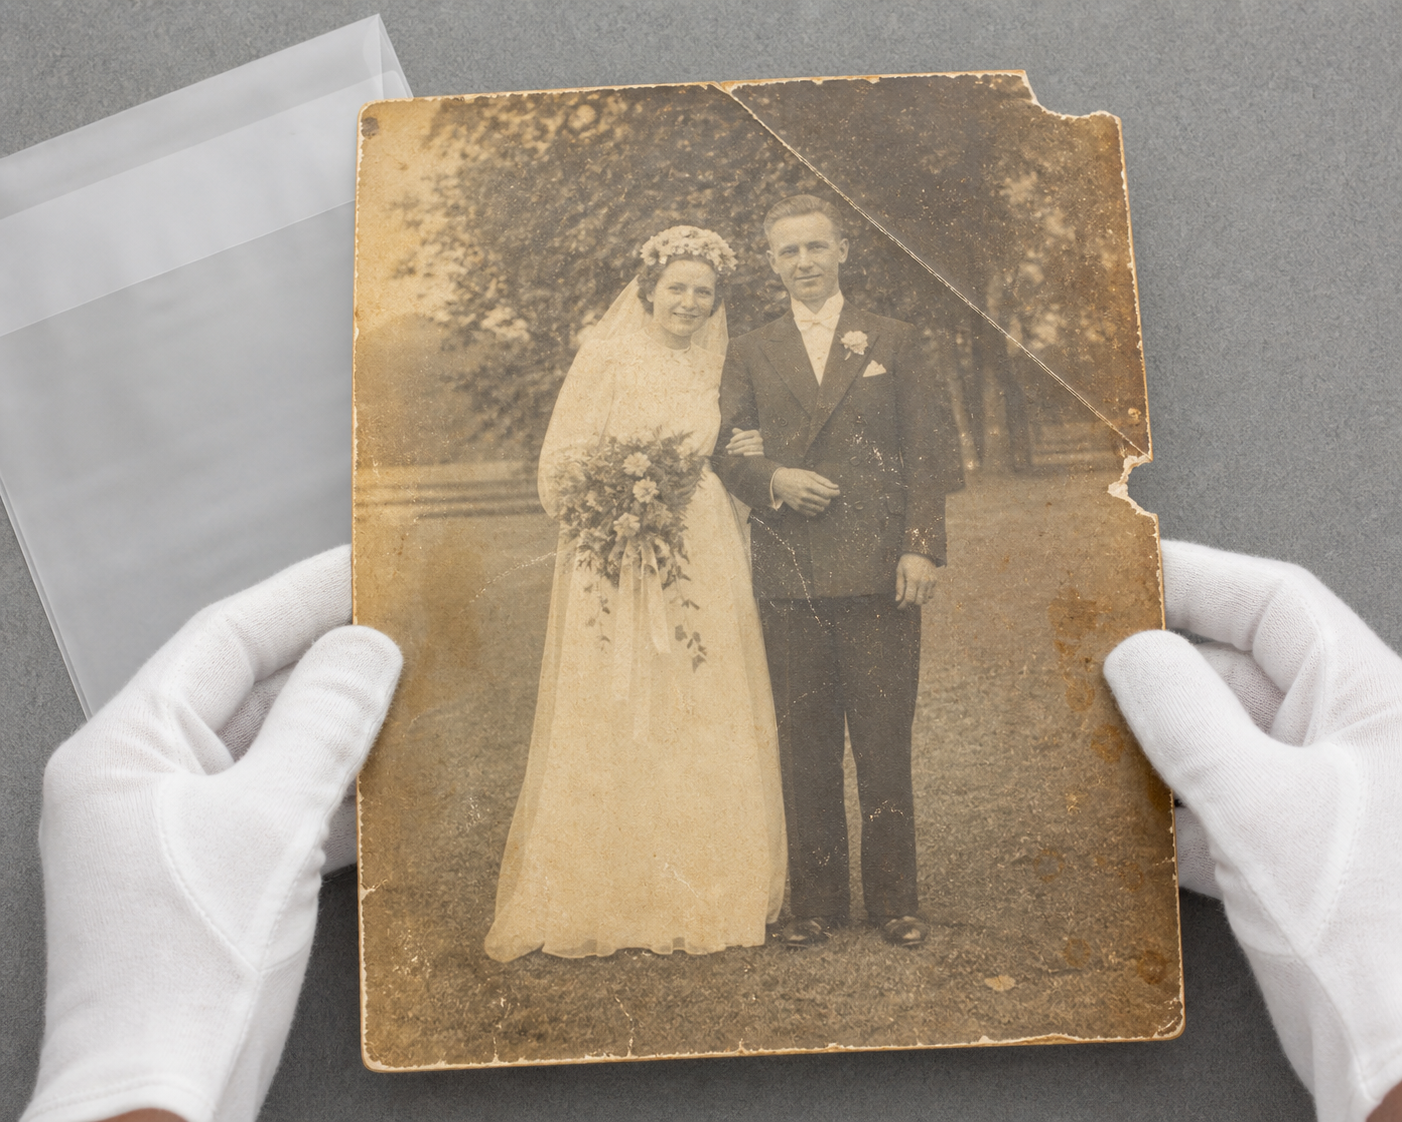
Before learning how to restore old photos, identify what is actually wrong with the picture and decide what you want the final version to achieve. A faded family portrait intended for a phone slideshow requires a different level of work from a wedding photograph that will be enlarged and framed.
Start by checking three areas:
1. Physical damage: Look for dust, scratches, creases, cracks, tears, stains, and missing sections.
2. Image-quality problems: Check for fading, color casts, low contrast, grain, blur, and insufficient resolution.
3. Restoration goal: Decide whether you want to preserve the original appearance, improve clarity, make a new print, share the image online, or add creative color.
Keep the original print and an untouched digital scan. Editing the only available file removes your ability to return to the starting point if a correction looks unnatural.
Extra care is necessary when prints are stuck together, moldy, brittle, or historically valuable. Pulling apart two damp photographs can remove the image layer from one or both prints. In these situations, avoid washing, flattening, or separating the material yourself. A photographic conservator can assess the object without causing irreversible damage.
How to Digitize Old Photos for Better Restoration
The quality of the digital file directly affects the restoration result. Editing software can improve captured information, but it cannot accurately recover details that were never recorded.
A quick phone picture taken beneath a ceiling light may contain glare, shadows, perspective distortion, and reduced facial detail. These problems make later corrections more difficult. Understanding how to make a photo less blurry also helps you separate capture problems from damage already present in the print. A careful scan or well-planned photograph provides a cleaner foundation.
Scan the Photo at a Suitable Resolution
For basic archiving or printing at approximately the original size, scan the photograph at a minimum of 300 DPI. Use 600 DPI or higher when the picture contains fine scratches, will be cropped, or needs to be enlarged. These pixel and print-size considerations also matter when deciding how to make an image high resolution without creating an unnecessarily large file.
A small school portrait may appear acceptable at 300 DPI when viewed on a screen. If the same portrait will be enlarged for a memorial display, a 600 DPI scan provides more information around the eyes, hair, clothing, and damaged edges.
Save the original scan as a TIFF or high-quality PNG file. Both formats are suitable for maintaining a restoration master without repeated lossy compression. JPEG creates a smaller file and works well for email, social media, and everyday sharing after the restoration is complete. Repeatedly opening and resaving a low-quality JPEG can introduce blocky edges and remove subtle tonal detail.
Clean the scanner glass before starting, but do not aggressively clean a fragile print. Loose surface dust may be removed with a soft photographic brush if the picture is stable. Stains, mold, or material attached to the surface require more cautious treatment.
Photograph the Print When a Scanner Is Unavailable
A modern phone or camera can produce a useful digital copy when the setup is controlled. Place the photograph on a flat, neutral surface and use soft, even lighting from both sides. Turn off the flash because it can create a bright reflection in the center of glossy paper.
The camera lens should remain parallel to the photograph. A tripod, phone stand, or stable overhead support helps prevent movement and keeps all four edges straight. Fill most of the frame without cutting off the borders, then capture several shots so you can select the sharpest one.
This approach works well for a relative visiting with an old album that cannot be taken home. However, photographs behind glass or glossy plastic may still show reflections. Perspective tools can straighten slightly uneven edges afterward, but they should not be expected to repair severe camera angles or motion blur.
How to Restore Old Photos Step by Step
A reliable workflow moves from broad corrections to small repairs. Begin with orientation and tone, continue with physical damage, and leave noise reduction and sharpening until the end. Work on layers or duplicate files so each adjustment remains reversible. When several issues need automatic correction, an AI photo restoration tool can provide a useful starting point before you review individual details.
Crop, Straighten, and Correct the Overall Tone
First, straighten the image and correct obvious perspective problems. Remove unwanted scanner borders while retaining any original edges, handwritten notes, or decorative frames that matter to the photograph.
Next, adjust exposure, black and white points, contrast, and overall color balance. Old color prints often develop a yellow, red, or blue cast as their dyes age. Black-and-white photographs may lose contrast and take on a brown or gray appearance.
Large changes to saturation or contrast should wait until the basic tonal range looks balanced. Strong global adjustments can hide faint details in a dark jacket or wash out a face near a bright window. They may also remove the gentle tonal character that makes an older photograph feel authentic.
Remove Dust, Scratches, Creases, and Stains
Small dust spots and isolated marks are usually suitable for a healing brush. Longer cracks, folded lines, and damage crossing complex textures may require clone or content-aware tools.
Zoom in and repair difficult areas in short sections. A crease passing through someone's face should be handled differently across the cheek, eye, hair, and background. Copying one large patch over the entire line can blur facial contours or create repeated textures.
Texture and lighting should remain consistent with the surrounding area. On a photograph of a child standing beside a patterned curtain, repeated sections of the fabric quickly reveal careless cloning. Moving the sample point frequently produces a more natural result.
Do not remove every mark automatically. A handwritten date on the border or a small studio stamp may carry important family or historical information. Keep those elements when they contribute to the story of the photograph.
Restore Faded Colors or Black-and-White Tones
For a faded color photograph, correct the broad color cast before adjusting individual areas. Skin, clothing, grass, walls, and sky may need separate treatment because different dyes fade at different rates.
Increasing saturation across the whole picture can make faces appear too red while leaving the background inaccurate. Selective color adjustments offer better control. A 1970s outdoor portrait might need warmer skin, a more neutral white shirt, and restrained greens rather than one strong saturation boost.
Black-and-white restoration focuses on tonal balance. Deep shadows should retain useful detail, midtones should separate facial features, and highlights should not become flat white areas. A gentle contrast curve often creates a more believable result than an aggressive automatic filter.
Automatic colorization can produce an attractive interpretation, but its colors are informed guesses. The software may assign a plausible blue to a dress or beige to a building without knowing the original colors. Colorized versions should therefore be treated as creative reconstructions, not historical evidence.
Reduce Noise and Recover Useful Detail
Noise reduction, sharpening, and resolution enhancement are best applied after scratches, stains, and color problems have been addressed. Otherwise, sharpening may emphasize dust and cracks, making them harder to remove.
A grainy scan with soft facial details can benefit from the RoboNeo AI Enhancer, especially when the original digital file is small. Apply enhancement conservatively and compare the result with the untouched scan.
Review the processed image at high magnification. Pay close attention to:
Eyes, teeth, hair, hands, and facial outlines
Clothing patterns, wall textures, signs, and printed words
Repeated shapes or unnaturally smooth skin
New details that do not appear in the original scan
AI can make damaged areas look more complete, but visual improvement is not the same as factual recovery. A blurred name on a sign may become sharper-looking without becoming accurate. When learning how to restore an old photo, this distinction is essential: generated detail should never be presented as confirmed original information.
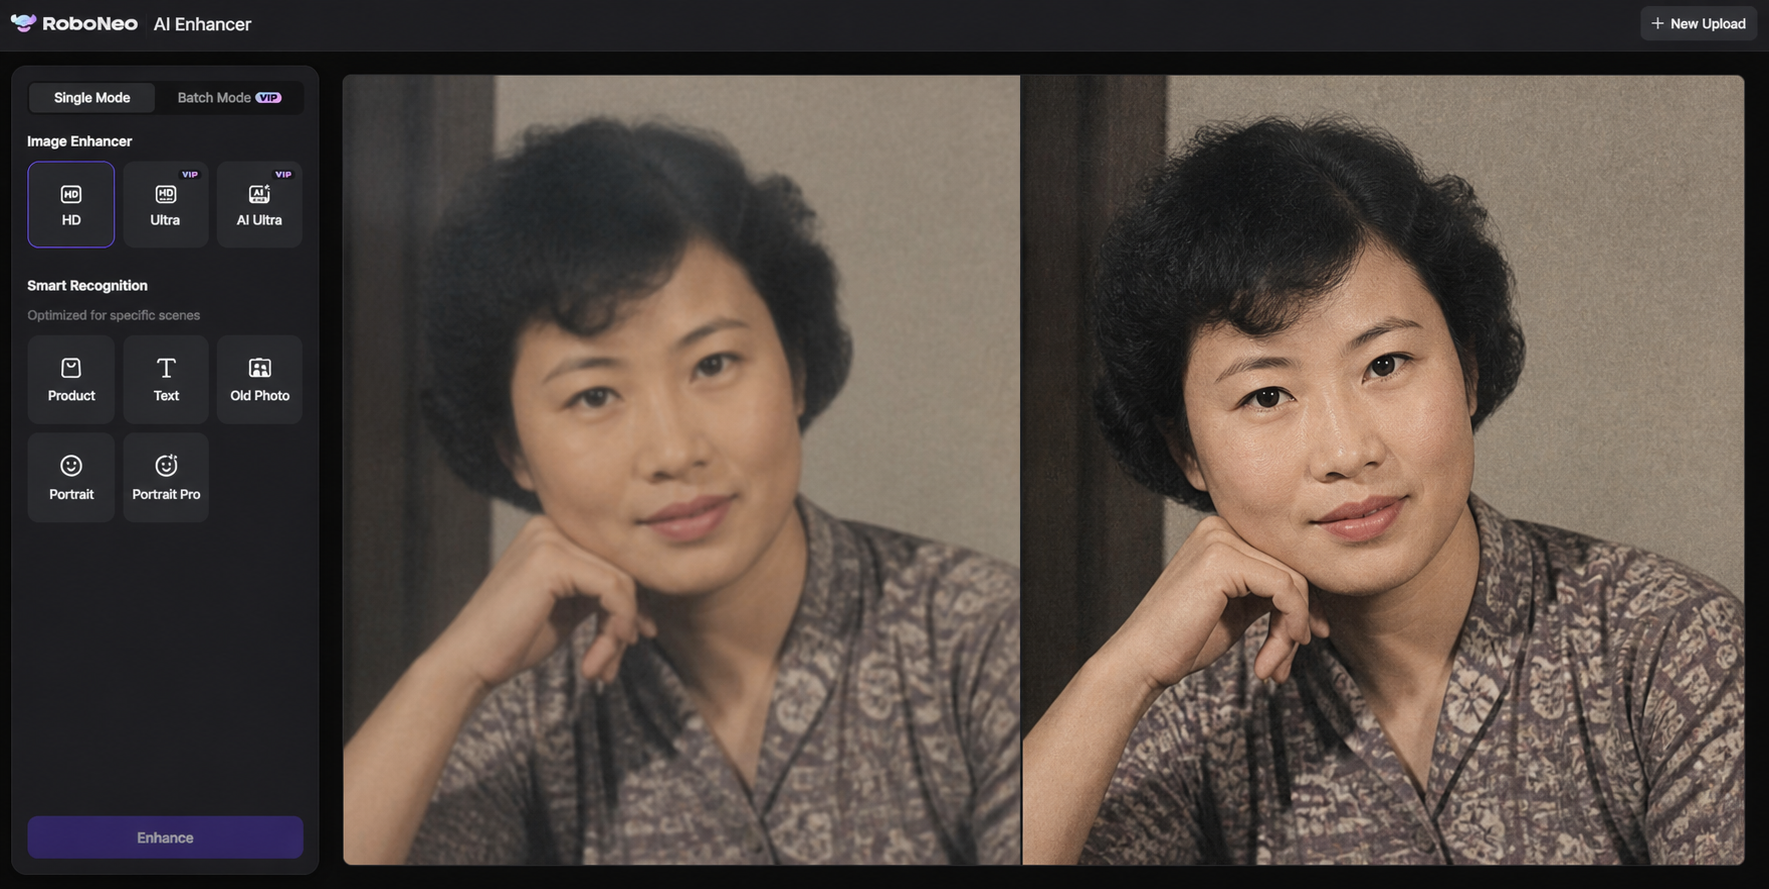
Restore Old Photos with RoboNeo
Common Old Photo Restoration Mistakes
Overprocessing can make a picture look cleaner while changing the person's features, the period texture, or the authenticity of the scene. Even methods used to unblur an image should be applied carefully when the source contains weak facial detail or heavy damage. Most restoration mistakes come from editing too quickly or expecting software to reconstruct information with certainty.
1. Editing the only copy: Changes are made directly to the original scan, leaving no clean version for comparison or future restoration.
2. Over-sharpening faces: Excessive sharpening creates halos, artificial pores, brittle hair, and plastic-looking skin.
3. Treating AI guesses as recovered detail: Generated eyes, teeth, text, or background objects are mistaken for factual information.
4. Colorizing before repairing damage: Cracks and stains are colored first, making later repairs harder to match.
5. Removing every sign of age: Natural film grain and subtle texture disappear, leaving the photograph unnaturally smooth.
6. Printing from a compressed file: A downloaded social media image or small JPEG is enlarged, producing visible artifacts and soft details.
A useful test is to step away from the screen and return later. Details that seemed impressive during close editing may look exaggerated when the whole photograph is viewed at a normal size.
How to Save and Preserve Restored Photos
Digital restoration does not stop the paper original from aging. Preserve the physical photograph, the digital master, and a smaller sharing copy as separate assets.
Keep the untouched high-resolution scan, the layered editing file, and the final exported version. Store backups in at least two locations, such as an external drive and a trusted cloud service. File names should include useful information rather than a generic label such as "scan001". Adding the names of the people, approximate date, location, and restoration notes will help future family members understand the image.
Place physical prints in acid-free, PVC-free sleeves, envelopes, or archival boxes. The storage area should remain cool, dry, dark, and reasonably stable. Attics, basements, garages, and sunny shelves expose photographs to heat, moisture, or rapid environmental changes.
A restored copy can be displayed while the original remains protected. If a family portrait will hang near a bright window, print a duplicate for the frame and keep the historic print in archival storage.
FAQ
Can a badly damaged old photo be fully restored?
Minor fading, scratches, stains, and creases can often be improved significantly. Large missing sections must be reconstructed from surrounding visual information, so the result cannot be guaranteed to match the original details.
Can I restore an old photo taken with my phone?
Yes. Use even lighting, turn off the flash, and keep the phone parallel to the photograph. A high-resolution scan usually captures more detail when the image requires precise repair, cropping, enlargement, or reprinting.
Can faded photographs regain their original colors?
Obvious fading, low contrast, and color casts can be corrected. Some original color information may have disappeared permanently. Automatic colorization creates plausible color estimates rather than an exact record of the photograph's original colors.
What file format is best for restored photos?
TIFF and high-quality PNG are suitable for restoration masters and long-term archiving. A high-quality JPEG takes up less space and is more convenient for uploading, sending, and everyday sharing.
How much does professional photo restoration cost?
The price depends on the size of the tears or missing areas, the number of people, the complexity of color correction, and the required output. Simple fading or scratch repair generally costs less, while heavily damaged or historically valuable photographs may require a custom quote based on working time.
You May Be Interested

480p vs. 720p: Which Resolution Should You Choose?

How to Turn Long YouTube Videos into TikToks with an AI Video Clip Generator
6 Best Ai Character Generator in 2026: Tested & Compared
Best AI Video Enhancer in 2026: 8 Tools, Pros and Cons

Best App to Remove Tiktok Watermark in 2026