How to Upload High Quality Videos to TikTok
 RoboNeo TeamAugust 6, 2026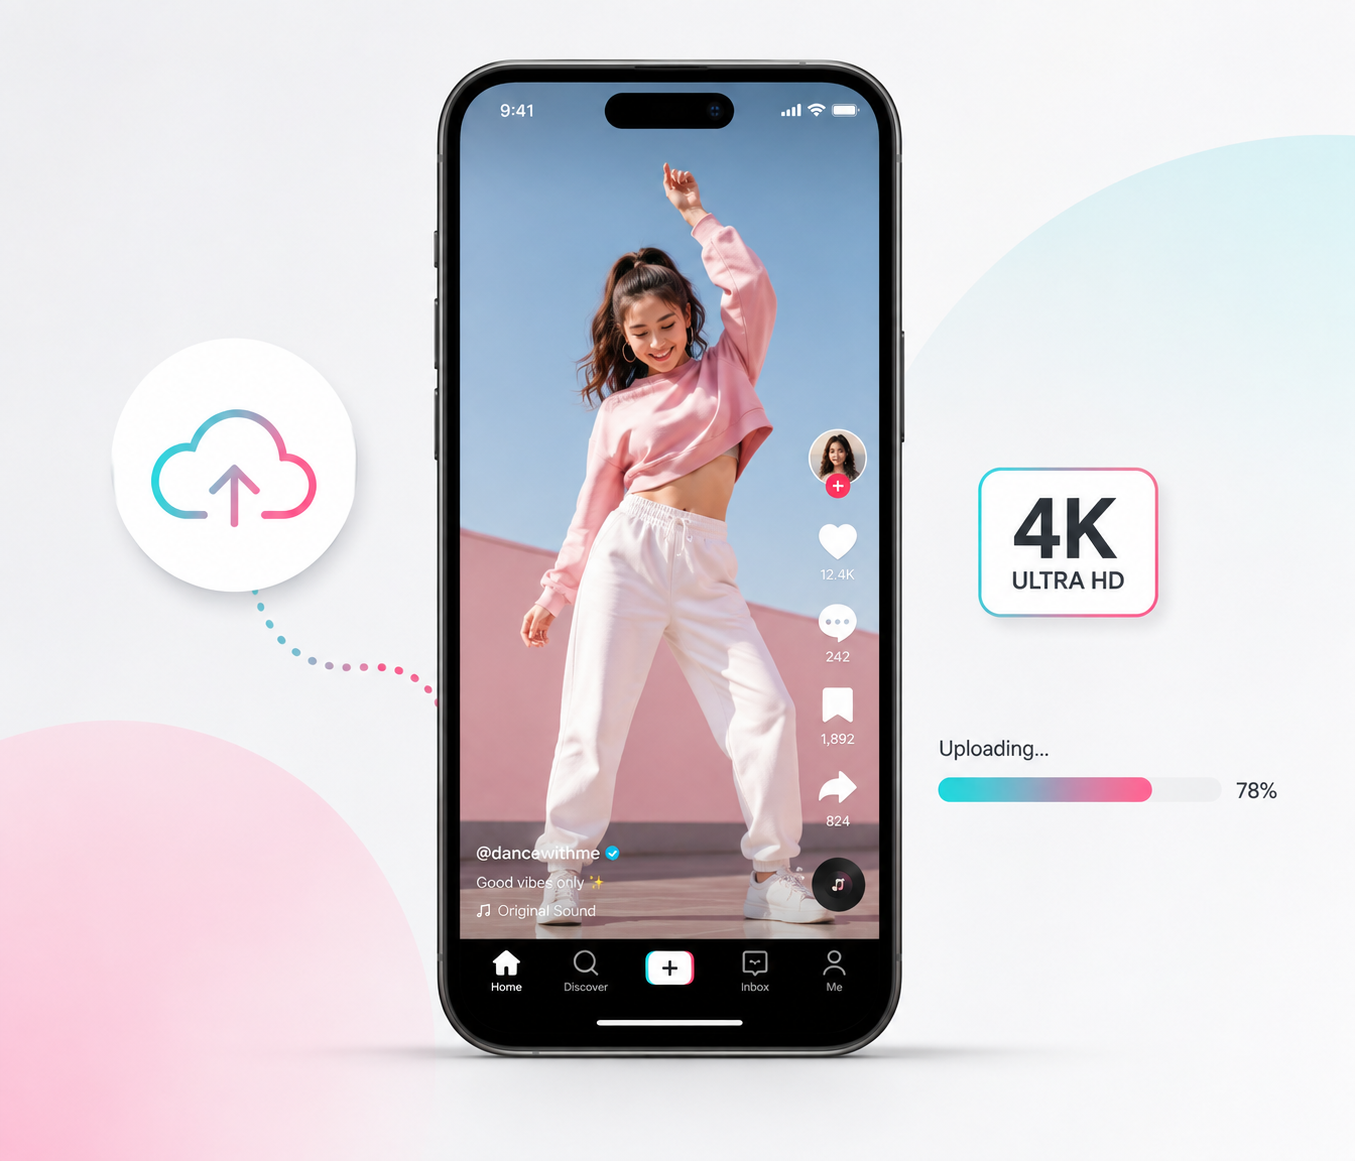
You finish an edit, watch it in your camera roll, and everything looks clean. Then it goes live on TikTok and some of that detail seems to disappear. Small captions soften, hair and fabric lose texture, and a quick camera move turns blocky.
TikTok re-encodes every upload, so a little change is normal. Still, the platform can only work with the file you give it. Footage that has already been compressed, over-sharpened, or exported at a very low bitrate has little room left before another round of processing.
The answer is not to max out every setting. It is to protect quality from the source clip through the final upload.
Why Should You Upload High Quality Videos to TikTok?
On TikTok, clarity is part of communication. Viewers should be able to read the text, see the product, and understand what is happening without squinting at the screen.
That matters most in tutorials, makeup videos, product demos, gaming clips, food content, and posts built around quick movement or fine detail. A blurry label can weaken a product video. Soft captions can hide the most useful instruction in a how-to post.
High quality does not mean every video needs cinematic lighting or a studio camera. TikTok often feels most natural when it looks like TikTok. A well-lit phone recording with clear audio and sensible framing can work better than a polished clip that feels out of place.
Clean source footage also makes editing less fragile, and these AI features for enhancing UGC video quality show where light upscaling, denoising, and relighting can help. Cropping, stabilization, color correction, and text overlays all place extra demands on the image. When noise or compression damage is already present, each adjustment makes it easier to notice.
What Are the Best Video Settings for TikTok?
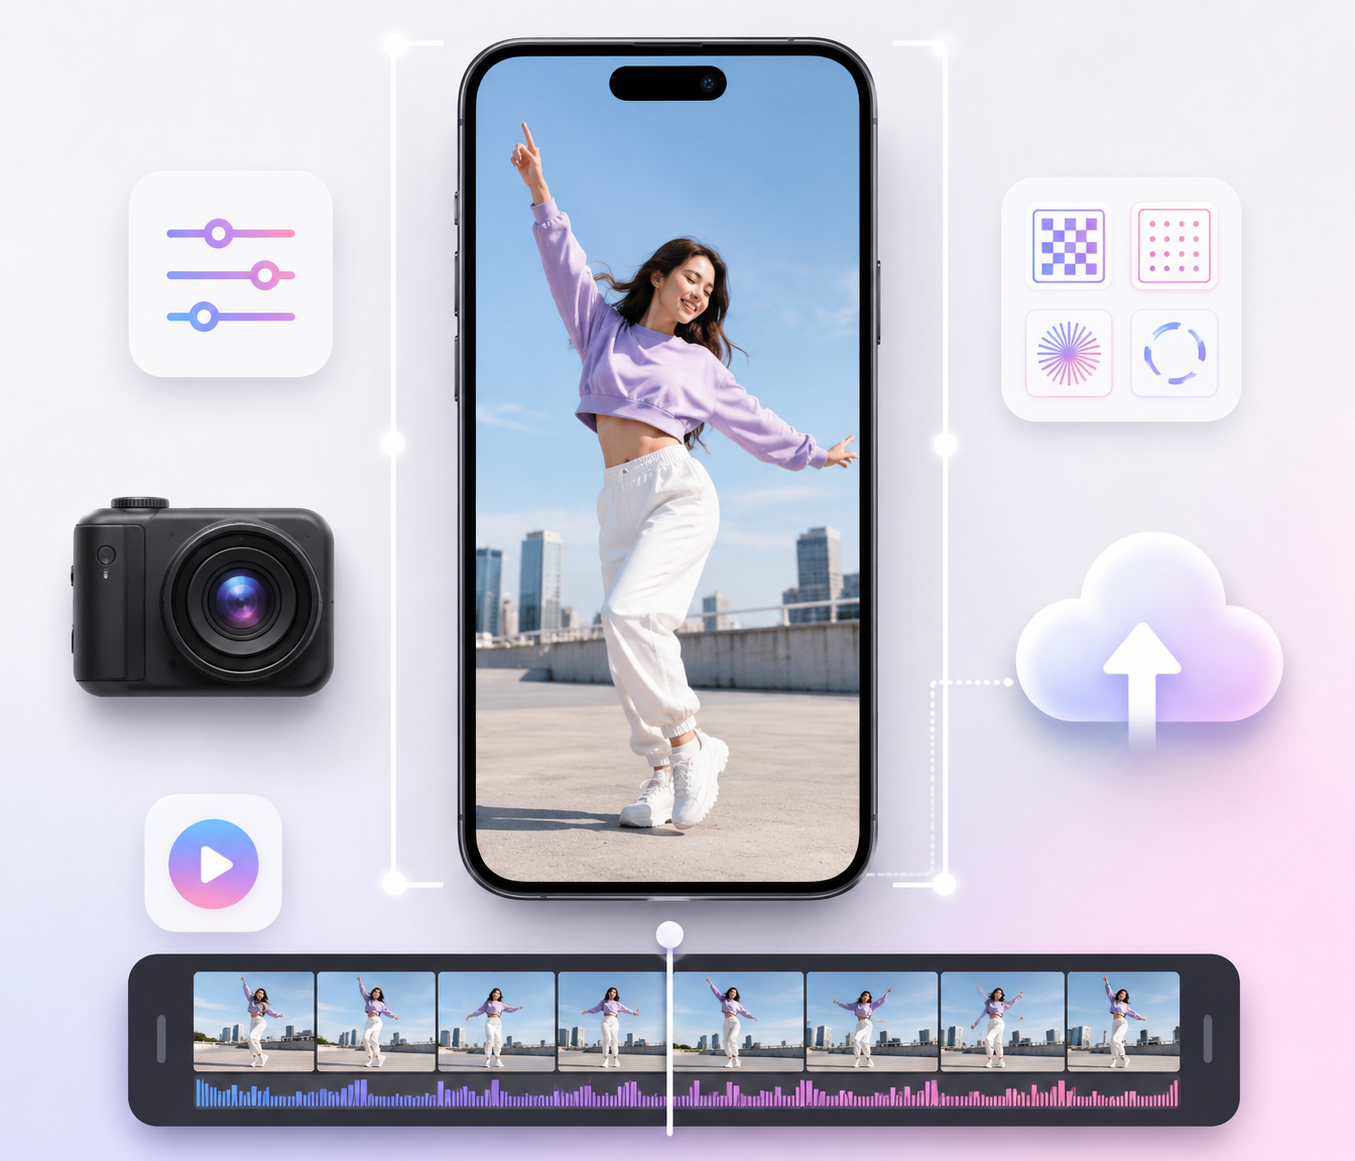
There is no magic preset for every phone, camera, and editing app. The settings below are simply a dependable baseline for vertical TikTok content.
Setting | Recommended Choice | Why It Matters |
Aspect Ratio | 9:16 | Fits TikTok’s full-screen vertical layout |
Resolution | 1080 × 1920 | Balances detail, compatibility, and file size |
File Format | MP4 or MOV | Both are widely supported |
Video Codec | H.264 | Offers a practical mix of quality and compatibility |
Frame Rate | Match the Source | Prevents unnecessary frame duplication |
Scan Type | Progressive | Better suited to phones and online playback |
Audio Codec | AAC | A reliable choice for short-form audio |
Treat these as working recommendations, not fixed platform limits; this guide to making a TikTok video covers the broader workflow from recording and editing to final publishing. TikTok's ad specifications favor vertical, high-resolution creative, but ad requirements do not automatically apply to every organic post.
For everyday uploads, 1080 × 1920 is usually enough. It fills the screen and holds visible detail without creating a file far larger than the final viewing experience requires.
Frame rate is where people often overcorrect. Footage recorded at 30 fps usually belongs on a 30 fps timeline. Exporting it at 60 fps will not invent smoother movement; the software may simply repeat existing frames. True 60 fps footage can be worth keeping for sports, gaming, dance, or other fast action.
Be careful with presets labeled ''email'' ''small file'' or ''fast upload''. They often cut the bitrate too aggressively, leaving TikTok to recompress a file that has already lost fine detail.
How to Upload High Quality Videos to TikTok in 5 Steps
With the basic settings in place, the next challenge is maintaining that quality throughout the workflow. A good export preset will not help much if the source is already soft or the file gets compressed again before posting. The following steps take the video from the original recording through export, upload, and final playback.
Step 1: Check and Prepare the Source Video
Most quality problems begin before the edit. Whenever possible, use the original recording rather than a copy pulled from WhatsApp, Instagram, or another social platform. Shared versions are often compressed, sometimes more than once.
Play the clip at full size. Is the subject actually in focus? Can you read the smallest text? Are the shadows clean, or are they crawling with noise? A 1080p export cannot bring back detail the camera never captured.
Framing matters too. Landscape footage can be adapted for a vertical screen, but an aggressive crop may cut off hands, faces, or the product itself. Leave some breathing room around the subject, especially near the bottom and right side, where TikTok’s interface may cover the image.
Step 2: Enhance Low-Quality Footage If Needed
Video enhancement is useful when there is a clear problem to solve. It should not become an automatic step for every clip.
Older recordings, low-light footage, and files with obvious compression artifacts may benefit from a light cleanup. The RoboNeo AI Video Enhancer can reduce visible noise, improve perceived sharpness, and upscale the working file before it reaches TikTok.
The result still needs a human check. Start with faces, then look at hair, fingers, subtitles, product edges, and anything moving quickly. Too much processing can create waxy skin, bright halos, flickering texture, or small distortions that were not in the source.
When the original already looks clean, leave it alone. Extra sharpening can make edges harsher without adding real detail.
Step 3: Export with TikTok-Ready Settings
Once the edit is finished, the final file should match the way it will be watched. A 9:16 canvas at 1080 × 1920 works well for most posts, while MP4, H.264, and AAC remain a reliable combination.
Keep the source frame rate, use progressive scan, and choose a standard or high-quality preset. Then open the export in your phone gallery or a desktop media player. This catches problems that are easy to miss inside an editor: black bars, stretched faces, clipped captions, blocky shadows, audio drift, or rough motion.
Avoid building a new edit from an exported video. Every lossy export removes a little more information. Return to the original project and create a fresh final file instead.
Step 4: Update TikTok and Review the Upload Settings
TikTok changes menus often, so an older tutorial may not match the app on your phone. Updating it first removes one unnecessary variable.
Use a stable Wi-Fi or mobile connection, and turn off Data Saver while testing quality. After preparing the final asset in RoboNeo or another editing workflow, save it directly to your device instead of routing it through another messaging or social app.
Before posting, review the crop, cover image, captions, and subject position. Some accounts show “Upload HD” or “Allow high-quality uploads,” while others do not. The wording and availability can vary by app version, device, region, or account.
Step 5: Publish and Review the Processed Video
The first playback is not always the final one. TikTok may still be generating processed versions, especially for longer or detail-heavy uploads.
Wait a little, then watch the post again on a reliable connection. Compare it with the exported file. Hair, fabric, grass, small text, dark backgrounds, gaming interfaces, and fast camera moves are useful reference points because compression tends to show there first.
A minor loss of detail is normal. A dramatic change means something in the workflow deserves another look. The source may have been weak, the export too compressed, or TikTok’s processing may be doing most of the damage.
How to Fix Blurry TikTok Videos After Uploading
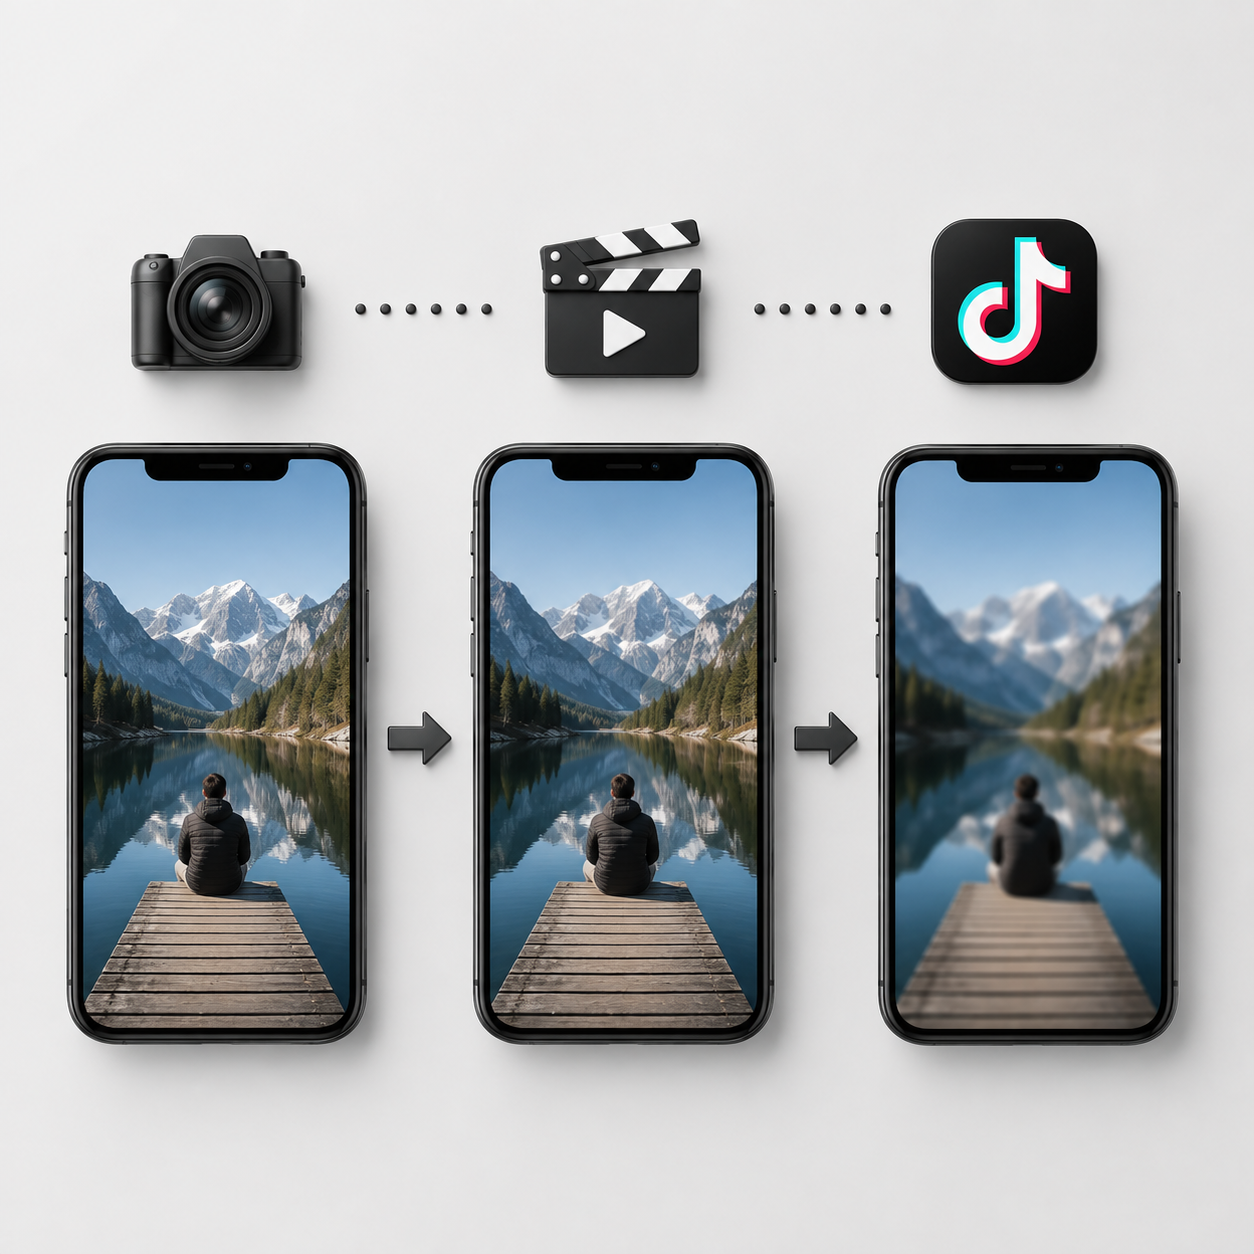
If the finished post still looks noticeably worse than the exported file, avoid changing every setting or uploading it again right away. First compare the source footage, the final export, and the version on TikTok. That quick check usually shows where the quality dropped and makes the next fix much easier to choose.
Confirm Whether Processing Is Complete
Deleting and reposting immediately can create more work without solving anything. Longer clips and detail-heavy videos sometimes need extra processing time.
Return to the post later and, when possible, view it from another device or account. A video that looks clear elsewhere may be suffering from a local playback or connection issue.
Check the Original Exported File
The export is the best dividing line in the troubleshooting process. If it already looks soft at full size, TikTok is not the main cause.
Go back to the project and review the source clips, resolution, export preset, sharpening, and noise reduction. When the source is usable but undersized, AI video upscaling can create a larger working file, although a less aggressive crop, a brighter source, or the original recording may still help more than a higher bitrate.
Clear the TikTok Cache and Test Again
Cached data can occasionally affect how a post previews or plays on one device. Clear the cache, reopen the app, and check the video again over a stable connection.
This does not repair a compressed upload. It only helps rule out a local playback problem.
Re-Export a Short Test Clip
Before committing to another full render, compare different AI video enhancers and test the most suitable option on a short section instead of re-exporting the entire project.Choose a 10- to 15-second section with a face, small text, a dark area, fine texture, and some movement.
Change one variable, upload the test, and compare it with the previous version. That makes it easier to see whether bitrate, frame rate, sharpening, or noise reduction is helping.
FAQ
Can I upload 4K videos to TikTok?
In many cases, yes. Whether TikTok keeps that resolution is another matter. The app normally creates its own playback versions, so viewers may not actually see the video in 4K. A large file can also take longer to upload and process without producing an obvious improvement on a phone screen.
Is 4K or 1080p better for TikTok?
1080 × 1920 is usually the better export choice for a finished TikTok post. It looks sharp on mobile, uploads more quickly, and is less demanding to process.
Shooting in 4K still has value during production. The extra pixels give you room to crop into a face, straighten a shot, or stabilize shaky footage. Once the edit is finished, you can export the vertical version at 1080p.
What is the highest resolution I can upload to TikTok?
There is no single published limit that covers every phone, account, region, and upload method. TikTok’s handling of large files can also change as the app is updated.
Rather than aiming for the highest number available, focus on a clean 1080 × 1920 export. For a standard vertical post, that is generally enough to keep faces, captions, and product details clear.
Does posting from an iPhone or Android affect TikTok quality?
Either phone can produce a sharp TikTok video. The larger differences usually come from how the clip was recorded and handled afterward.
Good lighting and accurate focus matter more than the logo on the phone. So do the editing app, export settings, TikTok version, and upload connection. One common mistake on both platforms is sending the video through a messaging app before posting, which may compress the file before TikTok receives it.
You May Be Interested

Best 3D Character Creator to Make Custom Characters

How to Choose the Best AI Text to Video Generator in 2026 (+ Our Top Pick)
Best Free AI Video Generator: Top Tools to Try