
How to Edit Videos to Make Quality Better
 RoboNeo TeamAugust 11, 2026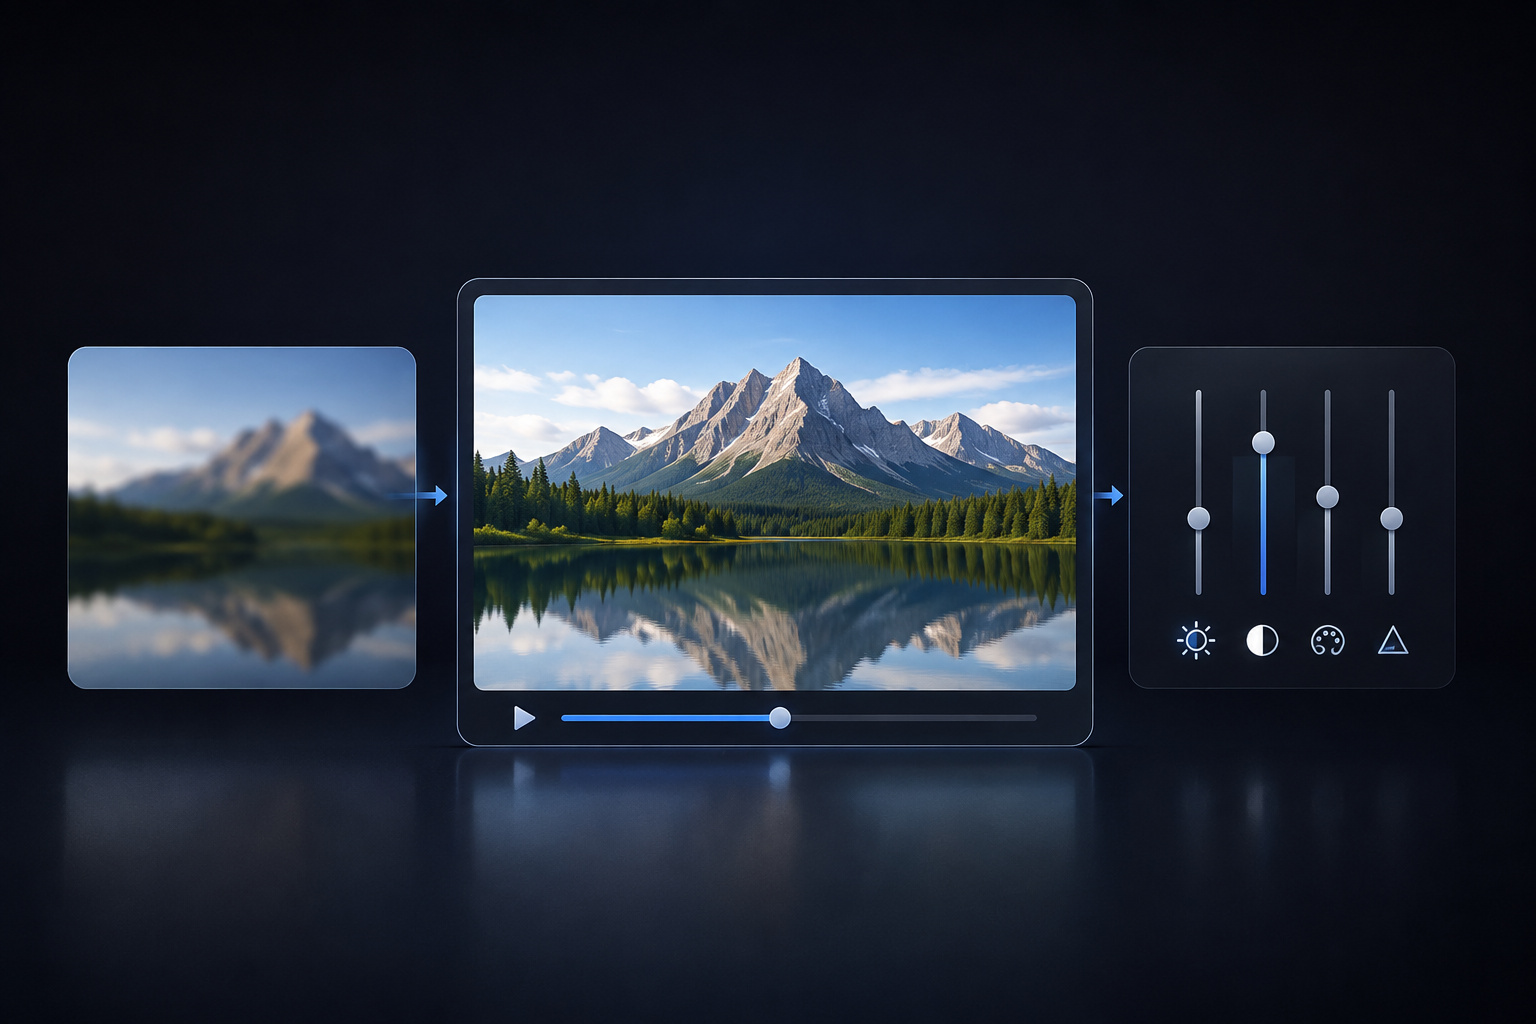
If a video looks a little soft after you shoot it, resolution may not be the real problem. Sometimes the scene is simply too dark, so the subject’s face loses contrast and fine detail. In other cases, handheld shake makes even a 1080p clip feel unstable. The footage may also start out perfectly usable, then lose definition after editing, exporting, and another round of compression on social media. Hair turns mushy, text gets harder to read, and background texture starts to fade.
That’s why improving video quality takes more than pushing the Sharpen slider higher. Cropping, exposure, color, stabilization, noise reduction, AI enhancement, and export settings all play a part in how the final video looks.
A better approach is to figure out what is actually wrong with the footage first, then fix those issues one by one. Trying to max out every enhancement setting at once usually creates more problems than it solves.
What Makes a Video Look Low Quality?
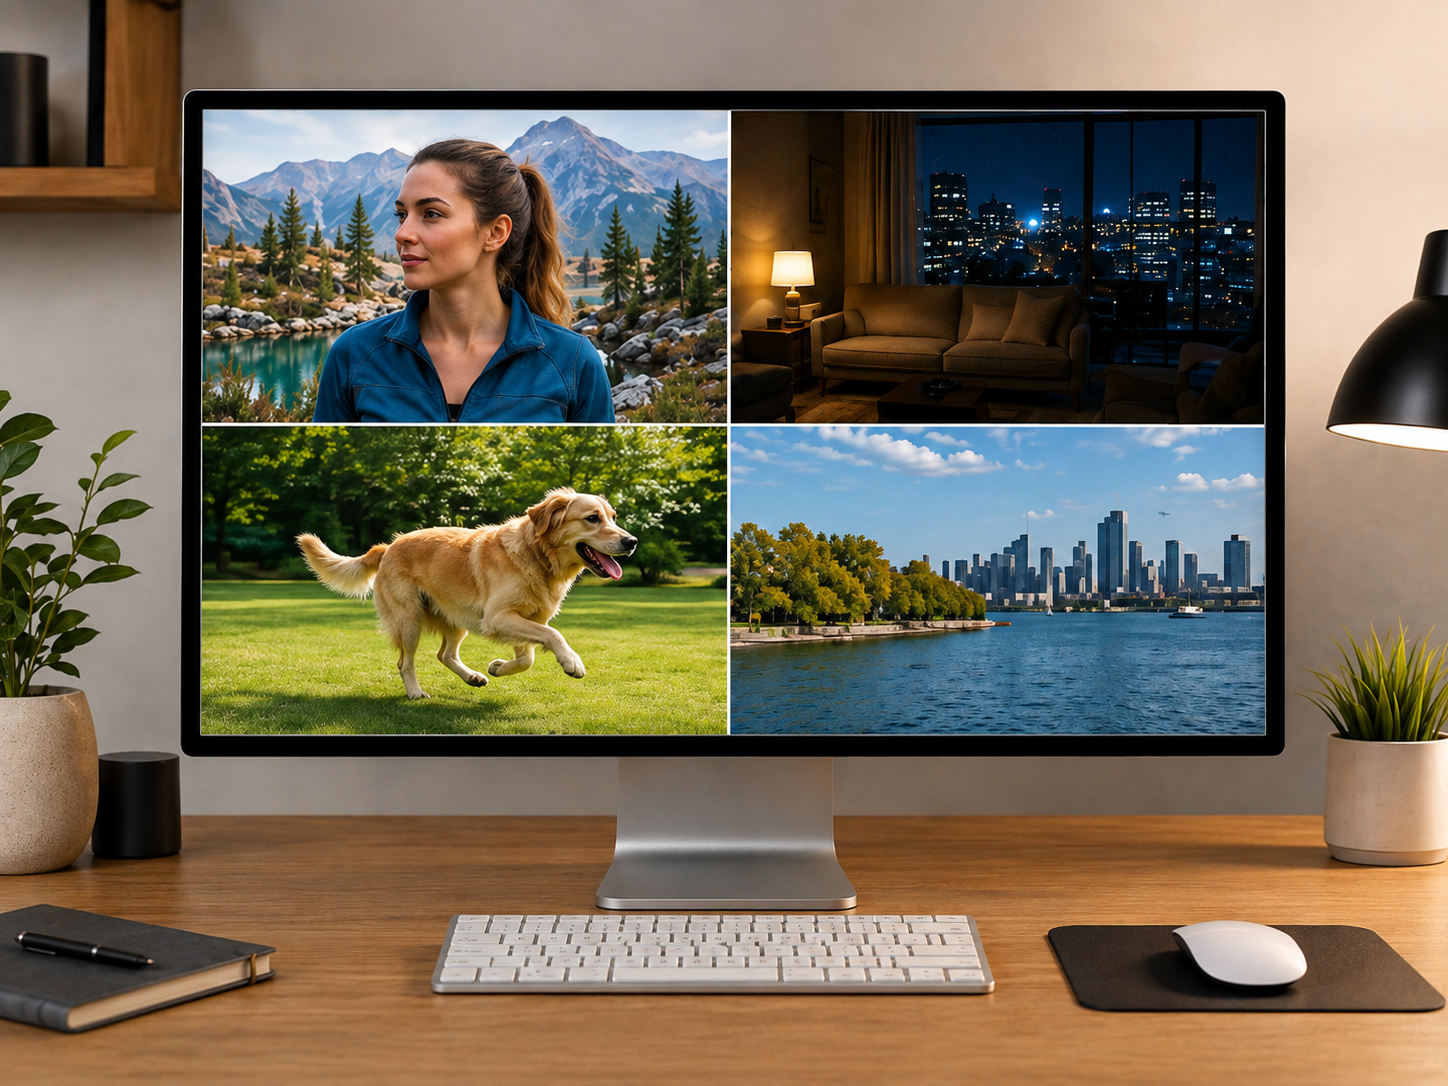
Poor video quality usually comes from a mix of focus, lighting, motion, compression, and resolution. Missed focus is one of the hardest problems to fix because the original detail was never captured clearly. Low light can add grain and color noise, while camera shake or fast movement may introduce jitter and motion blur.
Post-production can also reduce UGC video quality, especially after repeated exports, messaging-app compression, or social-platform re-encoding. Fine textures such as hair, grass, and dark areas are often the first to lose detail.
Resolution matters, but it is only one factor. A clean, properly focused 720p clip can still look better than a heavily compressed 1080p file. Before editing, identify whether the main problem is blur, low light, motion, compression, or low resolution. Once the cause is clear, choosing the right fix becomes much easier.
How to Edit Videos to Make the Quality Better
There is no need to throw every editing tool at a low-quality video. Fix the obvious problems first, then decide whether the footage actually needs denoising, sharpening, or AI enhancement.
Step 1: Trim and Reframe the Footage
Cut anything that does not need to be there, especially shaky openings, awkward endings, or empty shots. Those few seconds may have nothing to do with resolution, but they can make an otherwise clean video feel unfinished.
Cropping can help when the subject looks too small in the frame. Just leave yourself some room. Push too far into a 1080p clip and faces, labels, or small text can lose sharpness surprisingly quickly.
Vertical video is a common trouble spot. Turning a 16:9 shot into 9:16 already removes a large part of the original frame, so heavy cropping on top of that can make the quality drop even faster. If you know the shot needs a close crop, it may be worth pairing the crop with upscaling instead of zooming in as far as possible.
Step 2: Adjust Exposure and Color
A dark clip usually needs exposure work before it needs sharpening. If underexposure is the main problem, start by learning how to make a dark video brighter before pushing clarity settings too far.
Bring the image back into a usable range first, especially around faces and shadow detail.
Do not push the shadows too hard, though. Brightening a noisy area often makes the grain much easier to see. Blown highlights have the opposite problem: once the detail is gone, lowering brightness will not bring it back.
Color correction can stay simple. Fix the white balance, then make smaller changes to contrast or saturation if the clip still needs them. If indoor footage has a yellow cast, for example, correcting the temperature may do more than adding a stronger filter.
The aim is not to make every color look louder. Skin, white, and product colors should still look believable.
Step 3: Stabilize and Reduce Noise
Small handheld shakes are usually worth fixing. Most stabilization tools smooth the movement by cropping and repositioning the frame, which works well until the correction becomes too aggressive.
That is when you start seeing warped edges or a crop that is much tighter than expected.
Noise reduction has the same problem. A light pass of video denoising can clean up grain in darker areas, while too much can wipe out skin texture, hair, and fabric detail. Cleaner is not always better.
Check a short section while it is playing. Faces and background texture often look fine in a paused frame but start to look waxy or unstable once the subject moves.
Step 4: Enhance Video Quality With AI
AI becomes more useful when the footage has several problems at the same time. An older phone clip might be low resolution, slightly soft, and noisy in the shadows. Sharpening only one of those issues can easily make another one worse.
For footage like this, RoboNeo AI Enhancer gives you a browser-based workflow for video enhancement without setting up a separate desktop process.
Its AI Video Enhancer can work on clarity, noise, and resolution within the same workflow. Depending on the source, the final video can be prepared for 2K, 4K, or AI 4K+ output.Do not judge the result from a small preview. Open it at 100% and look at the parts AI tends to struggle with:
Does skin still look natural?
Did any text pick up strange strokes?
Do hair and fine textures stay stable during movement?
A sharper result is useful only if it still looks believable. AI can estimate missing detail, but it cannot know exactly what the camera failed to record.
Step 5: Improve Audio and Pacing
Picture quality is only part of what makes a video feel polished. Wind, room noise, or a loud air conditioner can distract viewers even when the image looks great.
An AI Audio Denoiser can reduce background noise such as wind, hum, and other unwanted sounds, but there is no reason to remove every trace of it. Heavy cleanup can make a voice sound thin or artificial.
Then look at the edit itself. Cut repeated lines, long pauses, and shots that have already made their point. A product demo can move fairly quickly; a tutorial usually needs more breathing room so viewers can follow captions and on-screen actions.
When the picture, sound, and pacing all feel right, the video usually looks more professional even before you start thinking about resolution numbers.
What Are the Best Export Settings for Better Video Quality?
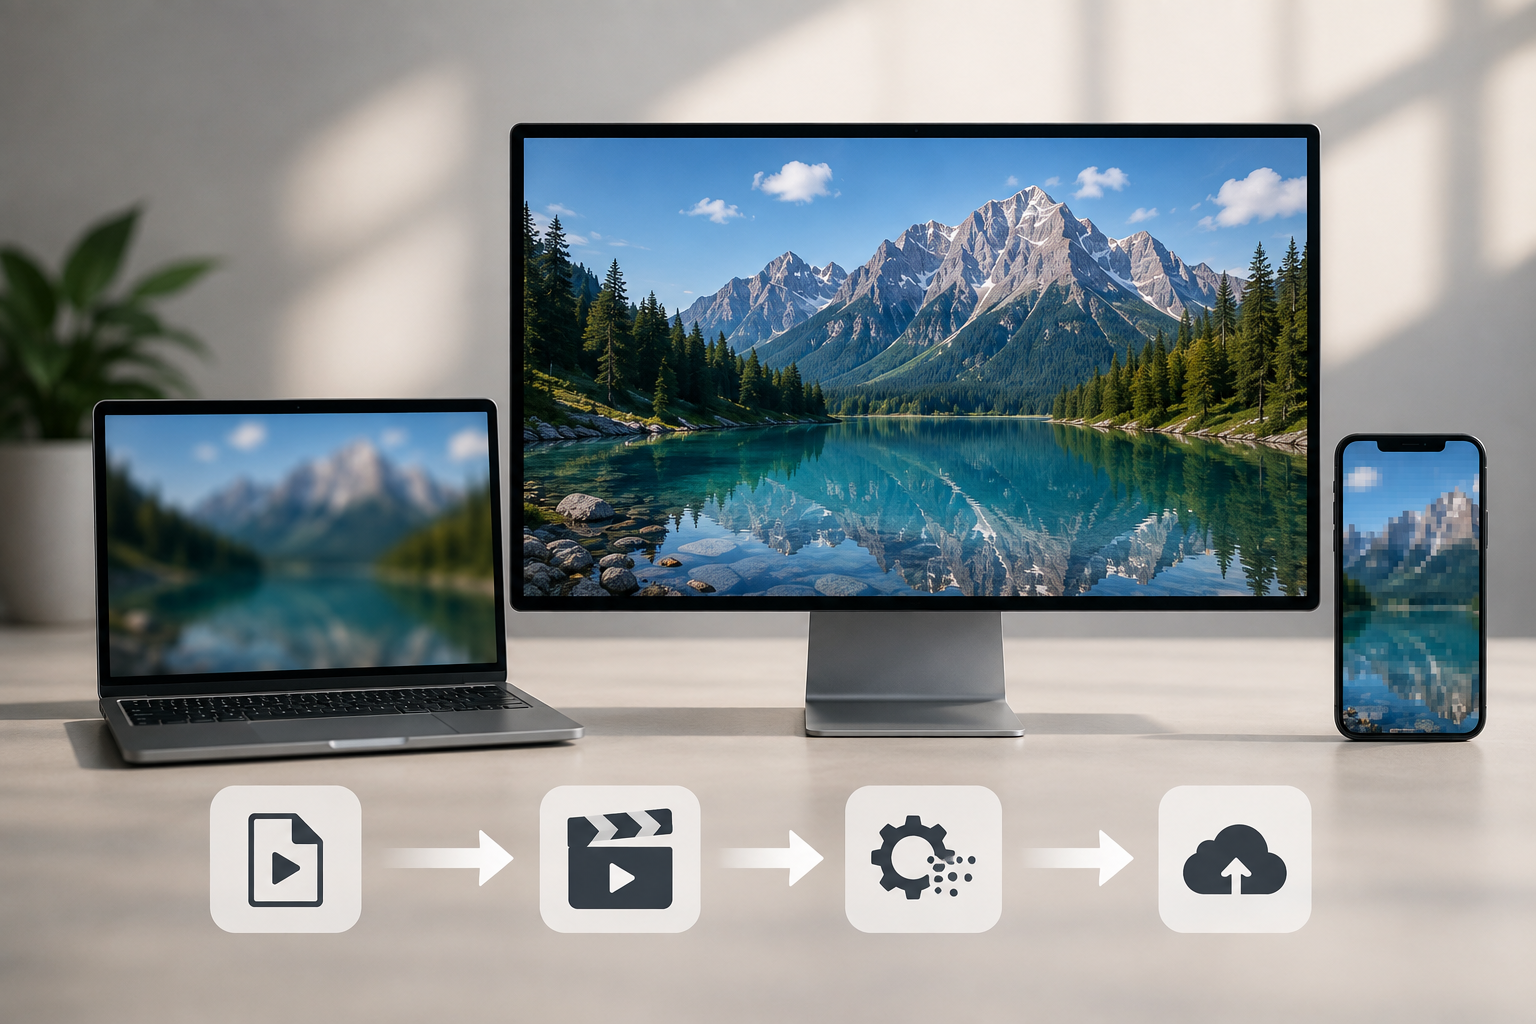
A video can look sharp in the editing timeline but lose detail after export or upload. This usually happens when too much image data is removed during compression or when a platform re-encodes the file.
Choose the Right Bitrate and Codec
Resolution controls frame size, while bitrate affects how much detail each second of video can preserve. A bitrate that is too low can make motion, hair, water, and other detailed areas look blocky or smeared.
There is no need to push bitrate excessively high either, since that may only increase file size with little visible improvement.
For most websites and social platforms, H.264 remains the safest option because of its broad compatibility. H.265/HEVC can achieve similar quality with smaller files, but support is less consistent on older devices. When possible, start with the platform's recommended export settings and adjust from there.
Minimize Re-Exports and Compression
Every additional export can remove more image data, especially if the video is repeatedly compressed at a low bitrate. Keep a high-quality master file and make new versions from that source instead of re-exporting an already compressed copy. This helps preserve detail when creating different versions for social media, websites, or other platforms
Check the Final Video on Different Screens
Your editing preview screen doesn't accurately represent the final viewing experience.
After exporting, play the video back on both your phone and computer at a minimum. If your primary platform is TV or large screens, test it on a similar setup.
Mobile: Watch out for subtitle sizing and crushed shadows.
Laptop Fullscreen: Focus on edge clarity around subjects and text.
TV/Big Screens: Look for noise, artifacts, and low-resolution footage blown up.
Always watch the video all the way through instead of just previewing the opening. A/V sync drift, color shifts after transitions, or compression issues in the later half can easily go unnoticed without a complete QA pass.
Which Video Problems Cannot Be Fully Fixed?
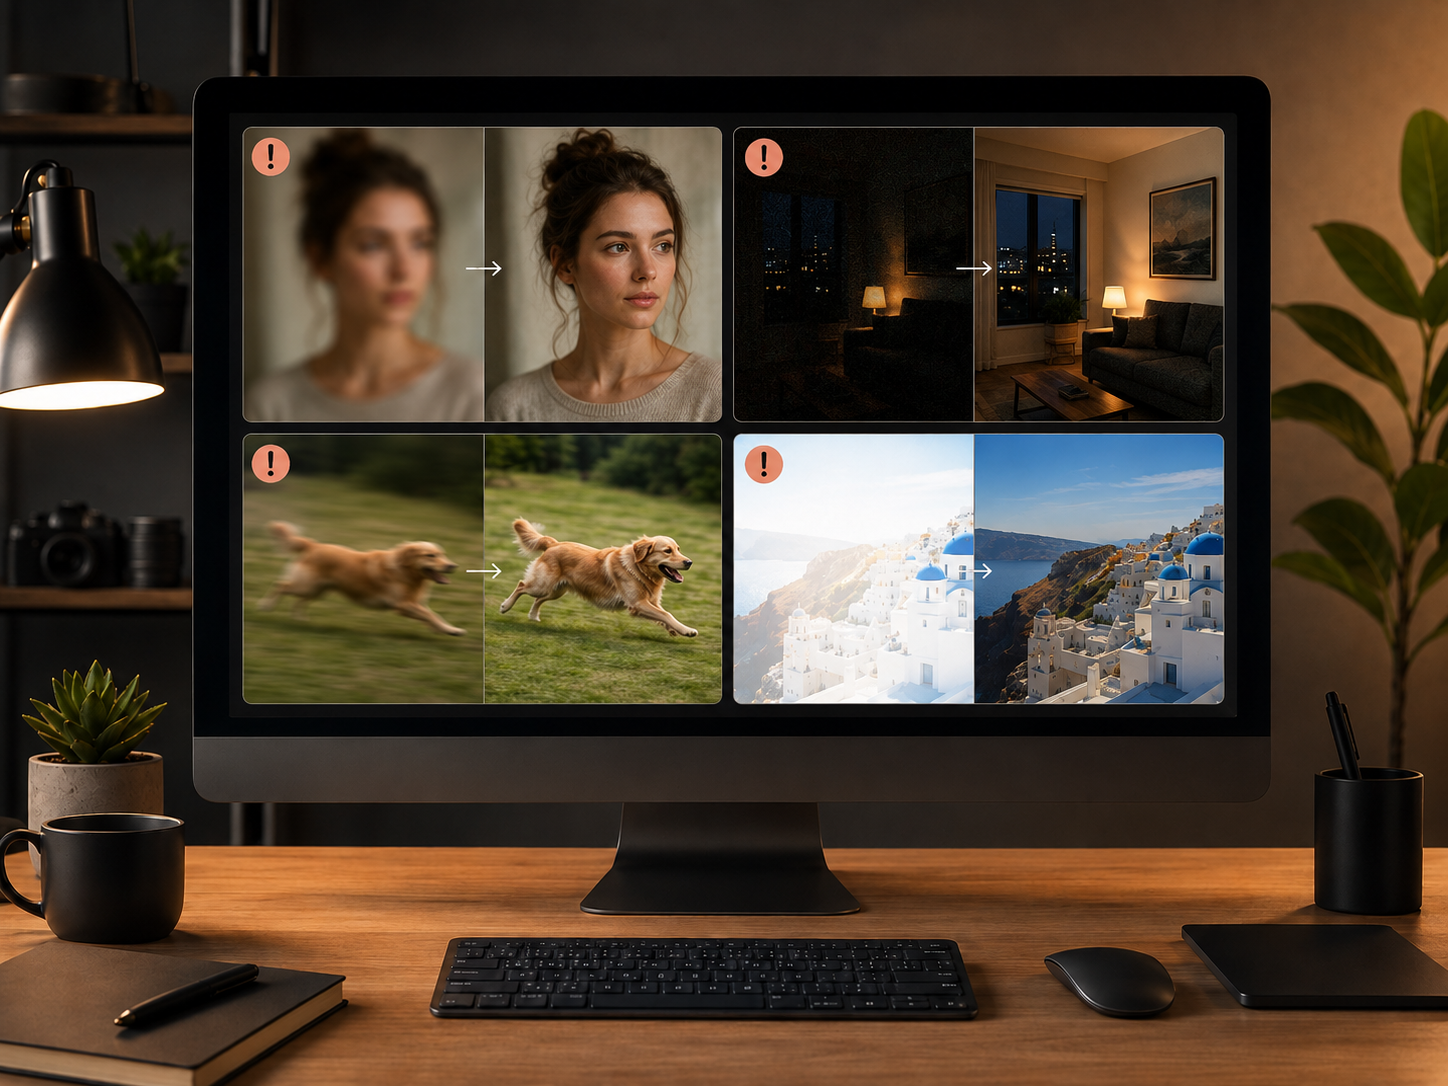
Post-production can improve a lot, but it cannot restore detail that was never captured. When the source is severely damaged, the goal should be a cleaner, more watchable result rather than a perfect reconstruction.
Severe Focus and Exposure Problems
If the camera focused on the wrong area, sharpening may make edges look crisper, but it cannot recover real facial or product detail that was missing from the original.
Exposure has similar limits. Mild underexposure can often be improved, but severely crushed shadows or blown-out highlights contain little usable information to recover.
Lost Detail and Compression Damage
Mild noise, blockiness, and soft edges can often be reduced with denoising, artifact removal, or AI enhancement. Repeated low-bitrate compression, however, may permanently remove fine detail.
This is especially important with text, license plates, or documents. AI may make blurry shapes look clearer, but reconstructed detail is not always accurate.
Keep the original file whenever possible, and use the enhanced version for viewing, editing, or publishing.
FAQ
Is Video Quality Enhancement Worth It?
If your video has minor blur, noise, low lighting, or low resolution, enhancement tools can definitely deliver real value. But if the footage is severely out of focus or missing detail entirely, there’s only so much they can fix.
Can You Upscale a 480p Video to 1080p?
Yes. You can upscale 480p to 1080p and use enhancement tools to make it look much cleaner on larger screens. However, bumping the output size to 1080p won't magically give you the authentic fine details of video shot natively in 1080p.
What Is the Best Format for High-Quality Video?
There’s no one-size-fits-all format. H.264 strikes a great balance between video quality, file size, and universal compatibility. H.265/HEVC offers better compression efficiency, but you'll want to make sure your target platform and devices support it first.
How Can I Improve Video Quality on My Phone?
Start right at the source: clean your lens, shoot with plenty of light, keep the phone steady, and nail your focus. For existing footage, you can touch it up in post using exposure tweaks, color adjustment, stabilization, noise reduction, and AI enhancement.
Why Does My Video Lose Quality After Exporting?
The usual culprits are a bitrate that's set too low, wrong codec settings, re-exporting multiple times, or social media platforms re-compressing your file upon upload. Always start with high-quality source footage and match your bitrate and codec to your target resolution.
You May Be Interested
6 Best Ai Character Generator in 2026: Tested & Compared
3 Best Background Noise Removal Apps for 2026
Best TikTok Script Generator in 2026

RoboNeo x Happy Horse 1.0: The Epic Combo Is Here

Micro Expression Prompt: How to Create Realistic AI Facial Expressions