How to Create a Whiteboard Animation: From Script to Final Video
 RoboNeo TeamAugust 14, 2026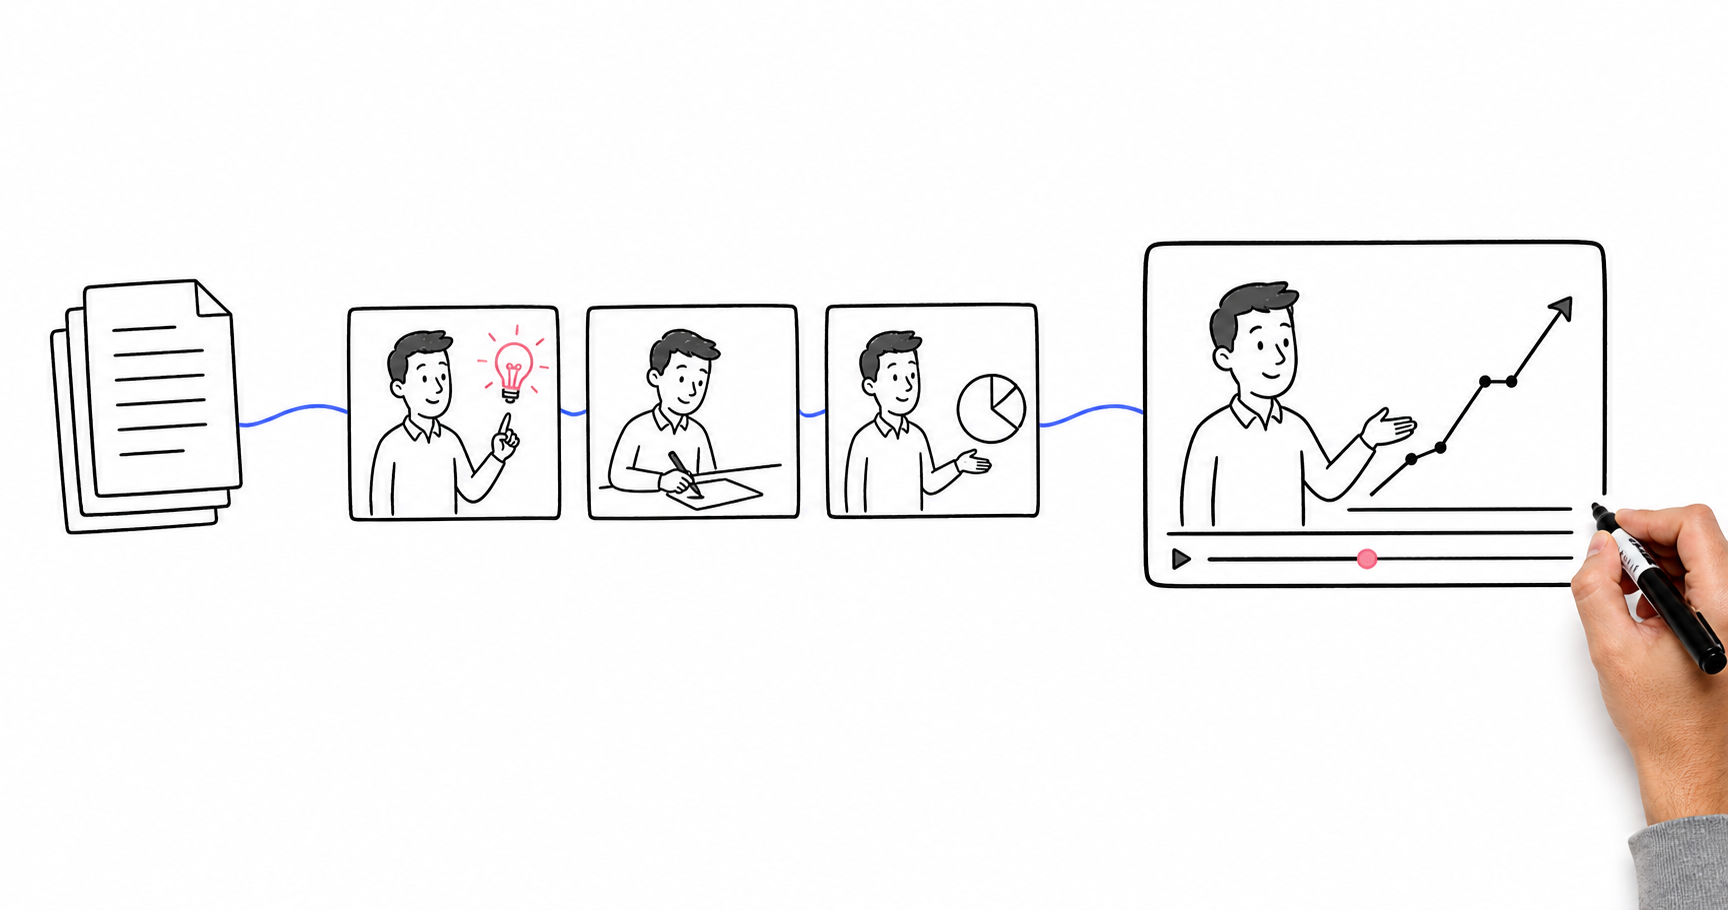
Whiteboard animation combines simple drawings, text, motion, and narration to explain an idea clearly. This guide covers how to create a whiteboard animation, from writing the script and planning each scene to choosing an AI-assisted or manual workflow, reviewing the result, and exporting the final video.
What You Need to Make a Whiteboard Animation
Before creating any visuals, define the basic requirements of the video:
Target audience
Main message
Desired viewer action
Approximate length
Aspect ratio
Publishing platform
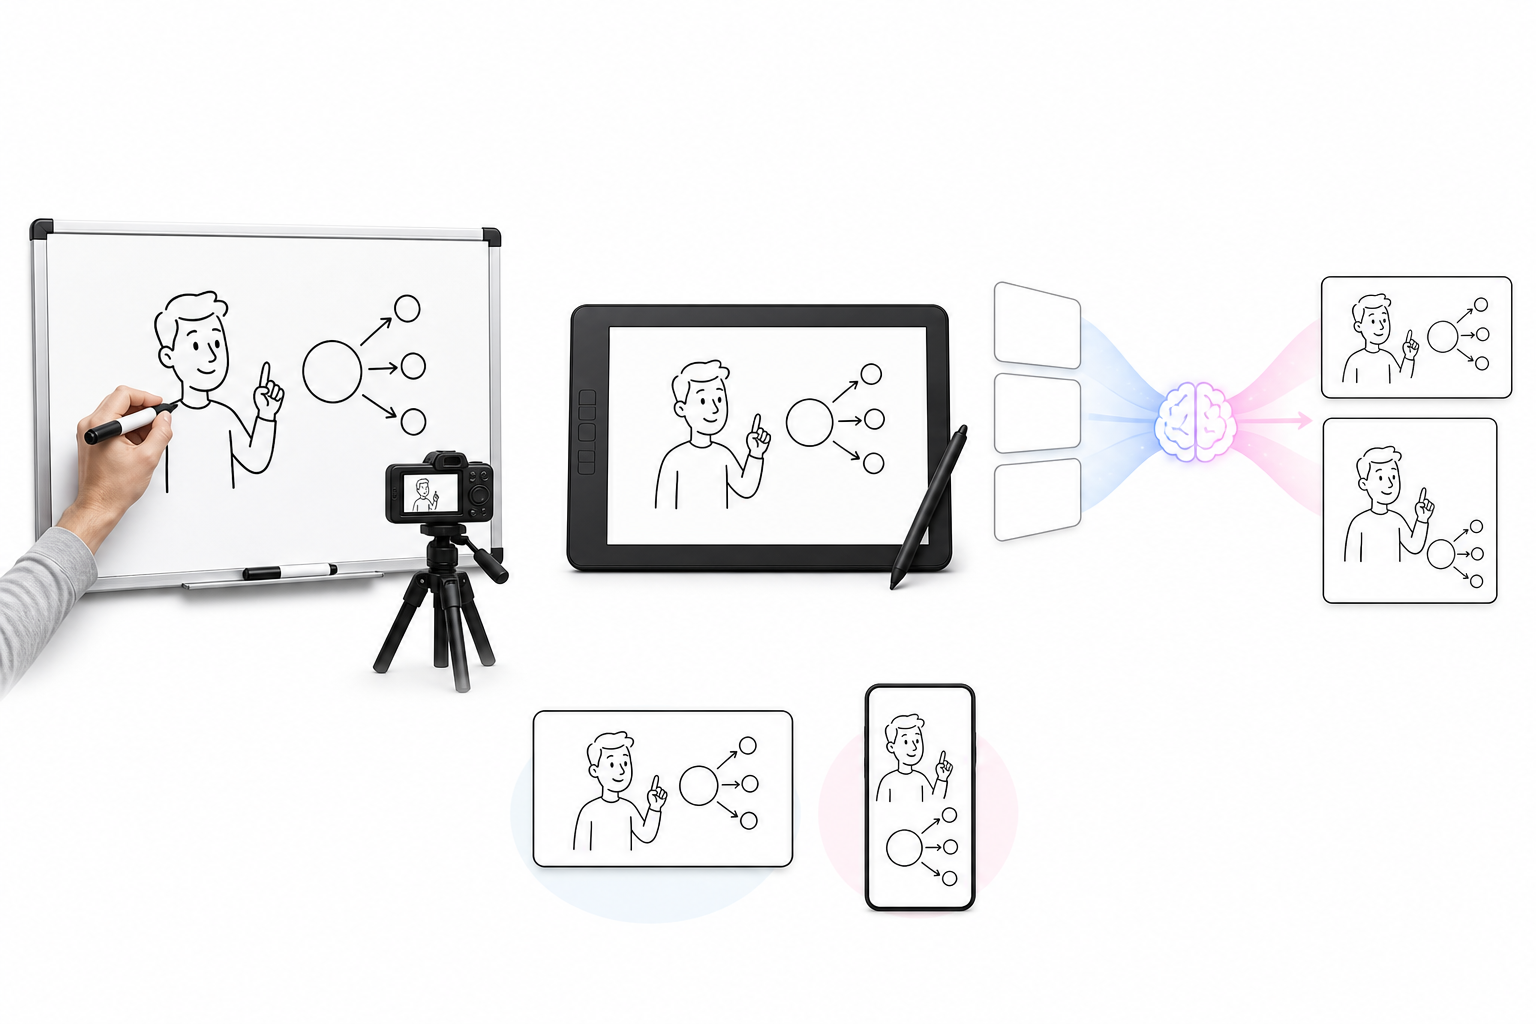
These decisions influence the script and visual layout. A horizontal 16:9 video works well for YouTube, presentations, and online courses. Vertical 9:16 content is better suited to TikTok, Instagram Reels, and YouTube Shorts, where drawings and labels must remain readable on a phone.
You also need to choose a production method. A traditional setup involves drawing on a physical whiteboard while recording with a camera. Digital animation software provides ready-made illustrations and simulated drawing effects. AI-assisted platforms can help create visual scenes and supporting audio from scripts or prompts.
The right approach depends on your schedule, budget, drawing ability, and desired level of control. A teacher recording a short lesson may only need a whiteboard and phone. A marketing team producing regular branded content may prefer digital software, while a creator working under a tight deadline may benefit from an AI-assisted workflow.
How to Make a Whiteboard Animation in 6 Steps
The script and storyboard come first in every workflow. After that, the production process changes depending on whether the video is created manually or with AI assistance.
Step 1: Define Your Goal and Write the Script
Begin with one clear goal. Decide what the video should explain, who needs the information, and what viewers should do after watching.
A cybersecurity training video could teach employees how to identify and report phishing emails. This is more focused than a general topic such as email security and makes it easier to decide which information belongs in the script.
A practical script structure includes:
Hook: Introduce the situation and capture attention.
Problem: Explain why the issue matters.
Explanation: Show how the process or concept works.
Solution: Present the recommended response.
Call to action: Tell viewers what to do next.
Use short, conversational sentences. Reading the script aloud will reveal stiff wording, excessive detail, and transitions that sound unnatural. A clear hook, logical main points, and a focused call to action are also essential when you write a video script for animation.
A narration rate of approximately 130 to 160 English words per minute is a useful starting point. A 300-word script may produce a video close to two minutes long. Technical topics and detailed drawings often require slower narration, while a simple promotional message can move faster.
Step 2: Turn the Script Into a Storyboard
Divide the script into scenes, with each scene covering one main idea. Then select a visual that helps explain the corresponding narration.
A retirement-planning video might begin with a paycheck and calendar, continue with three savings accounts, and finish with a line chart showing long-term growth. The images support the explanation without repeating the voiceover word for word.
Characters, objects, keywords, arrows, diagrams, timelines, and charts can all help communicate information. Rough sketches are enough at this stage. The storyboard only needs to show what appears in each scene, when it appears, and how the scene connects to the next point. Adding notes for voiceover, captions, and movement at this stage will also make it easier to turn the script into an AI video later.
Balance the amount of narration with the visual activity. A long explanation accompanied by one small icon may feel static. Several detailed diagrams appearing during a single sentence will be difficult to follow. Simplify crowded scenes or divide them into shorter sections before production begins.
Step 3: Choose an AI-Assisted or Manual Workflow
Once the storyboard is complete, select one production method and follow it consistently.
Option 1: Create the Animation With AI Assistance
An AI-assisted workflow can reduce manual drawing and complex timeline editing. With RoboNeo, creators can develop video content through written instructions, making it easier to move from a script and storyboard to individual visual scenes.
Working scene by scene generally provides greater control than requesting an entire video at once. Each prompt can describe the subject, composition, whiteboard illustration style, background, movement, and approximate duration.
A workplace safety scene might show a black-line drawing of an employee noticing a wet floor, followed by a warning sign appearing in one accent color. The next scene can retain the same character and style while showing the employee reporting the hazard.
Repeat the same character descriptions, line style, colors, and background requirements throughout the prompts. This helps prevent noticeable visual changes between scenes. Review each result before continuing, particularly when it contains text, numbers, or technical information.
Option 2: Create the Animation Manually
A physical whiteboard production requires dark markers, a clean drawing surface, stable camera placement, and even lighting. A short test recording can reveal glare, hand shadows, or areas blocked by the artist.
Digital whiteboard software offers a different manual approach. Built-in characters, icons, text, and diagrams can be arranged into scenes and given simulated drawing effects. Custom illustrations may also be imported when the asset library does not fit the subject or brand.
Manual production usually offers more precise control over timing and visual placement, but it requires additional setup and editing. Organizing the illustrations and audio by scene will make the project easier to manage.
Step 4: Assemble the Scenes and Add Audio
The post-production process depends on the workflow selected in Step 3.
In an AI-assisted workflow, follow-up instructions can refine scenes, correct inconsistencies, and change their order. A text-to-video workflow can bring the visuals, voiceover, subtitles, and motion together based on the written instructions for each scene. Check that drawings appear at the right moment, transitions feel natural, and subtitles do not cover important visuals.
In a manual workflow, import the recorded or digitally created scenes into editing software. Add the voiceover first, then align each drawing with the relevant sentence. Subtitles should remain on screen long enough to read, while background music must stay quiet enough for the narration to remain clear.
Creators learning how to create whiteboard videos should pay particular attention to:
Incorrect or misspelled on-screen text
Characters that change between scenes
Drawing effects that jump unexpectedly
Abrupt transitions
Subtitles or logos covering important content
AI-generated materials also need human review. Names, numbers, technical terms, product details, and brand claims should be verified. A financial animation may look professional while displaying an incorrect interest rate.
Step 5: Review the Complete Animation
Watch the entire video without pausing. A continuous review makes rushed, repetitive, or disconnected sections easier to identify.
The opening should introduce the subject quickly. Narration, drawings, and subtitles need to remain synchronized, and every important visual should stay on screen long enough to be understood.
Review the video on a phone as well as a larger screen. Detailed diagrams and small labels that look clear on a desktop may become unreadable on mobile. Controls and captions used by social platforms can also cover content near the top or bottom of a vertical video.
Ask someone unfamiliar with the project to watch the animation once and explain its main message. If that person misses the key point or does not understand the intended next action, revise the script, scene order, or pacing.
Step 6: Export and Publish the Final Video
Match the export settings to the intended platform. Confirm the resolution, aspect ratio, file format, and maximum file size before producing the final version.
An online course lesson may use horizontal 1080p video. A social media animation will often need a vertical frame, larger text, and a faster introduction.
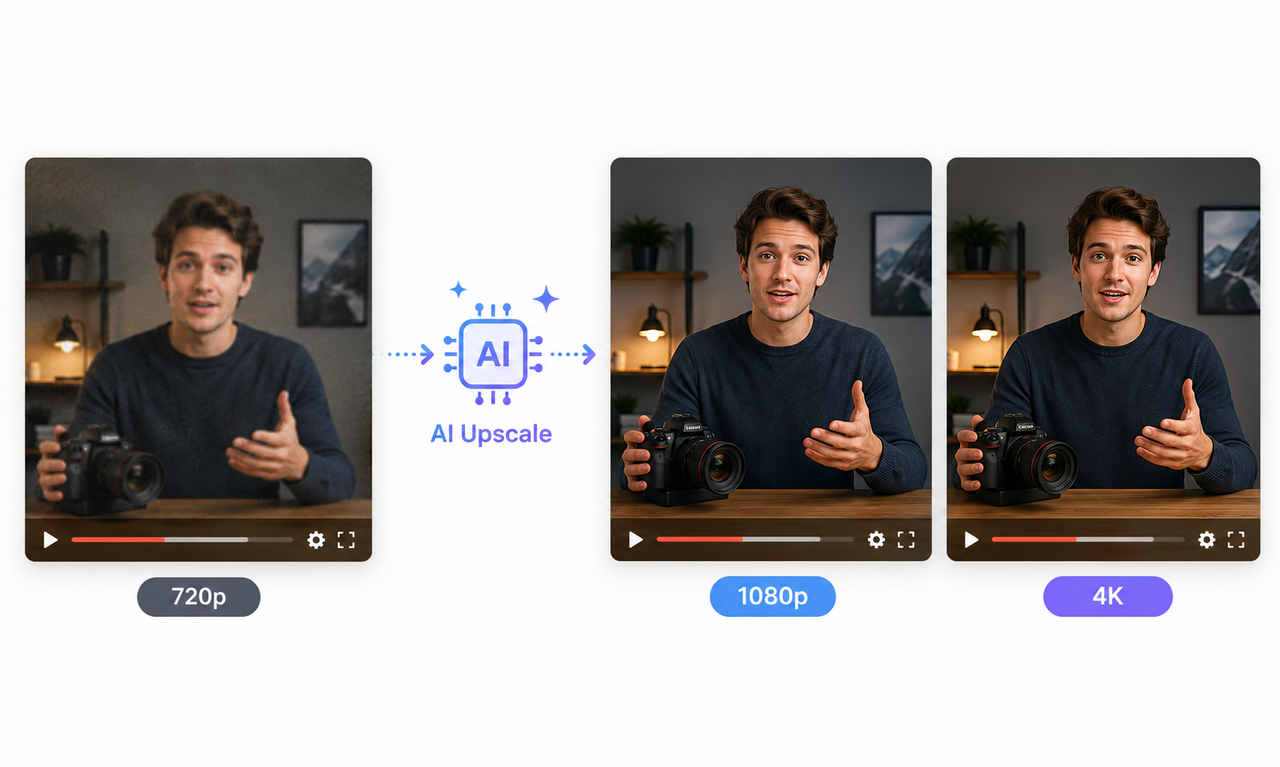
Play the exported file before publishing it. Compression can reduce image clarity, change audio levels, or affect subtitle timing. If the exported video looks soft or pixelated, enhancing the video quality may improve the clarity of lines, text, and other visual details. Check the opening frame, final call to action, contact information, and any on-screen links.
Viewer behavior can guide future improvements. A sharp audience drop may show that one section is too long or complicated. Repeated viewing around a diagram could mean the information is useful but needs more screen time.
How to Make Your Whiteboard Animation More Engaging
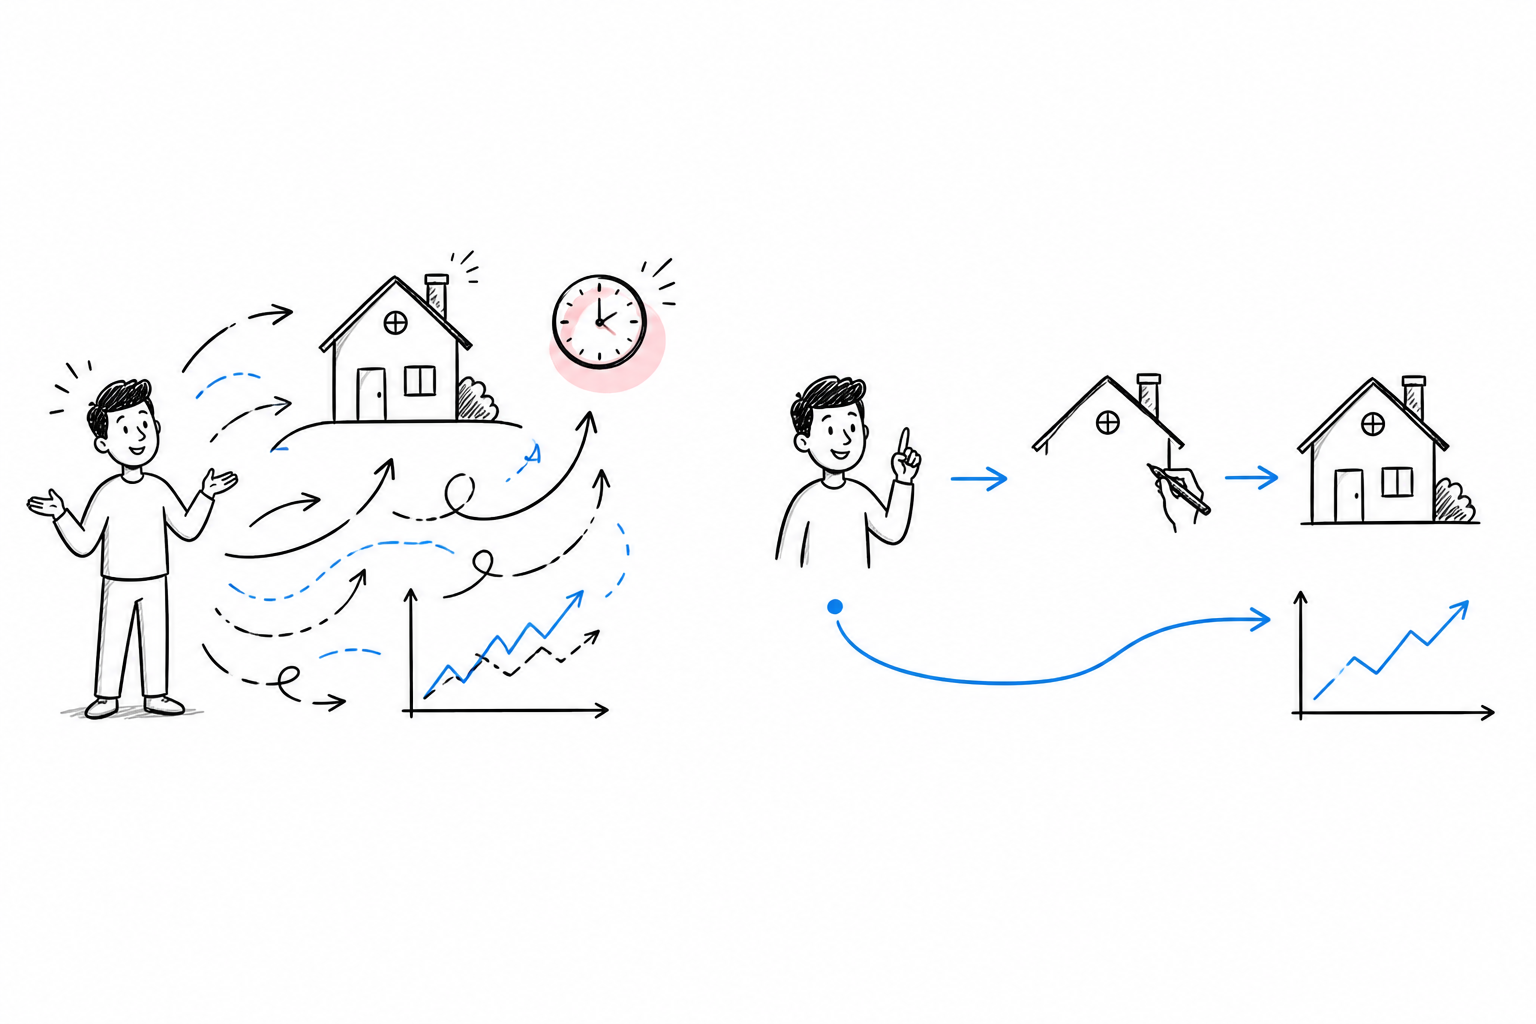
A strong whiteboard animation depends on clarity and pacing rather than constant visual effects.
Focus on One Main Idea per Scene
Each scene should explain one stage or answer one question. A mortgage video can separate preapproval, house hunting, inspection, and closing instead of placing the entire process on one crowded board. This gives viewers a clear path through the information.
Match the Visuals to the Voiceover
Visuals should clarify the narration rather than copy it. When a voiceover describes a package moving through three distribution centers, a route map with labeled checkpoints communicates the process more effectively than a paragraph of text.
Reveal each element when it becomes relevant. Showing a complete diagram before the narration reaches its individual parts can distract viewers.
Keep the Visual Style Consistent
Line weight, colors, characters, icons, and typography should remain consistent. Sudden changes between marker drawings, realistic photographs, and detailed 3D graphics can make the video feel disconnected.
Black outlines, one or two accent colors, and a consistent font are often enough. AI prompts should repeat the same style instructions, while manual projects can use a small set of approved visual assets.
Use Motion With a Clear Purpose
Motion should reveal information, demonstrate change, or guide attention. An arrow can show an order moving from a customer to a warehouse, while a rising line can represent sales growth.
Constant zooming, bouncing text, and decorative transitions create activity without improving understanding. When everything moves at once, viewers may not know where to look.
FAQ
How long should a whiteboard animation be?
Most focused whiteboard animations last between one and three minutes. Social media videos may run for 30 to 60 seconds, while training content can be longer when the topic contains several stages. The video should be long enough to explain the message clearly without rushing the narration or drawings.
Can I make a whiteboard animation without drawing skills?
Yes. Digital animation software provides ready-made illustrations and drawing effects, while AI-assisted tools can help create scenes from scripts or prompts. Clear storytelling, logical scene planning, and appropriate pacing matter more than advanced drawing ability.
How do you make a whiteboard animation look hand-drawn?
Use slightly imperfect lines, a limited color palette, and drawing movements that follow the natural stroke order of each object. A hand or marker overlay can reinforce the effect when its movement matches the appearing lines. Perfect shapes and instant object reveals usually look less natural.
Can I use copyrighted images or music in a whiteboard video?
Only when you own the material, have permission, or hold a license covering the intended use. An asset licensed for personal projects may not allow commercial advertising or client work. Check the license for every image, font, music track, and sound effect, and retain the relevant permission records.
You May Be Interested
4K vs 1080p: Should You Upscale 1080p Video to 4K?
6 Best Ai Character Generator in 2026: Tested & Compared
3 Best Background Noise Removal Apps for 2026
Best YouTube Script Generator: From Script Writing to Video Creation
How to Upscale a Video to 1080p or 4K with AI (2026 Guide)