How to Make a YouTube Gaming Video: A Simple Guide for Beginners
 RoboNeo TeamAugust 14, 2026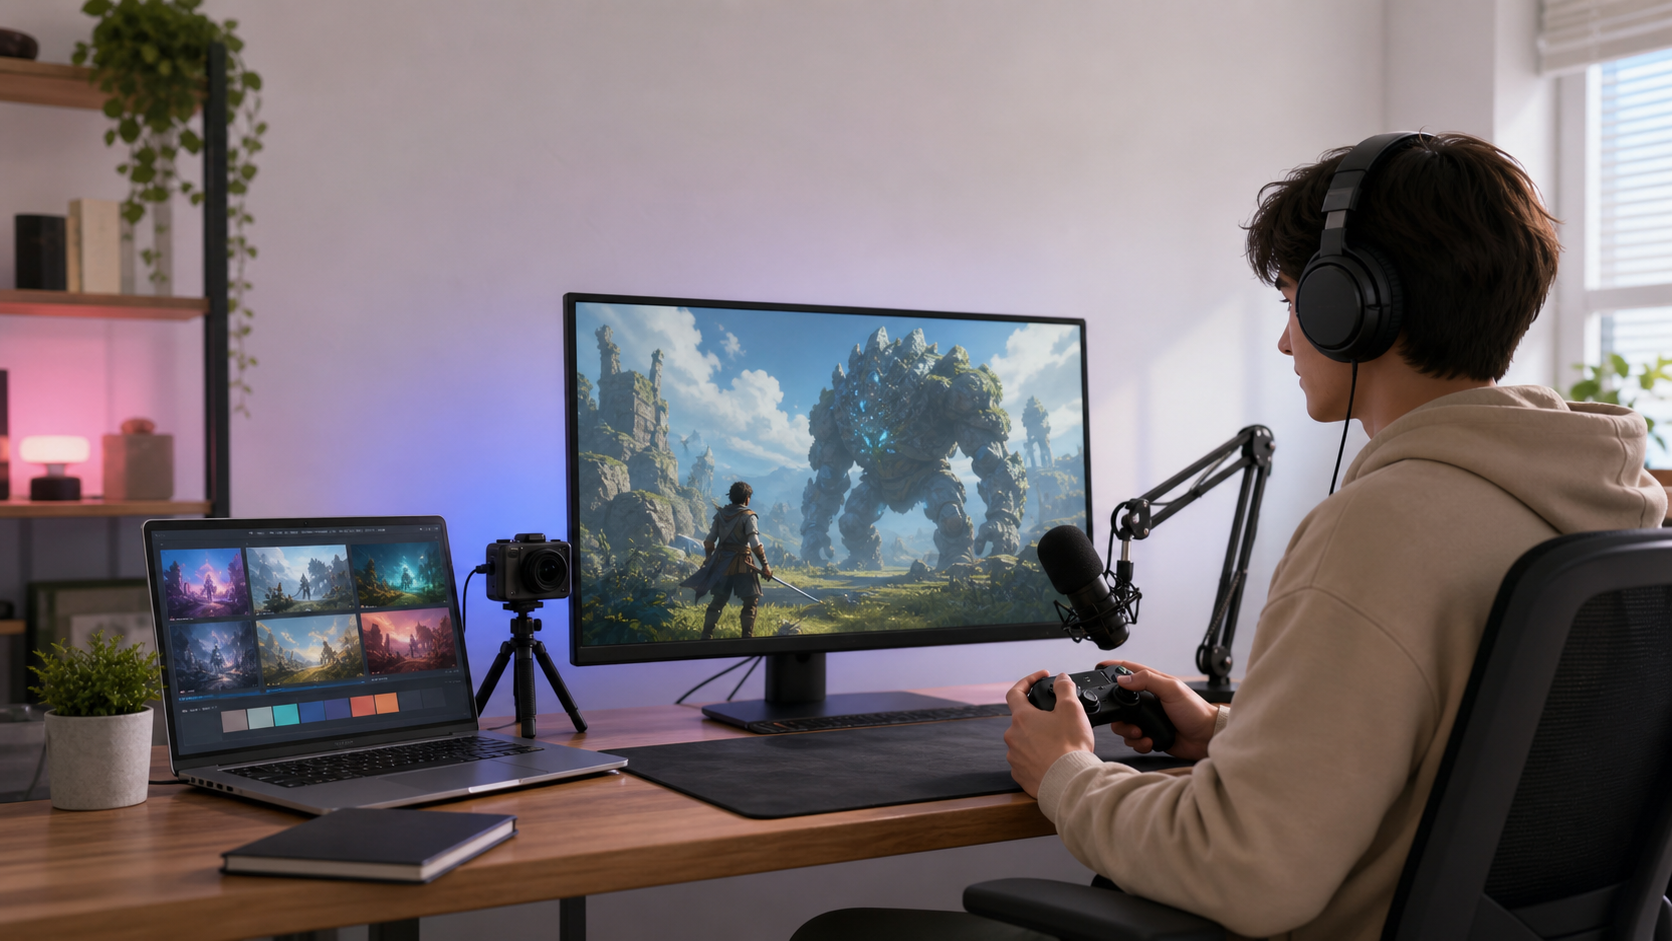
Making a gaming video involves more than recording your screen and uploading the result. A successful video needs a clear idea, engaging footage, useful commentary, and focused editing. This guide explains how to make a gaming YouTube video, from choosing a suitable format to reviewing the finished file before upload.
Choose a Gaming Video Idea Before You Start
A clear concept gives the recording session a purpose and makes editing much easier. Before opening a game or writing a script, decide what viewers should gain from the finished video.
Pick a Game and Define Your Target Viewer
Start with a game you understand or genuinely want to explore. Familiarity makes it easier to identify entertaining moments, explain game mechanics, and respond naturally when something unexpected happens.
Your target viewer matters just as much as the game. A beginner searching for a Minecraft building guide needs different information from an experienced player watching an Elden Ring boss challenge. Consider what viewers already know, what they want to accomplish, and why they might choose your video over another one.
A useful concept connects the game, audience, and purpose in one sentence: “This video helps new Fortnite players survive their first few matches without relying on complicated building techniques.”
Choose a Format That Fits Your Skills
Different gaming video formats require different levels of preparation, recording, and editing. Common options include:
Let’s Play videos centered on personality and real-time reactions
Walkthroughs that help viewers complete missions or solve puzzles
Challenges built around a specific rule, restriction, or goal
Highlight videos featuring the funniest or most impressive moments
Reviews that assess gameplay, graphics, story, value, and performance
Choose a manageable format for your first project. A tightly edited five-minute guide is often easier to complete than a 40-minute Let’s Play episode that requires continuous commentary.
Plan the Hook, Key Moments, and Ending
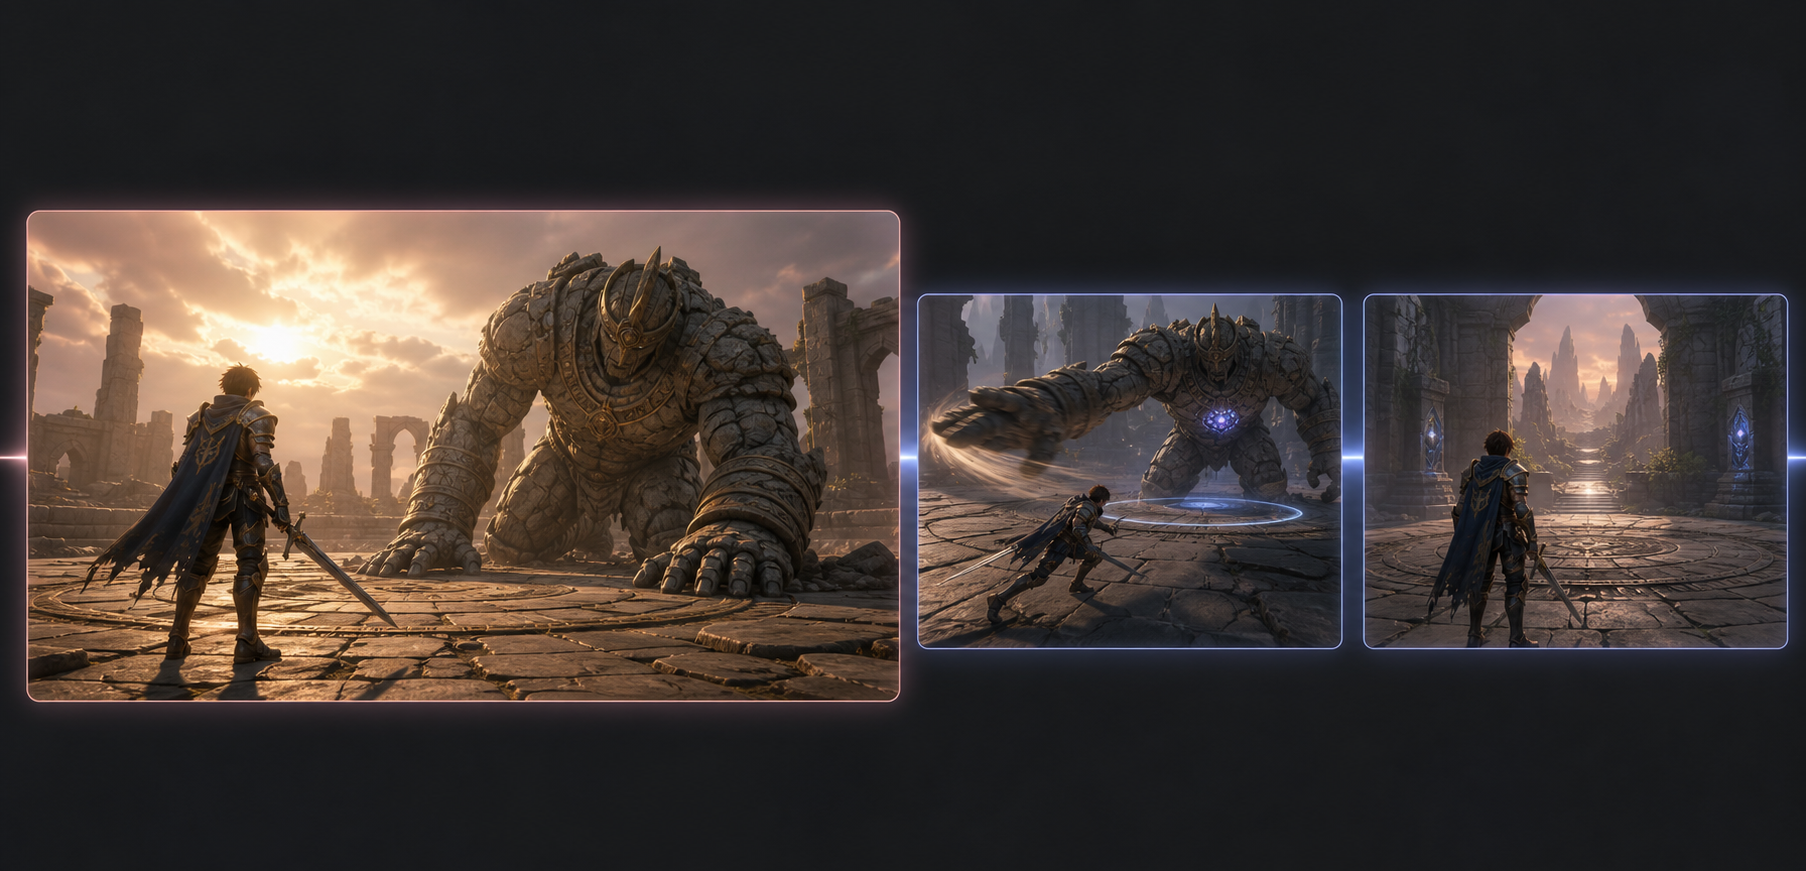
The opening should quickly tell viewers what they are about to see. Instead of spending 30 seconds introducing your channel, begin with the main challenge, result, or question.
A Stardew Valley video could open with the finished farm before showing how it was built. A difficult boss guide might begin with the moment the boss is defeated, followed by a short promise: “Here is the strategy that finally worked after nine failed attempts.”
Write down the moments the video must include, then plan an ending that summarizes the result and gives viewers a relevant next step. If turning those notes into a clear structure feels difficult, a comparison of the best YouTube script generators can help you choose a tool that fits your format and production process.
How to Make a Gaming Video for YouTube Step by Step
The production process will vary depending on whether you are recording real gameplay, creating an original game-inspired story, or combining recorded and AI-generated footage.
Step 1: Plan the Video and Write a Script
Decide whether the video will be a Let’s Play, walkthrough, challenge, highlight compilation, or game review. From there, build a simple outline covering the opening hook, main sections, and closing call to action.
RoboNeo can help organize the concept and prepare a narration script. Provide the game title, video format, target audience, tone, and approximate length. “A six-minute beginner-friendly guide to finding early resources in Palworld” offers much clearer direction than a general request for a gaming script.
Not every video needs a complete word-for-word script. Let’s Play and reaction content usually feels more natural when only the introduction, key talking points, and ending are planned. Tutorials and reviews benefit from more detail because instructions, facts, and conclusions need to be presented accurately.
A creator reviewing a newly released game might script the sections about performance, controls, and value while leaving personal reactions less structured. This approach keeps the information organized without making the commentary sound rehearsed.
Step 2: Create or Record the Gaming Footage
The footage should match the promise of the video. Real gameplay is necessary when demonstrating controls, evaluating performance, explaining a level, or showing viewers how to complete a challenge. Record your own session and capture multiple attempts if the outcome is unpredictable.
AI-generated clips serve a different purpose. They can support original stories, conceptual trailers, stylized introductions, or transitions that are not presented as actual gameplay. An AI video generator can turn a written or visual concept into short video assets with defined characters, environments, actions, camera movement, and visual styles.
A creator telling a story about two explorers trapped inside an abandoned space station could use an AI-generated exterior shot to establish the setting. Actual gameplay would still be required if the same video claims to review or teach a real space-survival game.
Review every generated clip carefully. Character appearance, object placement, movement, and environmental details may change between shots. AI content should never be presented in a way that could cause viewers to mistake it for genuine gameplay. It also cannot replace the real demonstrations expected in walkthroughs, performance tests, and reviews.
Step 3: Record the Commentary and Supporting Audio
Commentary can be captured during gameplay or added later. Live recording preserves spontaneous reactions, while post-recorded narration gives you more control over explanations and pacing. Someone who becomes quiet during competitive matches may produce a stronger video by recording the gameplay first and adding analysis afterward.
Clear speech should remain the priority. Keep game audio and background music below the voice, and use headphones to prevent sound from leaking into the microphone. A short test recording can reveal volume problems before an hour-long session begins.
Useful commentary adds something viewers cannot get from the footage alone. Explain why you selected a weapon, describe how a mechanic works, react to an unexpected event, or provide context for the story. Saying “I opened the door” while the character opens a door adds little value. Explaining why that door may trigger an ambush gives viewers a reason to keep listening.
Step 4: Edit the Video and Improve the Pacing
Editing turns raw material into a focused experience. Remove long loading screens, repeated failures, unnecessary travel, menu navigation, and any section that does not advance the story or help the viewer.
Arrange the remaining clips around the opening hook, main content, and ending. Recorded gameplay, generated scenes, voiceover, subtitles, sound effects, and music should feel like parts of one video. Occasional zooms, text labels, and transitions can direct attention to important moments, but they should not appear every few seconds.
A 25-minute recording of a racing challenge may contain only eight minutes of useful footage. Keeping the strongest attempts, one memorable failure, and the final result will usually produce a better video than showing every race from beginning to end.
When AI-generated footage is included, leave time to check visual continuity before locking the edit. Understanding common AI video generation limitations can help you spot unstable movement, distorted details, or unexpected changes between scenes before they reach the finished upload.
If RoboNeo was used to generate visual material, editing goals can also be described through written instructions. You can request smoother connections between clips, a more consistent visual treatment, adjusted music, or faster pacing so footage from different sources feels more unified.
Step 5: Review, Export, and Upload the Video
Watch the entire project before exporting. Check that the commentary is easy to hear, captions match the spoken words, transitions are clean, and all music is properly licensed. AI-generated sections should also be disclosed when viewers could reasonably interpret them as real gameplay.
Export at the same frame rate as the original recording whenever possible. Changing 60 fps footage to an unsuitable frame rate can make movement appear uneven. Once the export finishes, watch the resulting file instead of relying solely on the editing preview.
Pay particular attention to:
Black frames or missing clips
Audio dropouts and sudden volume changes
Incorrect subtitles or on-screen text
Accidental cuts during important actions
Visible errors in AI-generated scenes
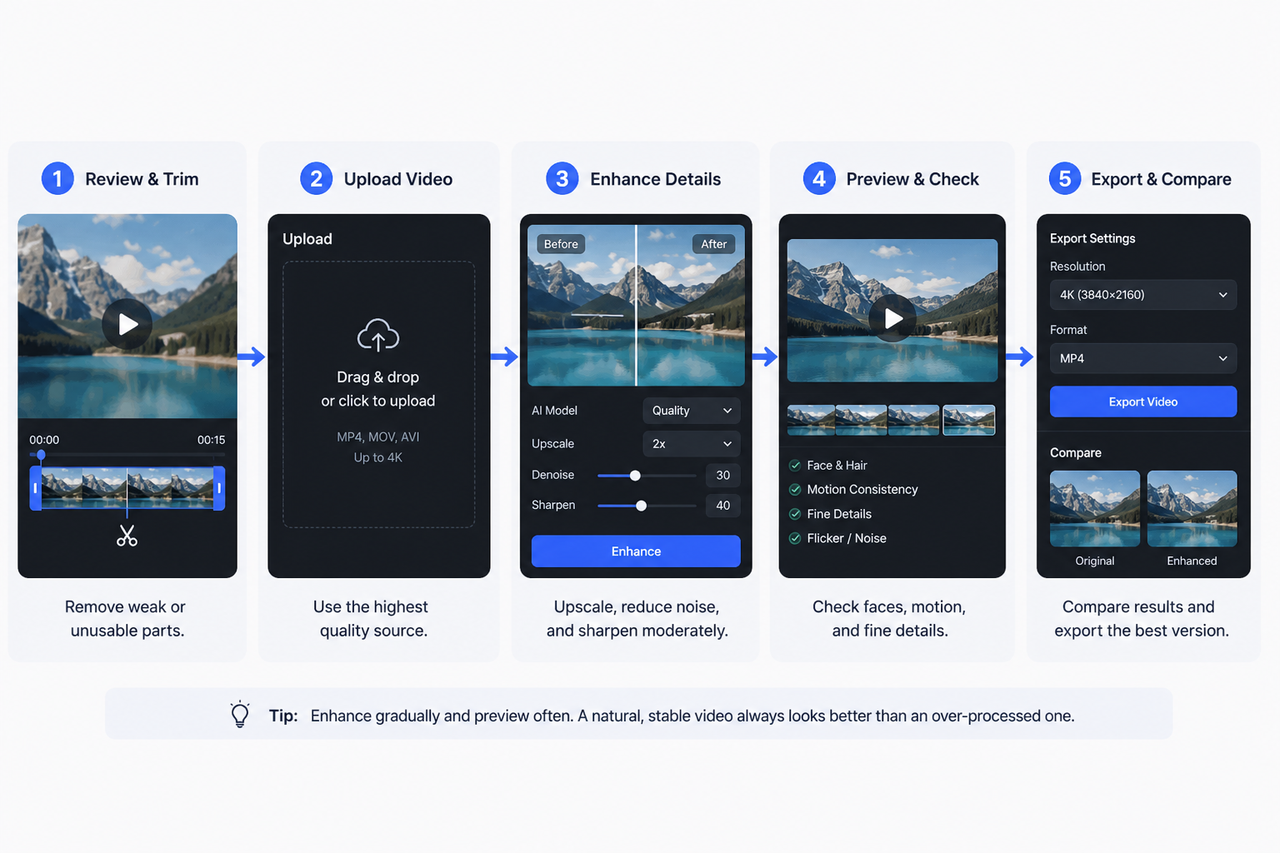
Compression, dim capture settings, or lower-resolution source material can also make a finished video look softer than expected. In those cases, an AI video enhancer may help improve clarity or resolution before the final upload, although it cannot accurately restore details that were never captured.
Once the file passes this review, upload it to YouTube with a title and thumbnail that accurately represent the content.
How to Avoid Common Gaming Video Mistakes
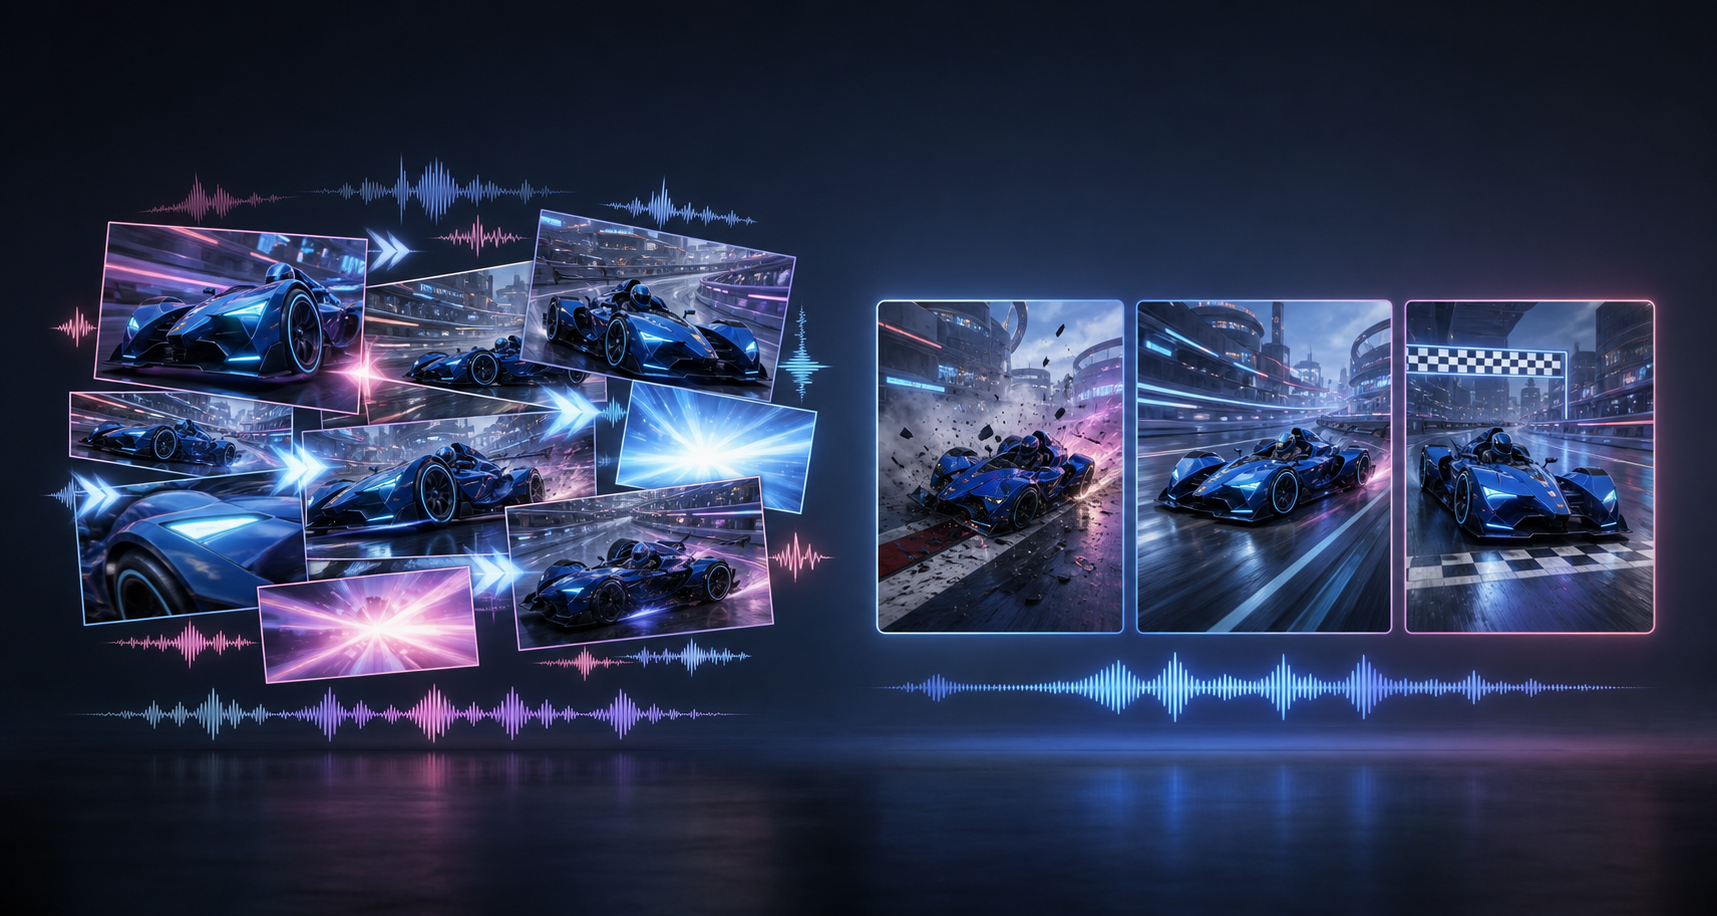
A first gaming video does not need advanced production, but a few common problems can make otherwise useful content difficult to watch.
Balance Commentary and Game Audio
Game sound creates atmosphere, but viewers should not struggle to understand the speaker. Test the audio before a long session, especially when the game includes loud combat, music, or dialogue. Volume can vary significantly between a quiet menu and a major battle.
Remove Repetitive Gameplay
Repetition weakens pacing unless it serves a clear purpose. A challenge video may show several failed attempts to demonstrate difficulty, but viewers rarely need to watch every failure in full. Short cuts or a montage can communicate the same struggle more efficiently.
Avoid Too Many Effects
Rapid zooms, loud sound effects, animated captions, and constant transitions can distract from the gameplay. Effects work best when they emphasize a reaction, clarify a mechanic, or mark a change between sections. If every moment is treated as a highlight, none of them will feel important.
Check Game and Music Usage Rights
Recording a game does not automatically give a creator unrestricted commercial rights to everything shown or heard. Before publishing or applying for monetization, review the game publisher’s content usage policy. Some publishers allow monetized gameplay with commentary but restrict separate uploads of soundtracks, complete cutscenes, or unreleased material.
In-game radio stations and licensed songs can also trigger copyright claims even when gameplay videos are permitted. YouTube’s audio library, properly licensed tracks, and music with clear commercial-use terms are safer choices.
Commentary, analysis, instruction, and meaningful editing can make a video more original and useful than a long, unedited gameplay recording. However, adding these elements does not remove the need to respect publisher policies and third-party rights.
FAQ
Can I make gaming videos with just my phone?
Yes. Mobile games can be captured with a phone’s built-in screen recorder, and many phones can also record voiceovers and handle basic editing. Turn off notifications, check available storage, and make a short test recording before starting a full session.
Do I need a capture card for console gameplay?
Not always. PlayStation, Xbox, and Nintendo Switch systems have built-in capture features, although recording length and resolution may be limited. A capture card becomes useful for longer sessions, higher-quality footage, computer-based streaming, or greater control over recording settings.
Do I need a webcam for gaming videos?
No. Walkthroughs, reviews, challenges, and narrated highlights can work without showing your face. A webcam is useful when facial reactions are central to the entertainment, but clear commentary and focused editing matter more.
How long should my first gaming video be?
Five to ten minutes is a practical target for many beginners, although there is no required length. This range provides enough time for a focused guide, challenge, or highlight reel without creating an overwhelming editing workload. The subject should determine the final length, and any section that adds no useful information or entertainment can be removed.
You May Be Interested
480p vs. 720p: Which Resolution Should You Choose?
How to Choose the Best AI Text to Video Generator in 2026 (+ Our Top Pick)
Best Prompt for YouTube Script in 2026
Best YouTube Script Generator: From Script Writing to Video Creation
How to Use Agent Teams on RoboNeo: From One Prompt to a Full Creative Pipeline