How to Upload HD Video to Facebook: Settings for Better Uploads
 RoboNeo TeamAugust 25, 2026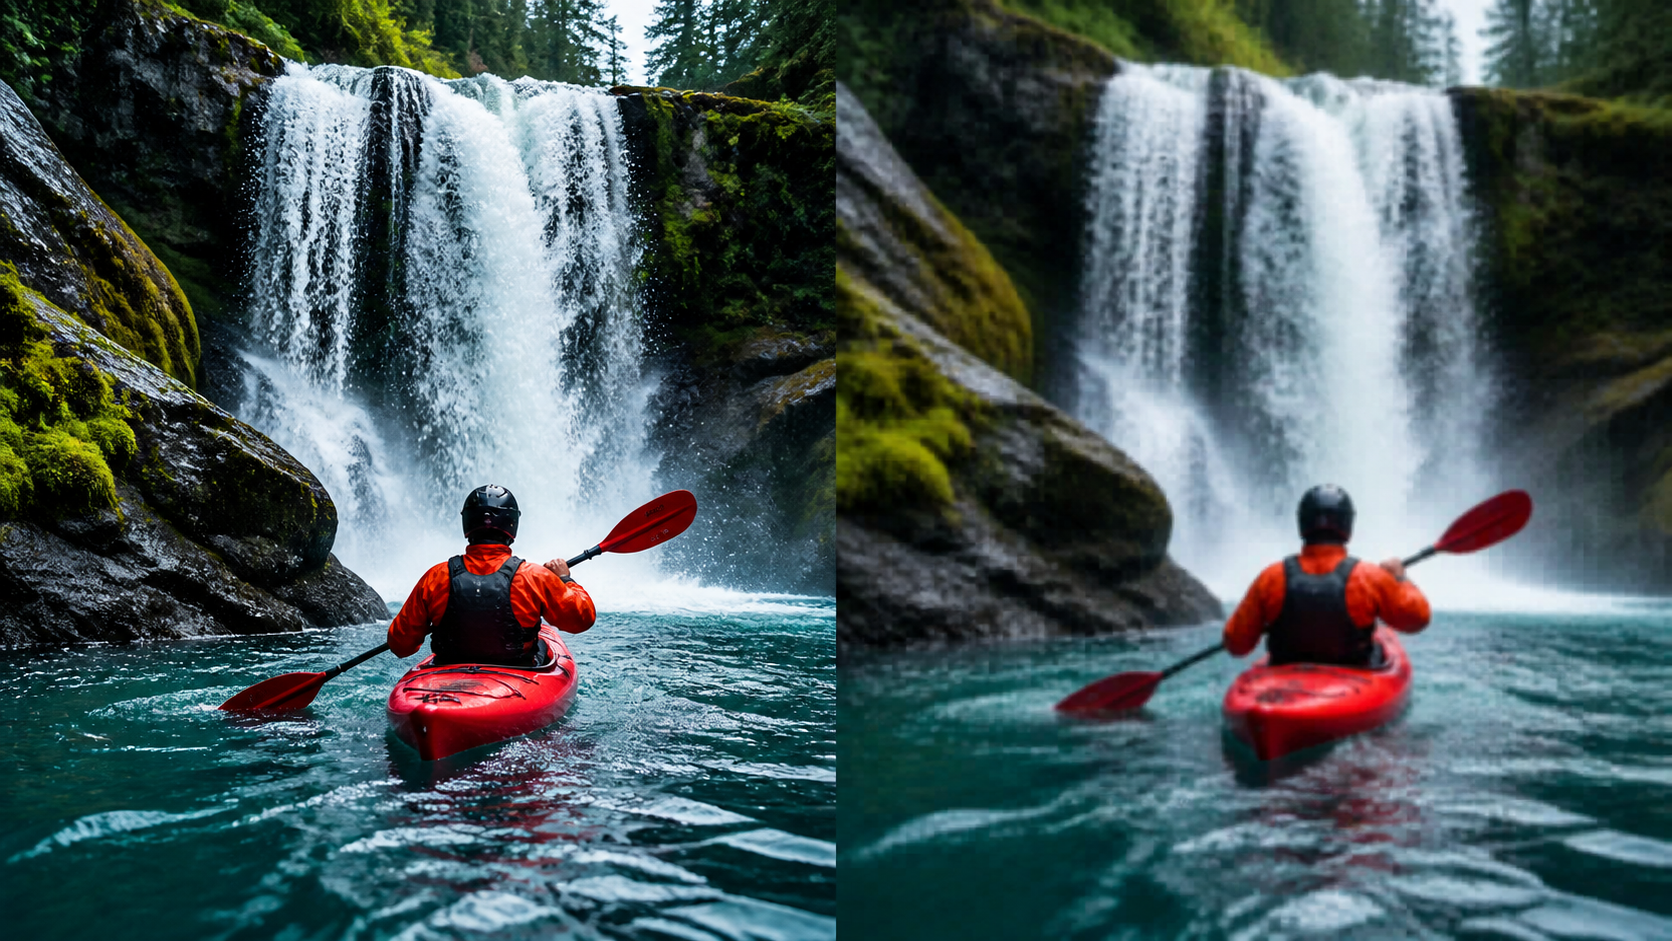
Uploading a sharp video to Facebook requires more than selecting a high-resolution file. Facebook processes and compresses every uploaded video, so the final result also depends on the source footage, export format, resolution, frame rate, internet connection, and app settings.
If you are wondering how to upload HD video to Facebook without making it look blurry, begin with the highest-quality source available, export it in a compatible format, enable the best available upload-quality setting, and use a stable connection. The following steps cover the complete process for mobile devices and computers.
What Does HD Video Upload Mean on Facebook?
An HD video upload generally refers to a video delivered at 720p or higher, although 1080p is a more practical target for modern Facebook posts and Reels. Uploading in HD means sending Facebook a sufficiently detailed source file that can retain acceptable clarity after the platform processes it.
However, the HD label does not guarantee that viewers will see the exact quality of your original file. Facebook creates compressed versions for different devices, screen sizes, and connection speeds. A 1080p travel video recorded on a recent phone may look extremely clear in the gallery but slightly softer after it appears in the Facebook feed.
Why Facebook Videos Lose Quality After Uploading
Facebook compresses videos to reduce storage requirements and help content load quickly across different network conditions. During this process, the platform may lower the bitrate, simplify fine textures, or generate several playback versions.
Certain types of footage reveal compression more easily. Moving water, grass, confetti, detailed clothing, and low-light scenes contain complex visual information. A birthday video filled with flashing lights and dancing people is therefore more likely to show compression artifacts than a stationary interview filmed against a plain background.
Additional quality loss can occur when:
The original video has already been compressed by a messaging app.
The upload takes place over an unstable mobile connection.
The exported file uses a low bitrate or unsupported codec.
Facebook is still processing the HD version.
Data-saving settings limit upload quality.
HD Upload vs Original Video Quality
Uploading an HD file does not mean Facebook preserves every pixel or the original bitrate. Resolution describes the number of pixels in each frame, while bitrate controls how much data is available to represent those pixels. Codec, frame rate, and platform processing also affect the result.
A 1080p file exported at an extremely low bitrate can look worse than a properly encoded 720p file. Likewise, converting a blurry 480p clip to 1080p changes its output dimensions but does not automatically restore missing facial details or textures. This difference is similar to how 4K upscaling increases the number of output pixels without turning the footage into video originally recorded in 4K.
The best approach is to give Facebook a clean, high-quality master that requires as little correction as possible.
How to Upload HD Videos to Facebook Step by Step
The exact menu labels can change between Facebook app versions, but the basic workflow remains similar.
1. Open the Facebook app and check the available media or video-quality settings.
2. Choose the highest upload-quality option rather than a data-saving mode.
3. Connect to reliable Wi-Fi or a fast, stable mobile network.
4. Select the original video from your device instead of a copy downloaded from another social platform.
5. Create a post or Reel and preview the framing before publishing.
6. Keep Facebook open until the upload has completed.
7. Allow time for HD processing before judging the published quality.
On a computer, open Facebook in a supported browser, create a post, and select the original video file. A wired or stable Wi-Fi connection can make large uploads more reliable.
Enable HD Video Upload Settings
In the Facebook mobile app, look under Settings & privacy, Settings, and then a section such as Media or Media quality. Depending on the app version and device, the available control may be called Video quality, Upload videos in HD, Optimized, or something similar.
Choose the highest-quality or optimized upload option and avoid Data Saver when video clarity is the priority. Also confirm that Facebook has permission to access the original media on your phone. Limited photo-library permissions can prevent the intended file from appearing.
Because Facebook periodically changes its interface, an older tutorial may show an HD switch that is no longer displayed in the same location. If the option is missing, update the app and focus on supplying a properly exported source file over a stable connection.
Upload Videos With Recommended Settings
Before uploading, play the exported video locally at full screen. Check small text, faces, fast motion, and dark areas. If the file already looks blurry on the device, Facebook cannot recover the missing information.
For most uploads, an MP4 file using H.264 video and AAC audio offers strong compatibility. A fixed frame rate and progressive scan can also reduce processing problems. The goal is to provide a clean, widely supported file rather than a large video encoded with unusual settings.
Best Video Settings for Facebook HD Uploads

There is no single export preset for every Facebook placement. A standard feed video, full-screen Reel, and Story use different layouts. Matching the file to its destination reduces unnecessary cropping and reprocessing.
Recommended Resolution, Frame Rate, and Aspect Ratio
The following settings provide a practical starting point:
| Setting | Recommended choice |
| Resolution | 1080p |
| Reel or Story | 1080 × 1920, 9:16 |
| Square feed video | 1080 × 1080, 1:1 |
| Landscape video | 1920 × 1080, 16:9 |
| Frame rate | Match the source, usually 24, 25, 30, or 60 fps |
| Scan type | Progressive |
| Pixel shape | Square pixels |
A vertical cooking demonstration should normally be exported in 9:16 for a Reel. Placing the same clip inside a 16:9 landscape canvas creates unused space and makes the subject appear smaller on a phone.
Keep titles, subtitles, and important faces away from the outer edges. Facebook interfaces can cover portions of vertical videos with captions, buttons, and profile information.
Recommended Video Format and File Size
MP4 with H.264 video and AAC audio remains a dependable choice. MOV is also accepted in many Facebook workflows, but MP4 usually provides broad compatibility and manageable file sizes.
A larger file is not automatically better. Uncompressed or inefficiently encoded footage takes longer to upload and will still be processed by Facebook. At the other extreme, aggressive compression removes details before the platform receives the video.
Use a sensible high-quality export preset, maintain a consistent frame rate, and avoid repeatedly saving the same file. Editing a clip, sending it through a chat app, downloading it, and exporting it again creates several generations of compression. When an older clip needs a higher output resolution, AI video upscaling can prepare it for a 1080p export before it is uploaded to Facebook.
How to Improve Video Quality Before Uploading to Facebook
Source quality has the greatest influence on the final result. Clean footage gives Facebook more usable visual information, while a noisy or heavily compressed source often deteriorates further after upload. Different problems also require different treatments: upscaling can help with insufficient resolution, while denoising is more suitable for grainy footage. Understanding the available AI features for enhancing video quality helps avoid applying unnecessary processing to every clip.
Good lighting, stable focus, and correct exposure can prevent many problems during recording. For a product demonstration, filming near a large window may preserve color and texture more effectively than trying to brighten a dark clip during editing.
Enhance Low-Quality Videos Before Uploading
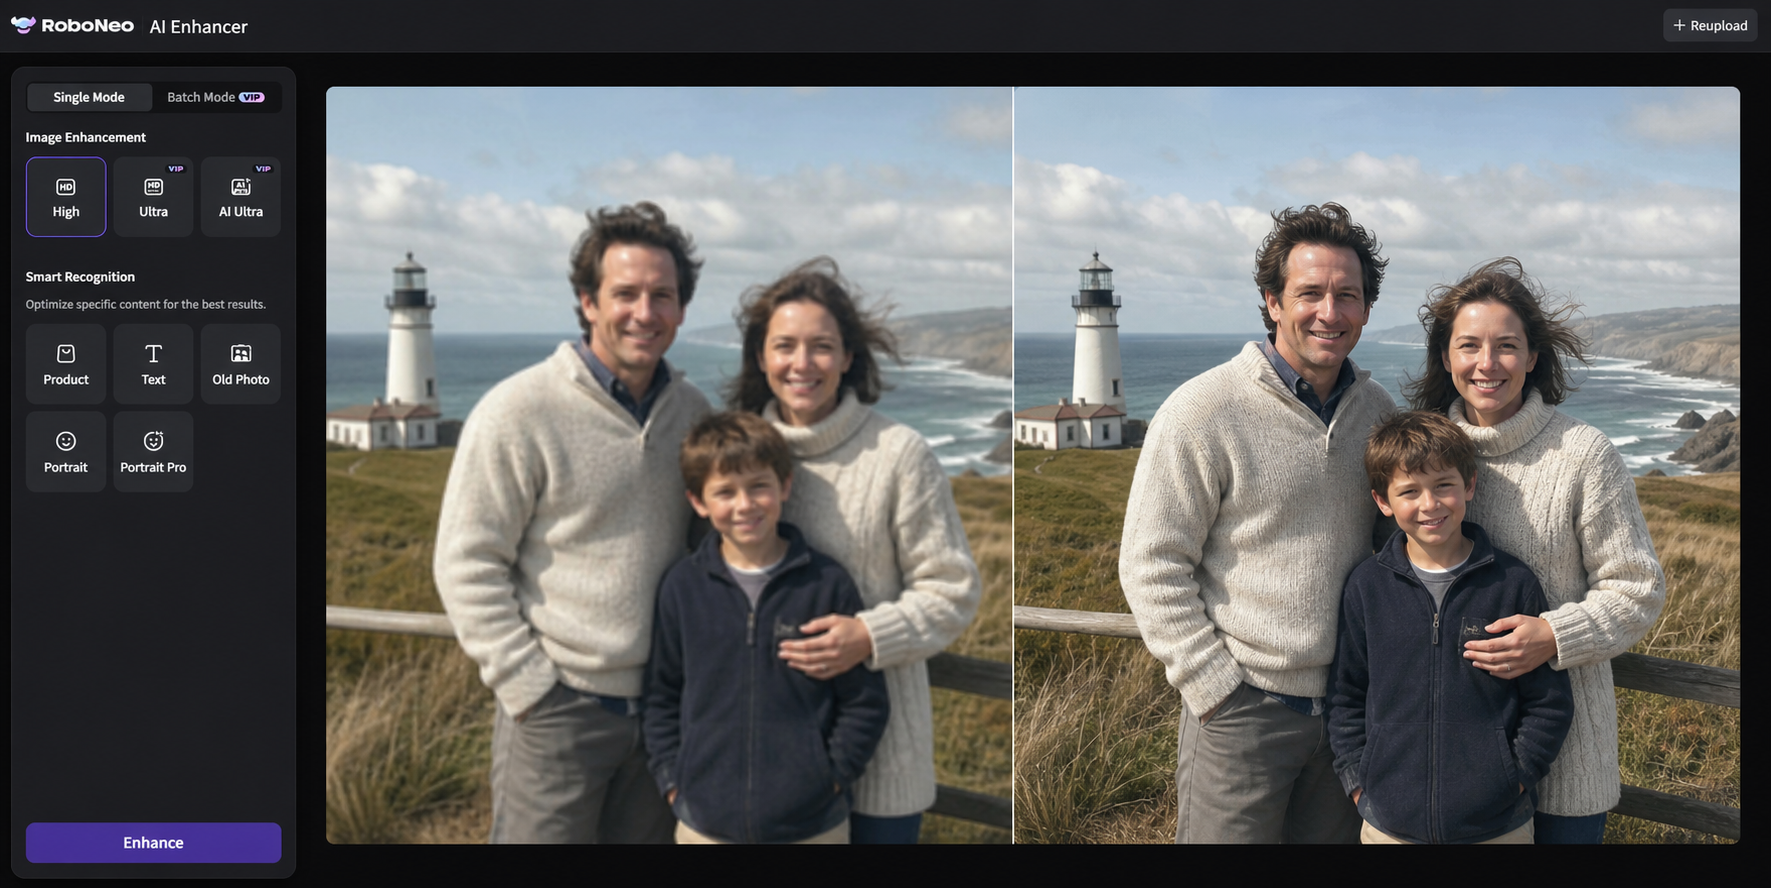
Older recordings, low-resolution phone clips, and previously compressed footage may need improvement before being shared. AI video enhancement can analyze edges, people, objects, and textures to improve perceived clarity, reduce some visible noise, and create a cleaner source for uploading.
A family may have a memorable vacation clip recorded on an older phone, while a creator may need to reuse an early video that cannot be filmed again. In these situations, RoboNeo AI Video Enhancer can automatically optimize video details, clarity, and overall visual quality. Its content-aware processing produces a more natural result than simply enlarging the frame dimensions.
Enhancement still has limits. Severe motion blur, blocked faces, clipped highlights, or details that were never captured cannot always be reconstructed accurately. Review the enhanced version carefully before publishing.
Export Videos Without Losing Important Details
Export once from the original editing project whenever possible. Match the output frame rate to the footage instead of converting 30 fps video to 60 fps without a clear reason. Maintain the intended aspect ratio and use a bitrate high enough to preserve movement and texture.
Watch the finished export before uploading. Text should remain readable, skin tones should look natural, and fast movement should not break into blocks. This quick check separates export problems from compression introduced later by Facebook.
Common Reasons Facebook Videos Look Blurry

Blurry Facebook uploads usually come from the source file, export process, upload conditions, or platform processing. Identifying the stage where quality drops makes the problem easier to fix.
Low Resolution Source Files
A low-resolution source contains limited detail. When Facebook compresses it or displays it on a larger screen, soft edges and pixelation become more noticeable.
Downloading a video from a messaging app is a common cause. The shared copy may be much smaller than the original recording. Return to the camera roll, cloud backup, or editing project and upload the original file instead. If only the smaller copy remains, a careful AI video upscaling workflow may improve edges, textures, and overall clarity before export.
Incorrect Export Settings
Low bitrate, mismatched dimensions, variable frame rate, or an unusual codec can create poor results. Unnecessary resizing also weakens clarity. A horizontal 720p clip that is enlarged, cropped vertically, and exported again has already lost significant information before reaching Facebook.
Use a Facebook-compatible MP4 preset, select the correct aspect ratio for the placement, and preserve the original frame rate.
Platform Compression After Upload
Facebook may initially display a lower-quality version while higher-resolution copies are still being processed. A long 1080p or 4K upload can therefore look blurry immediately after publication.
Wait a short time, refresh the post, and test playback on a reliable connection. Viewer-side settings also matter because Facebook may serve a lower resolution when the device is using Data Saver or a slow network.
FAQ
How can I upload HD videos to Facebook?
Use the original high-quality file, select the best available upload-quality setting, and upload through a stable connection. An MP4 file with H.264 video, AAC audio, and 1080p resolution is suitable for most Facebook content.
Why does Facebook reduce video quality?
Facebook recompresses uploaded videos to reduce file size and support faster playback across different devices and internet speeds. This processing can soften details or introduce visible artifacts.
What is the best video resolution for Facebook?
1080p is a practical choice for most uploads. Use 1080 × 1920 for vertical Reels and Stories, 1080 × 1080 for square posts, or 1920 × 1080 for landscape videos.
Can I upload 4K videos to Facebook?
Facebook can accept high-resolution source files in supported workflows, but availability and final playback resolution vary by placement and processing. A 4K upload may still be recompressed and will not necessarily play in 4K for every viewer.
How do I make a blurry video clearer before uploading?
Start with the original recording, improve exposure and noise where possible, and export it with an appropriate resolution and bitrate. AI video enhancement can improve perceived detail in low-quality footage, but it cannot perfectly restore visual information that was never captured.
You May Be Interested

480p vs. 720p: Which Resolution Should You Choose?
How to Turn Long YouTube Videos into TikToks with an AI Video Clip Generator
6 Best Ai Character Generator in 2026: Tested & Compared

How to Choose the Best AI Text to Video Generator in 2026 (+ Our Top Pick)
Best App to Remove Tiktok Watermark in 2026