How to Make a Video Out of Images: A Step-by-Step Guide
 RoboNeo TeamAugust 14, 2026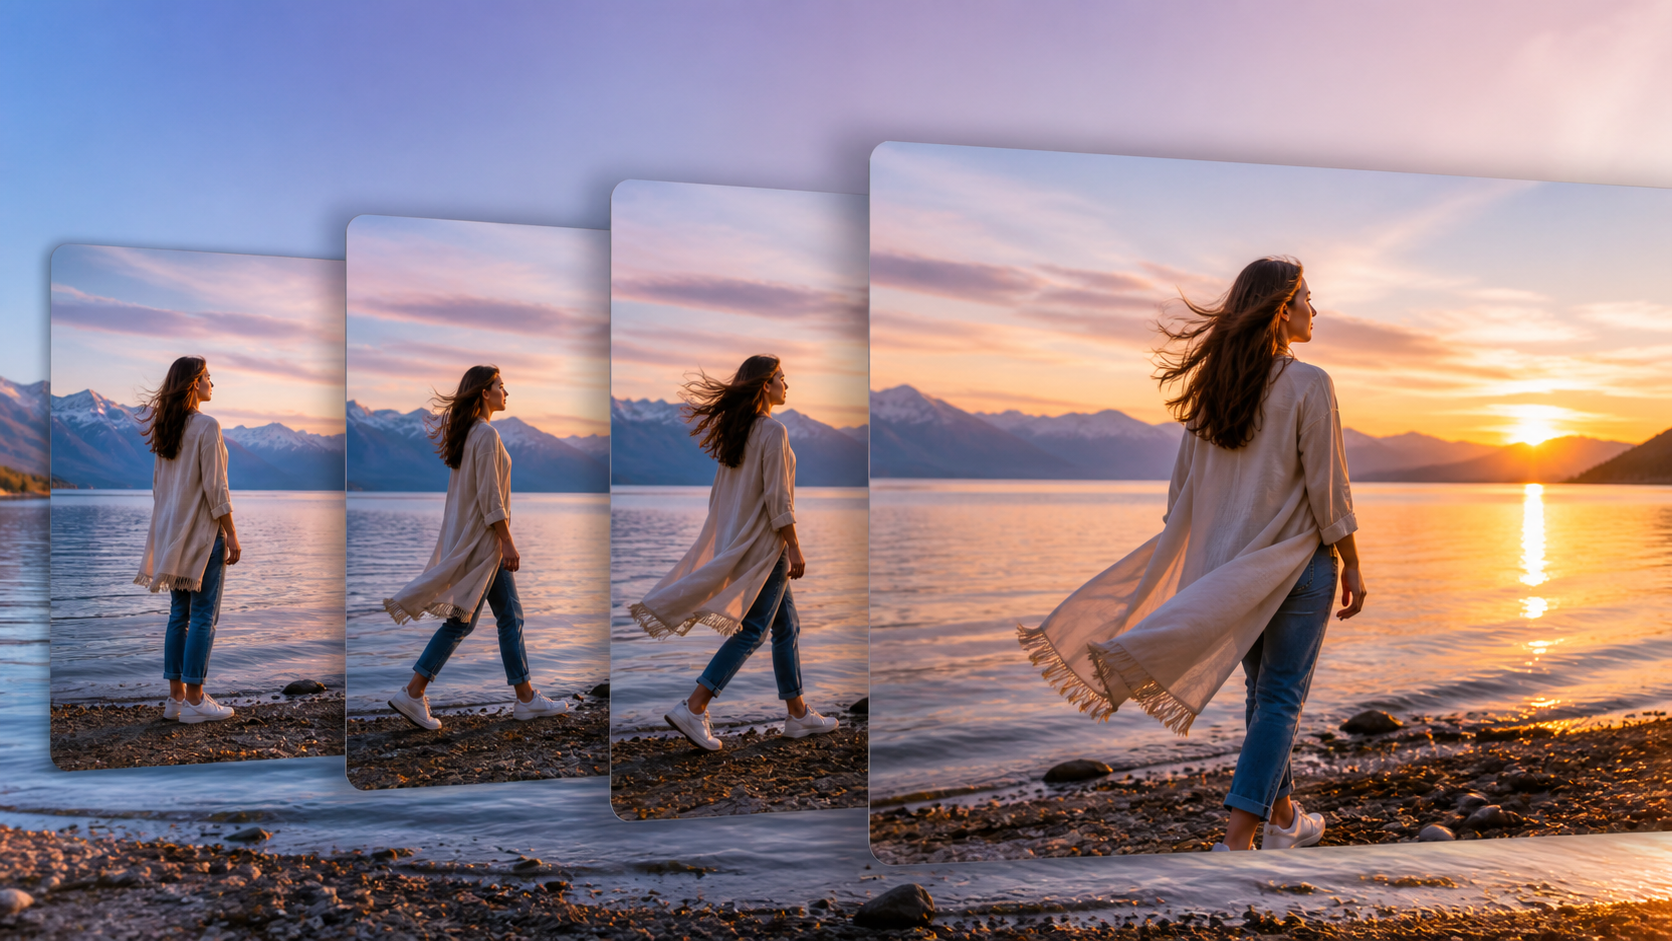
Still images can become anything from a short animated clip to a complete photo story with music and narration. The right method depends on whether you want to create new motion within one image, arrange multiple photos on a timeline, or combine both approaches. This guide explains how to make a video out of images, choose an appropriate workflow, and avoid common quality problems during production.
Why Turn Images into a Video?
Video gives still images a sense of progression that individual photos cannot provide on their own. A wedding photographer might arrange key moments into a chronological story, while a retailer could animate a product photo for a social media campaign. Teachers can also combine diagrams, archival pictures, and narration to explain a topic more clearly.
Movement, music, and spoken commentary can hold viewers’ attention while guiding them through the images in a deliberate order. Existing photos are also useful when recording new footage would be expensive, inconvenient, or impossible.
Choose the Best Way to Make a Video from Images
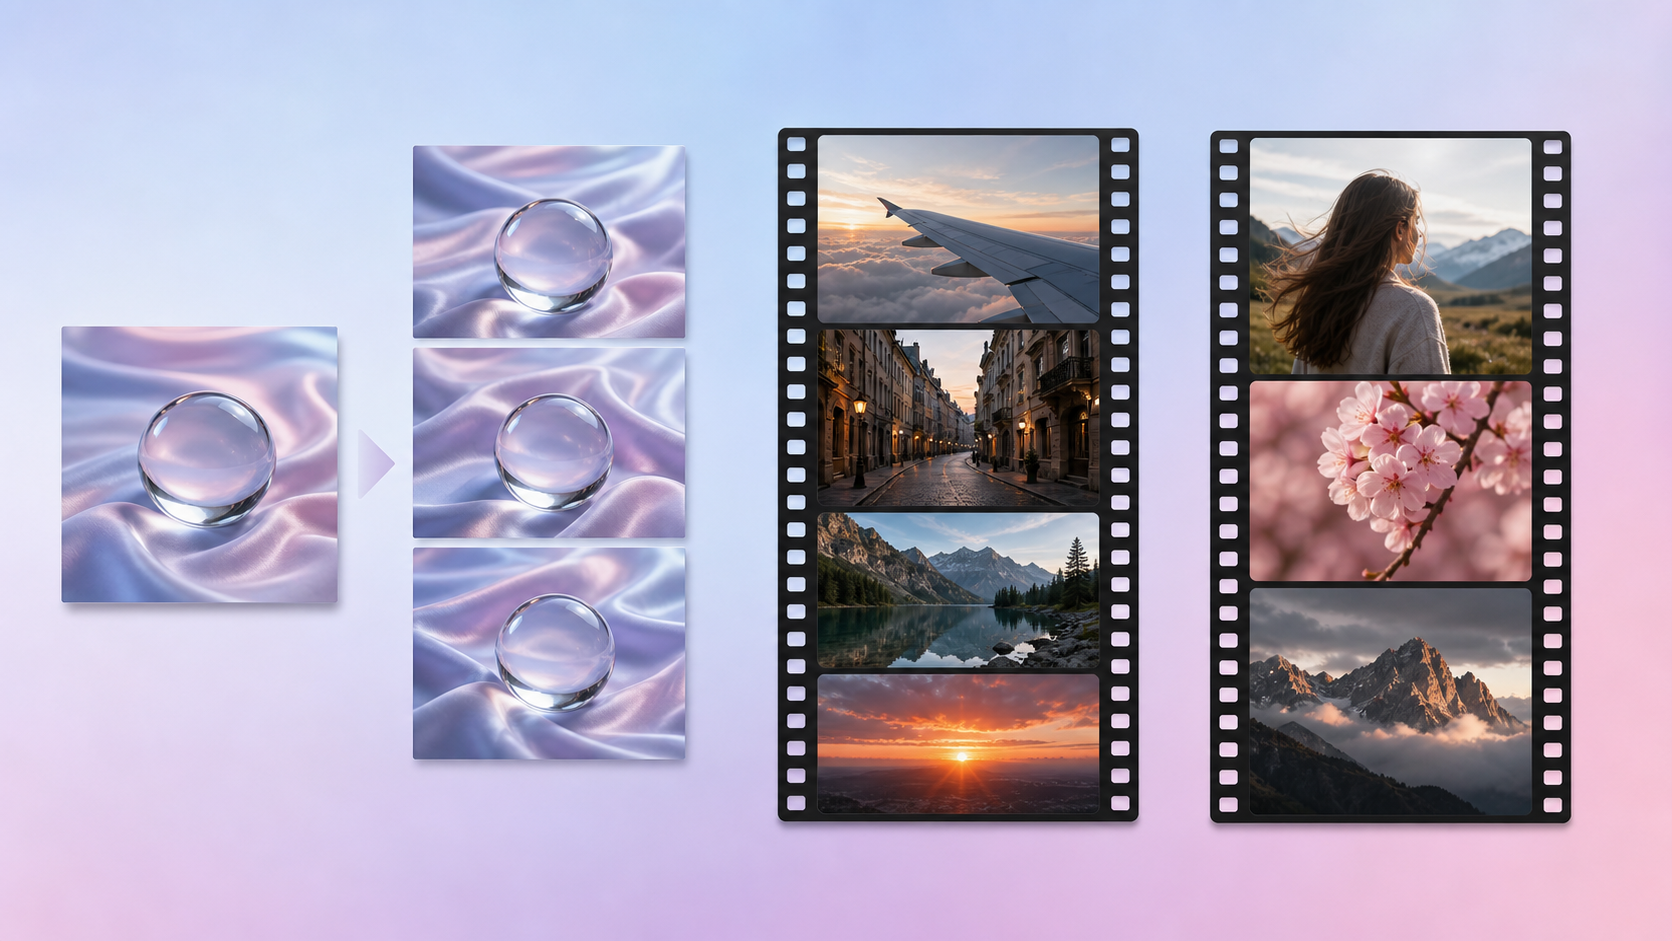
There is no single image-to-video process. Some tools generate new motion from one picture, while others place several still images into a traditional video timeline.
Generate Motion from a Still Image with AI
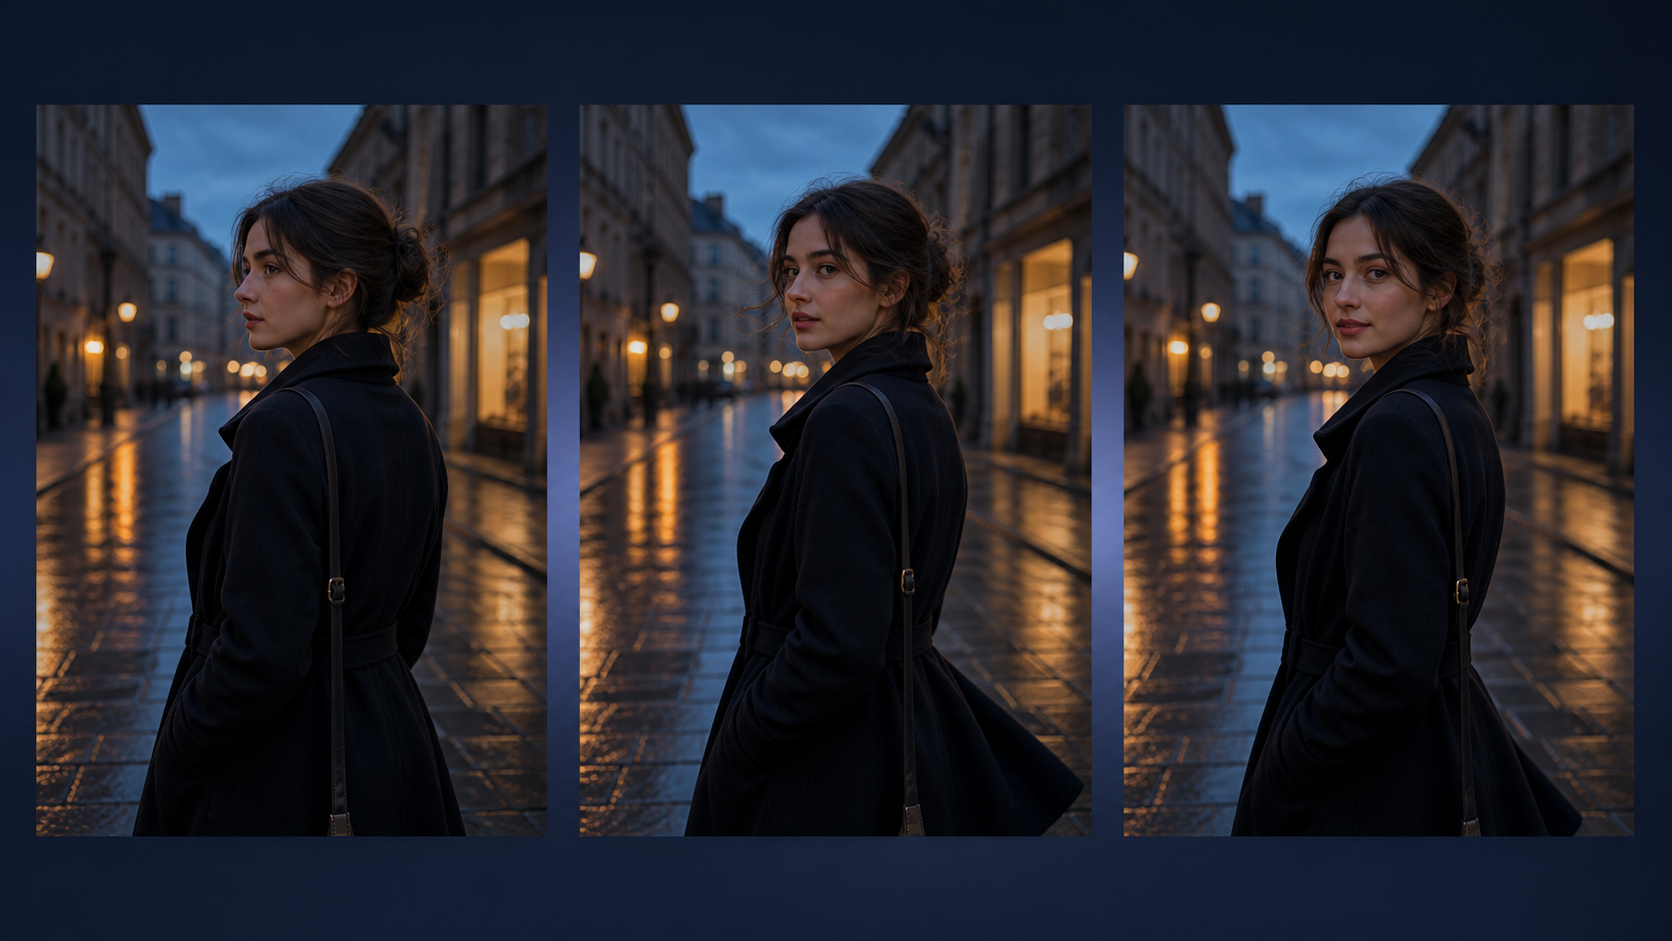
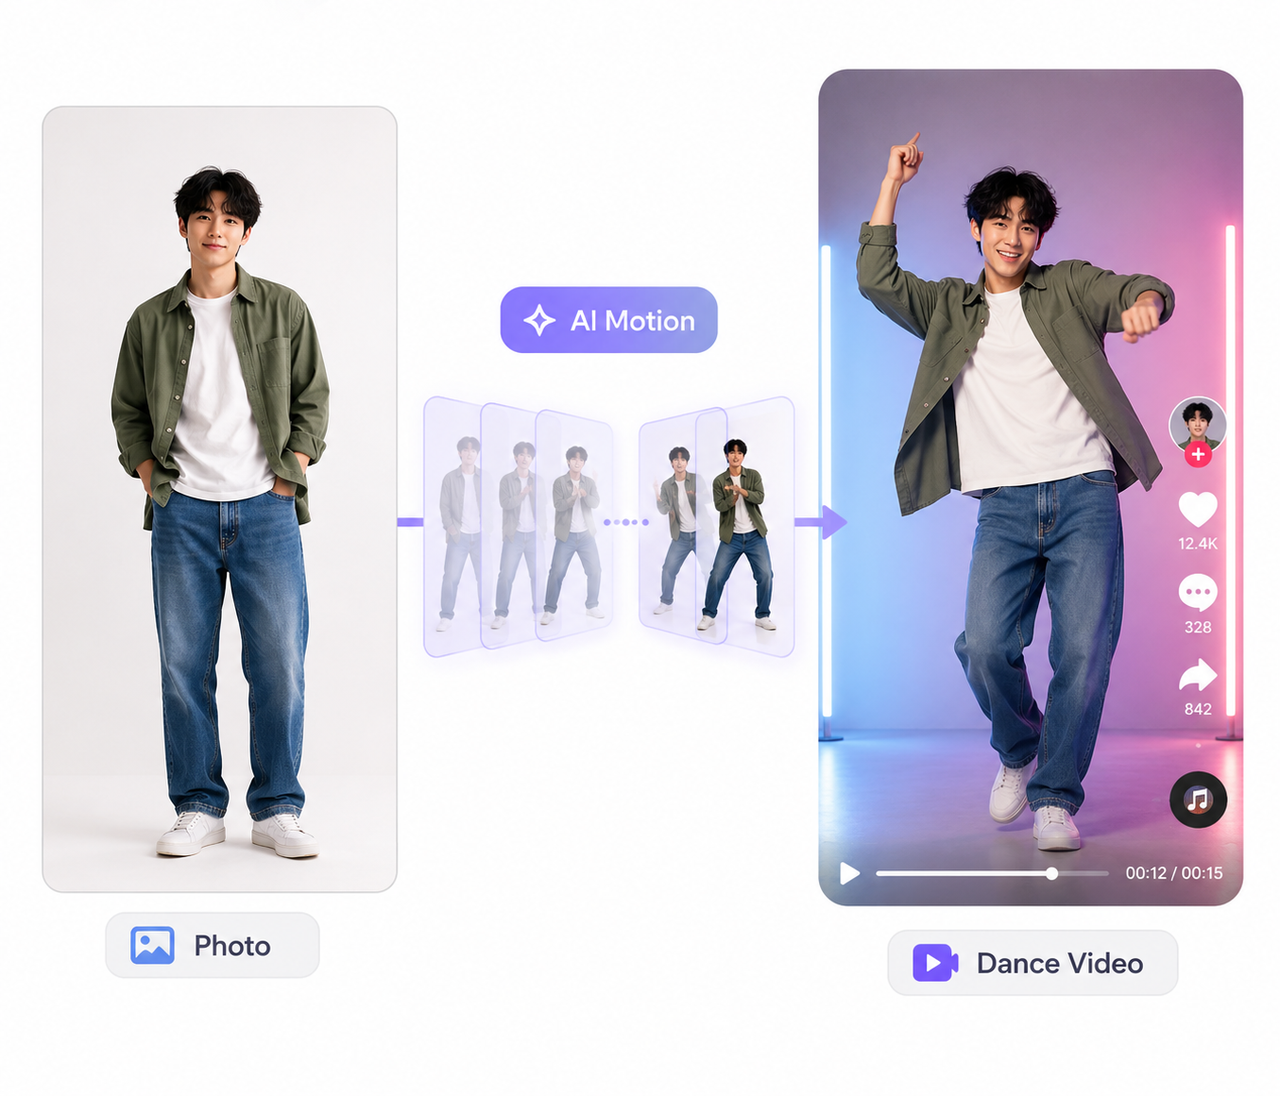
An AI image-to-video generator uses an uploaded image as its visual foundation. It can create actions or camera movements that were not present in the original, such as a person turning toward the camera, fabric moving in the wind, liquid flowing into a glass, or a camera circling a product.
This approach works well for portraits, product shots, illustrations, and landscapes that need to feel genuinely animated. Most AI tools, however, generate short clips lasting only several seconds. They do not automatically arrange a large photo collection into a polished long-form video.
Combine Multiple Images into a Photo Video
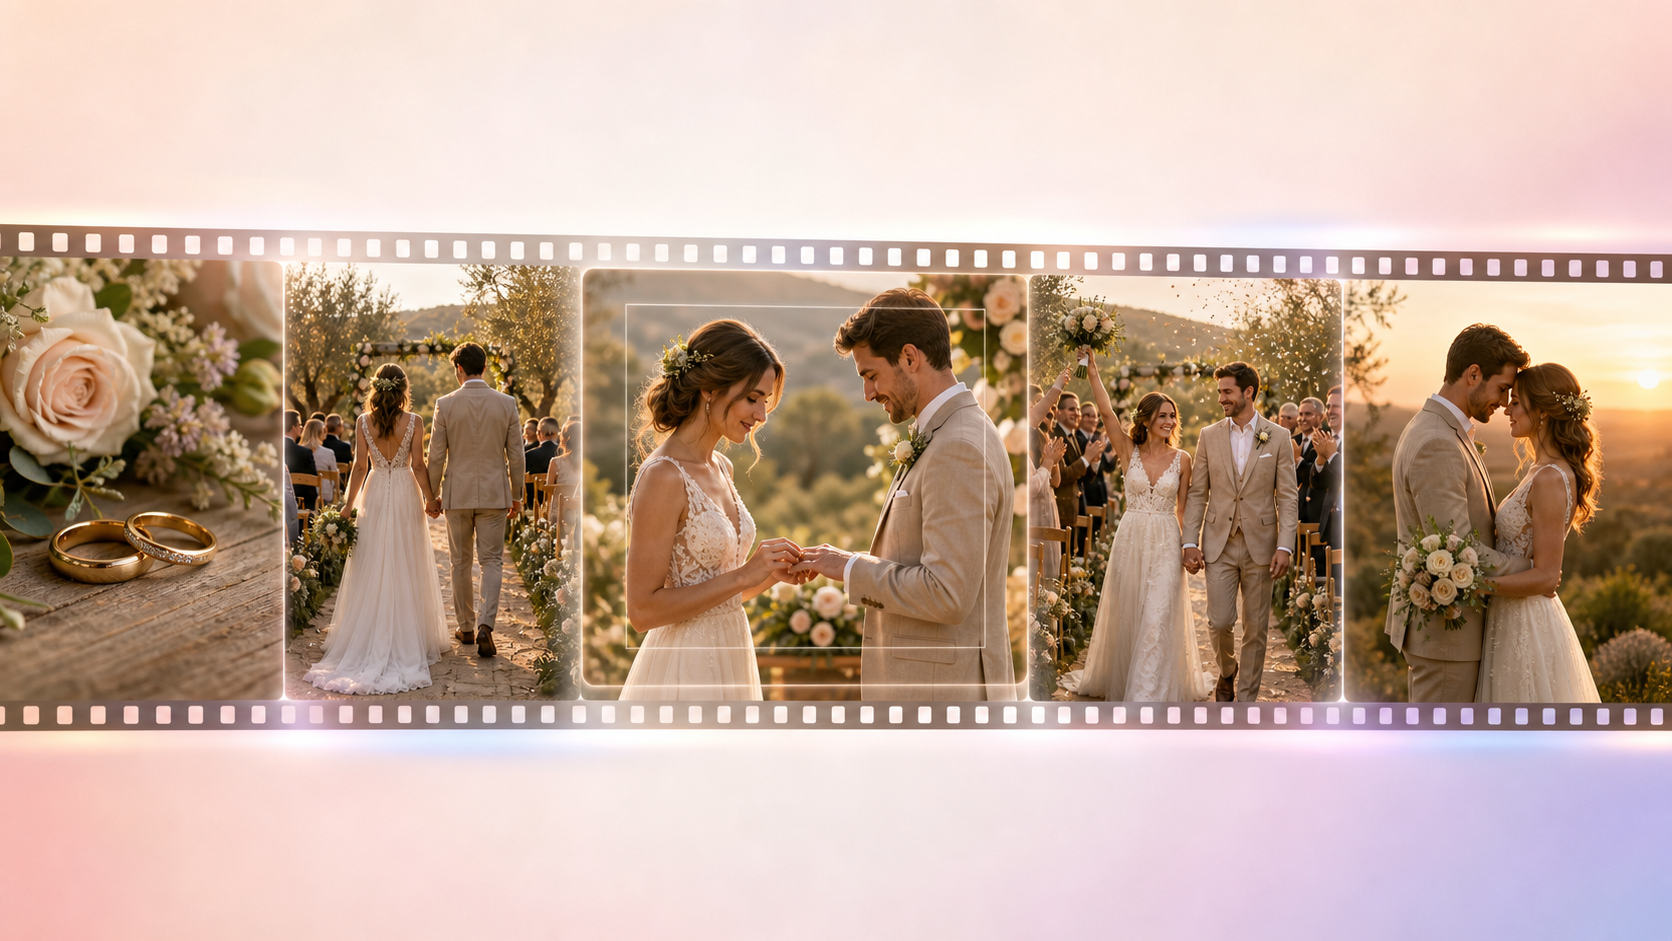
A photo video places several images on a timeline and presents them in a chosen sequence. Panning, zooming, transitions, music, and narration can turn photos into a connected video without changing what happens inside each image.
This is often the best answer to how to make a video out of still images for a wedding recap, travel diary, classroom presentation, product collection, or historical timeline. Because every image occupies a separate section of the timeline, its display duration must be adjusted according to the information viewers need to absorb.
Mix AI-Generated Clips with Static Images
A mixed workflow is often more practical for a longer production. Selected images can become short AI-generated clips, while the remaining pictures stay static.
Motion works especially well for people, outdoor settings, and imaginative scenes. Photos containing logos, packaging text, historical records, or detailed written information are usually safer as static shots because AI generation may alter small details. Combining the two formats creates visual variety while limiting distortion, generation costs, and continuity problems between clips.
How to Make a Video Out of Images Step by Step
The production process changes slightly depending on the chosen method. Planning the video before opening a tool will make either workflow easier to manage.
Step 1: Define the Video’s Purpose and Format
Start by deciding whether the video will support a marketing campaign, social post, lesson, personal memory, or brand story. Its destination determines both the composition and the amount of material required.
YouTube videos commonly use a horizontal 16:9 frame. TikTok, Instagram Reels, and YouTube Shorts generally favor a vertical 9:16 format. At this stage, estimate the final length, decide whether narration is necessary, and determine whether the result will be one animated AI clip or a complete sequence with multiple scenes.
Step 2: Select and Prepare Your Images
Clear, well-lit images usually produce better results than compressed screenshots or heavily blurred photos. Choose pictures that support the same subject, mood, and visual style. A travel recap, for instance, will feel more coherent when its images follow the journey from departure to destination instead of jumping between unrelated moments.
Preparation may include cropping images to the target aspect ratio, correcting exposure, removing duplicates, and placing files in story order. Keep an untouched copy of each original in case later edits reduce quality.
Step 3: Choose an Image-to-Video Workflow
Match the workflow to the intended result:
Choose an AI image-to-video generator when an object, person, or environment needs to develop new motion.
Use a timeline editor or slideshow maker when several photos need to appear in sequence with music or narration.
Combine AI clips and static photos when creating a longer video that needs both movement and stable informational scenes.
These options should remain distinct during production. Image duration is essential in a timeline-based photo video, but it is not a required setting for every AI-generated clip.
Step 4A: Generate Video from an Image with AI
Upload a clear image to a tool that supports image-to-video generation. The picture will act as the starting frame or visual reference, while the prompt controls the requested movement.
A useful prompt structure is: subject motion + environmental motion + camera movement + pacing.
“The woman turns slightly toward the camera, her hair moves gently in the breeze, while the camera slowly pushes in.”
With RoboNeo, you can upload a prepared image and describe the desired action or camera change in a short prompt. Begin with one simple movement. Once the subject remains visually stable, gradually adjust the action, speed, or camera direction.
After generation, examine the face, hands, product shape, background, logo, and packaging text. When distortion appears, simplify the prompt, reduce the number of simultaneous actions, or use a clearer source image.
Step 4B: Turn Multiple Images into a Photo Video
For a timeline-based video, upload the selected images to an editor and arrange them in story order. Display time should reflect the content rather than follow one fixed duration. A simple landscape may need only a brief appearance, while a group photo, written quote, or detailed product image should remain visible longer.
Image changes can follow narration sentences, musical beats, or major story moments. Gentle pan, zoom, and Ken Burns effects prevent static shots from feeling lifeless. These techniques move the viewer’s perspective across a picture, but they do not create new movement within the subject itself.
Step 5: Combine the Clips and Add Supporting Elements
When several AI clips have been generated, place the strongest versions on a video timeline and arrange them around the intended story. Static images between animated scenes can steady the pacing and give viewers enough time to read important text or inspect product details.
Supporting elements should remain simple and purposeful:
Use concise titles and readable subtitles.
Keep background music below the narration.
Position text away from faces and key product features.
Rely mainly on cuts, fades, and dissolves for transitions.
A different transition on every shot usually makes the production feel less consistent rather than more creative.
Step 6: Review and Export the Finished Video
Watch the entire sequence before exporting. Check whether the story is easy to follow, each image remains visible long enough, and cuts match the narration or music. AI-generated scenes deserve closer inspection because visual errors may appear only during movement.
Export with the aspect ratio selected at the planning stage. A 1080p file is sufficient for many web and social uses, provided the source images are clear. If you plan to export at a higher resolution, understanding how 4K upscaling works can help you set realistic expectations for image detail. Preview the exported file on both a phone and a larger screen to catch cropping, subtitle, and audio problems.
Fix Common Problems When Turning Images into Video
Even strong source images can produce uneven results. Most problems can be reduced by simplifying motion, preparing files for the target frame, and checking each scene before export.
AI Motion Looks Distorted or Unnatural
Too many simultaneous actions can cause faces, hands, or objects to warp. Divide a complex scene into shorter generations and lower the intensity of the subject or camera movement. Cleaner images with fewer obstructions also give the model a more stable visual reference.
When the subject continues to deform, keep the original picture static and apply a traditional pan or zoom instead.
Faces or Products Change Between Clips
AI-generated clips may interpret the same subject differently each time. Use the same high-quality reference image wherever possible and keep prompts consistent in their description of clothing, colors, and product shape. Shorter, simpler movements tend to preserve identity more reliably.
For a product advertisement, the original static photo can appear at the end so customers see the exact design, label, and packaging.
Images Look Blurry, Stretched, or Poorly Cropped
Stretching usually happens when an image is forced into a frame with a different aspect ratio. Crop or reposition the photo instead of distorting its proportions. Low-resolution files should not be enlarged more than necessary, although AI video upscaling may improve visible sharpness when a larger output is required.
Important subjects also need room around the edges. Social platforms may cover parts of the frame with captions, usernames, or interface controls.
The Exported Video Does Not Fit the Platform
A horizontal video uploaded to a vertical platform may appear with empty space or lose important details after automatic cropping. Set the project dimensions before arranging images, then review every shot inside that frame.
When the same video is needed for YouTube and TikTok, create separate horizontal and vertical versions. Repositioning each image produces a cleaner result than allowing the platform to crop the finished file automatically.
FAQ
Can I turn a single image into a video with AI?
Yes. An AI image-to-video generator can add subject movement, environmental motion, and camera changes to one uploaded image. The result is generally a short clip rather than a complete long-form video.
Can I make a video from multiple images for free?
Yes. Many mobile apps, desktop editors, and online slideshow tools offer free plans for arranging images, adding music, and exporting a basic video. Free versions may limit resolution, video length, or watermark-free exports.
What is the difference between an AI image-to-video generator and a slideshow maker?
An AI generator creates new movement within a picture, such as a person moving or a camera traveling through the scene. A slideshow maker displays multiple unchanged images in sequence and uses timeline effects such as pans, zooms, and transitions.
How long can an AI-generated video from one image be?
The exact limit depends on the tool and model, but a single generation commonly produces only a few seconds of video. Longer productions are usually assembled by combining several generated clips and static images in an editor.
What image format works best for making a video?
JPG and PNG are widely supported. JPG is suitable for ordinary photographs, while PNG is useful for graphics, text, or images requiring transparency. Regardless of format, a clear, high-resolution image with the correct aspect ratio will usually deliver the best result.
You May Be Interested
How to Create Stunning Visuals with the Best AI Music Video Generator
Best TikTok Script Generator in 2026

How to Choose the Right Free AI Music Video Generator in 2026
How to Make a 480p Video to 1080p: Step-by-Step Guide
How to Make an AI Dance Video in 2026: Easy Guide