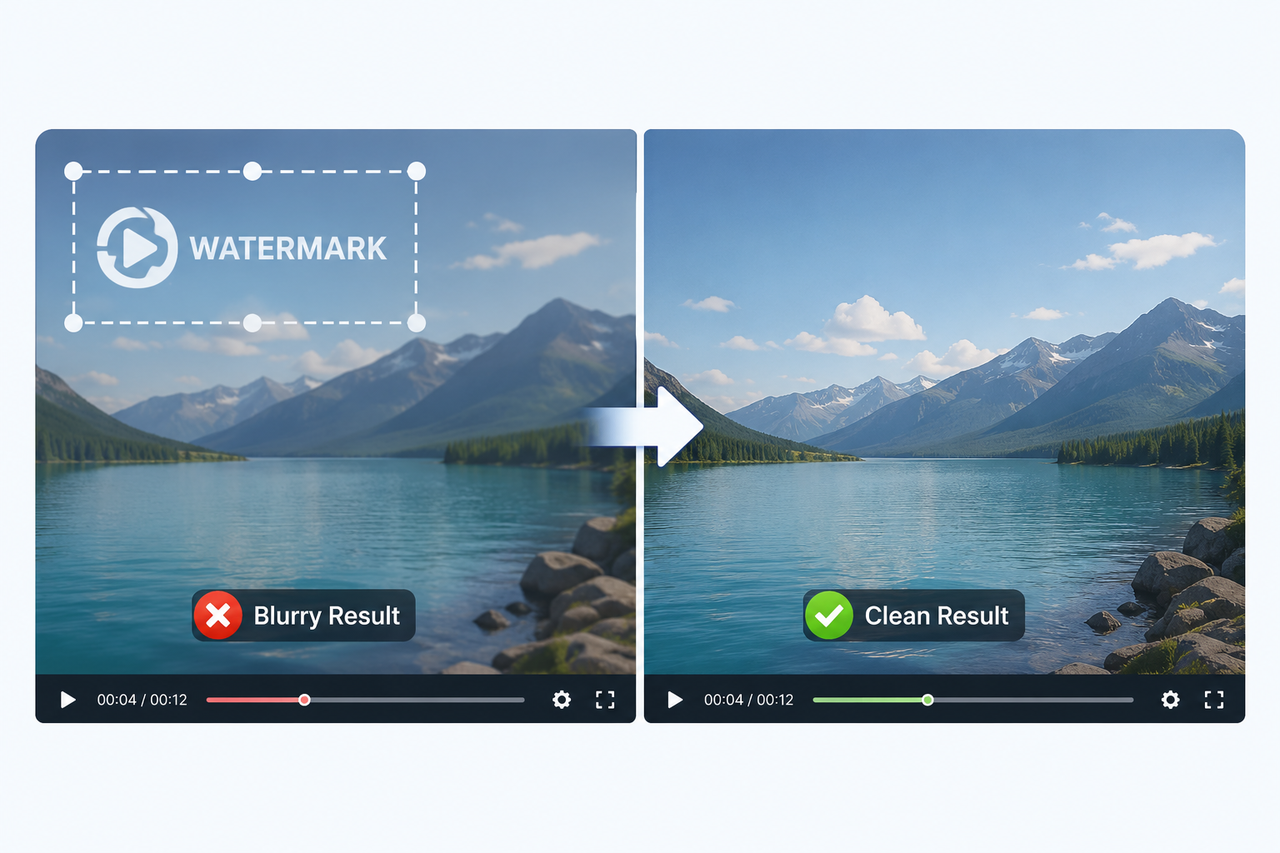
How to Convert 480p Video to 1080p: A Step-by-Step Guide
 RoboNeo TeamAugust 11, 2026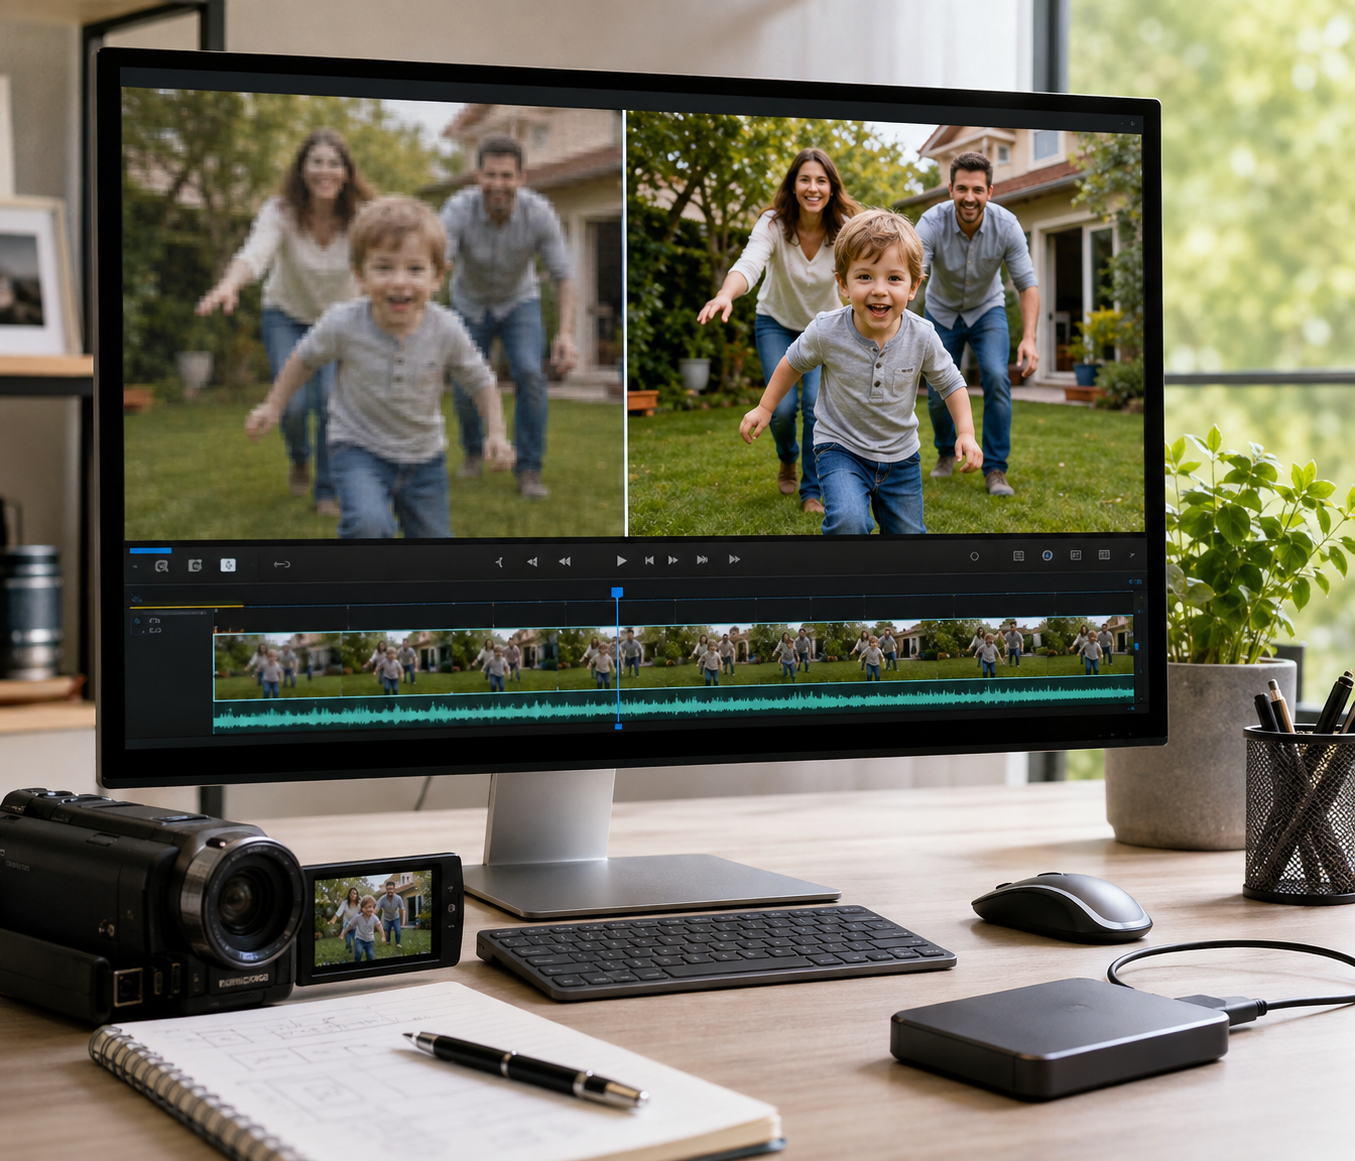
A 480p video can look fine in your phone's camera roll. The screen is small, so soft edges and blocky shadows are easy to miss. Play that same clip full screen on a laptop—or put it on a living room TV—and the flaws have nowhere to hide.
That is usually when people switch the export setting to 1080p and expect the picture to clean itself up. It does not quite work that way. The frame becomes larger, but detail lost during recording or compression is still gone. Bigger image, same limited source.
Upscaling can still be worthwhile. A good method may smooth rough outlines, calm down noise, and make old footage less jarring beside newer 1080p clips. Much depends on what you start with. An old birthday video that is slightly soft may respond well; a heavily compressed clip pulled from a group chat may not.
Before processing the file, look beyond the resolution label. Is the footage worth restoring? What problems are already visible? And will the chosen settings improve the picture—or leave you with halos, strange-looking faces, and a much larger file that does not look much better?
When Should You Upscale a 480p Video to 1080p?
Upscaling is not just about replacing "480p" with a bigger number in the export menu. It is useful when the original resolution creates a real problem during playback, editing, or publishing.
Some situations make the upgrade far more worthwhile than others.
1. You Want to Watch an Old Family Video on TV
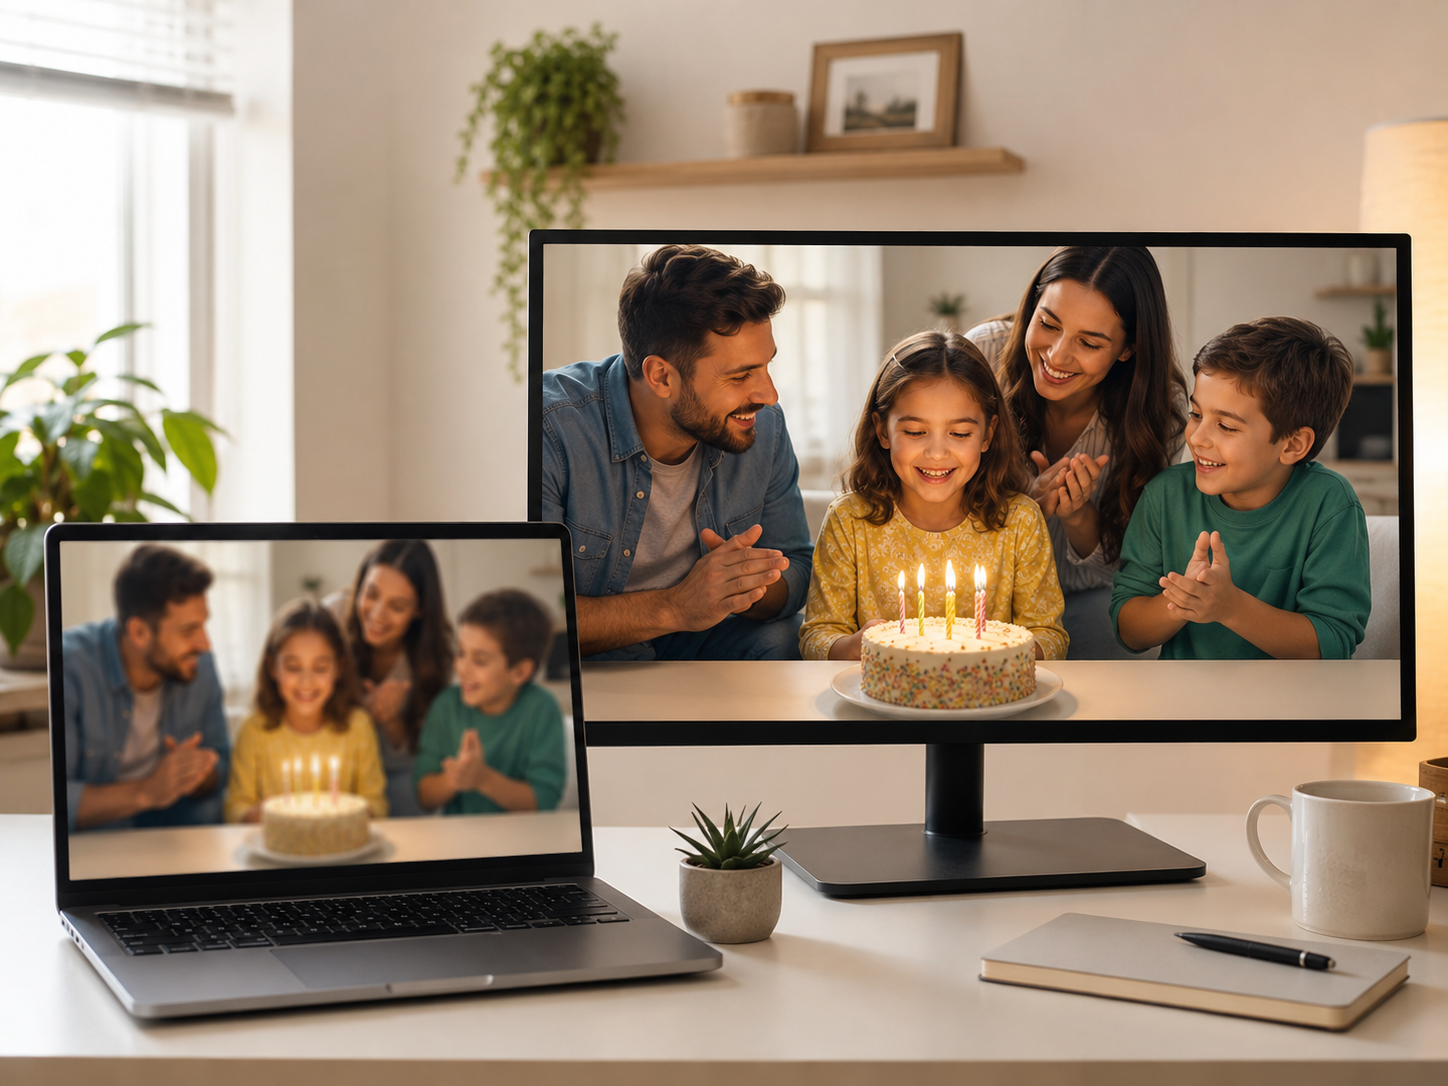
A birthday clip recorded on an early smartphone may look fine in the camera roll. Put it on a 55-inch TV, though, and faces begin to soften. Clothing loses texture. Dark areas may break into patches.
Upscaling the footage to 1080p, along with some light noise and artifact cleanup, can make the video easier to watch from the couch. It will not look as if it were shot on a new camera. Still, the result often feels more natural than letting the TV stretch the original 480p file on its own.
2. An Old Interview or Archival Clip Needs to Fit Into a 1080p Project
Imagine a company putting together a 10-year anniversary video. Nearly everything was filmed recently in 1080p, except for one interview from the early days of the business.
Drop that 480p clip straight into the timeline, and the change in quality may be hard to miss. The image suddenly looks softer. Captions and transitions can also feel less consistent with the rest of the edit.
Preparing the clip in advance gives you more control. The quality gap may not disappear completely, but it becomes less distracting, and the editor does not have to rely on last-minute scaling during the final export.
3. You Are Republishing an Older Video on Social Media
Many social templates now use either a 1080 × 1920 vertical canvas or a 1920 × 1080 horizontal frame, including the formats used in a typical TikTok video workflow.
A 480p source often has to be enlarged quite a bit to fill either one.
Say a brand wants to reuse a product demo from several years ago. Stretching the original clip inside a social media editor may leave the presenter and background looking soft. Upscaling first gives the team a cleaner starting point for cropping, repositioning the subject, and adding captions.
It also keeps the platform from making every resizing decision for you.
4. Small Text in a Tutorial or Screen Recording Is Hard to Read
A talking-head video can survive at 480p because the speaker usually takes up much of the frame. Screen recordings are less forgiving.
Menus, spreadsheet values, tool icons, and settings panels depend on fine detail. A tutorial may look acceptable in a small browser window, then become frustrating once the viewer switches to full screen. If the original lettering still has a recognizable shape, careful upscaling and moderate sharpening may improve readability.
There is a limit, of course. Text that has already collapsed into a few blurred pixels cannot always be reconstructed correctly.
5. A Client, Platform, or Editing Workflow Requires a 1080p File
Sometimes the reason is purely practical. An ad platform may request 1080p uploads. A client could require all delivered footage to use the same frame size. The project timeline may already be built around Full HD.
In that case, converting the video before delivery lets you check the aspect ratio, caption placement, and final compression yourself. Otherwise, the platform may stretch or recompress the clip automatically, and the result may be worse than expected.
Not every 480p file needs this treatment. A quick preview in a messaging app, a small embedded video on a web page, or a basic security feed may already do its job at the original resolution. Heavily blurred footage can be another poor candidate; making it 1080p may only create a larger file with the same visible problems.
A useful rule is to upscale when the video will be shown on a larger screen, placed inside a 1080p project, republished for a modern platform, or used to display text and fine detail. In those cases, the extra processing usually has a clear purpose.
480p vs Upscaled 1080p vs Native 1080p

A 480p video becomes 1920 × 1080 after upscaling, but the larger frame does not contain the same amount of real detail as footage recorded natively in 1080p.
| Comparison | 480p | Upscaled 1080p | Native 1080p |
| Common frame size | 854 × 480 | 1920 × 1080 | 1920 × 1080 |
| Image detail | Limited | Estimated from the 480p source | Captured directly by the camera |
| Edge quality | Often soft or jagged | Smoother, though halos may appear | Usually more natural |
| Compression artifacts | Less obvious on small screens | May become more visible or be partly reduced | Depends on recording quality |
| File size | Usually smaller | Larger after export | Usually larger |
| Large-screen playback | Often looks blurry | Better than basic stretching | Usually looks best |
| Best use | Previews and low-bandwidth playback | Old footage and 1080p projects | New recordings and final releases |
Native 1080p starts with more real information. Faces have clearer features, edges are better defined, and small details such as clothing texture or background objects are recorded at the time of shooting.
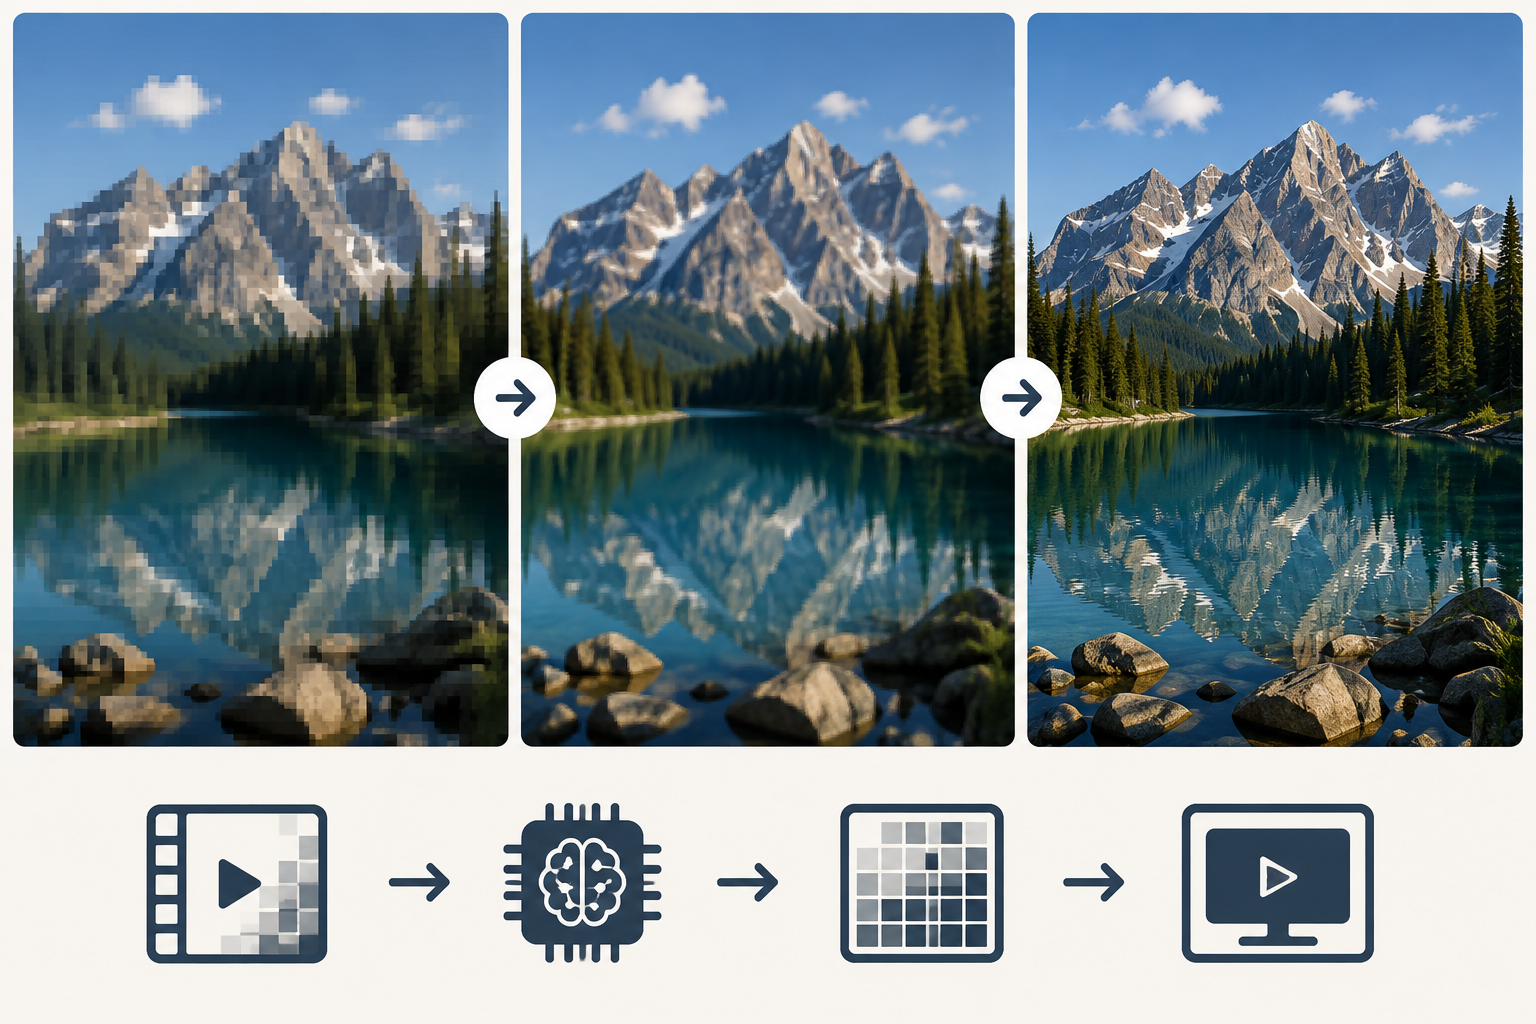
A 480p file does not contain that same amount of detail. When it is enlarged to 1080p, the missing pixels have to be filled in somehow. Standard resizing usually borrows color from nearby pixels, which can leave the picture looking soft. AI tools take a more informed guess by looking at faces, shapes, textures, and movement across several frames.
That can help, but it is still a guess.
Take an old interview as an example. AI may clean up the outline around the speaker and make the face look less muddy. If the logo on the person’s shirt is already reduced to a blur, though, the software cannot know exactly what it originally said.
The file will grow as well. More pixels have to be stored in every frame, and pushing the bitrate too high may only create a much larger export without a visible jump in quality.
For older footage, that trade-off can still be worthwhile, especially when the clip is being prepared for social or UGC use; this guide to enhancing UGC video quality covers the related cleanup choices.
Upscaled 1080p usually fits modern editing timelines better and looks less rough on a large screen. When new footage can be recorded again, however, shooting in native 1080p is still the better starting point.
How to Upscale a 480p Video to 1080p Step by Step
Step 1: Find and Inspect the Best 480p Source
Start with the cleanest copy you can find. The original camera file is usually the safest bet. A version downloaded from a messaging app, social platform, or old email may have already been compressed once—or several times.
Do not judge the footage from a paused frame alone. Play through a section that includes movement, a camera pan, darker areas, and some text. That is where most problems show up.
Look for a few things:
Are the subject and background in focus?
Does fast movement leave a noticeable trail?
Do the shadows break into noise or blocky patches?
Can you still read subtitles, labels, or interface text?
Has the clip been cropped, forwarded, or exported more than once?
Aspect ratio matters too. Many widescreen 480p files use 16:9, while footage from older camcorders may be 4:3. Stretch a 4:3 clip across a 16:9 frame and people suddenly look wider than they should. It is usually better to keep the original proportions, then use side bars, a careful crop, or a filled background to fit the 1080p canvas.
Before making any changes, save a separate copy of the source. If the settings go too far or the export does not look right, you can return to the untouched file instead of working from another compressed version.
Step 2: Upscale the Video to 1080p
Most video editors can change a 480p file to 1080p. For a clean source, that may be enough. The software enlarges the frame and exports it at 1920 × 1080.
The trouble starts when the original already has visible blur, noise, or compression blocks. Basic resizing does not remove those problems. In some cases, it makes them easier to see.
For footage that needs more than a larger frame, RoboNeo offers an AI Video Enhancer, the process is fairly simple:
1. Upload the 480p video.
2. Choose an enhancement option that matches the condition of the footage.
3. Set the target resolution to 1080p.
4. Generate the enhanced version and watch the preview.
Do not push every setting to the maximum right away. An indoor clip recorded on an older phone, for example, may have soft facial edges and heavy noise in the shadows, where dedicated video denoising can be more useful than extra sharpening.
Adding too much sharpening can make the grain harsher and leave skin looking rough. Clean up the most distracting problem first. A small amount of extra sharpness can come later.
Long videos are better tested in pieces. Cut out a representative section of about 10 to 20 seconds—ideally one that includes a face, some text, a dark area, and a little movement. Process that sample first. Once it looks right, use the same approach on the rest of the footage.
Step 3: Preview the Video and Fine-Tune the Settings
Do not judge the result from one paused frame. A still image may look crisp, yet the video can fall apart as soon as something moves.
Watch a few demanding sections from beginning to end. A person turning their head, hands moving across the frame, a slow camera pan, or a burst of fast action will often reveal problems that are invisible in a screenshot. Keep an eye out for edges that jump, hair that flickers, or textures that seem to crawl from one frame to the next.
Faces need special attention. Check the jawline, hair, eyes, and skin. If facial features suddenly look too hard or the skin takes on a smooth, waxy finish, the reconstruction or noise reduction has probably been pushed too far.
Text deserves a separate pass. AI can make letter edges look cleaner, but when the source contains too few pixels, it may also invent strokes that were never there. Software menus, license plates, and signs in the distance are common trouble spots. When the wording matters, compare it with the original 480p file rather than trusting the sharper-looking version.
Dark scenes can be deceptive too. Fewer blocks and less grain are good signs, but make sure the background has not been wiped into a flat patch. During faster motion, look for halos, trailing edges, or brief flashes around the subject.
Adjust the settings in small steps:
If the image still feels soft, raise the sharpness or deblurring slightly.
If grain becomes harsher, stop sharpening and add moderate noise reduction instead.
If faces or textures look artificial, reduce AI reconstruction strength.
If white outlines appear around objects, back off the sharpening.
If detail flickers during movement, lower the enhancement level and preview the clip again.
The goal is not to make every frame look unusually sharp. The finished video should feel stable and natural while it is actually playing.
Step 4: Export the Enhanced 1080p Video
Once the preview looks right, set the final resolution to 1920 × 1080.
Keep the frame rate close to the original. A 30 fps source does not need to become 60 fps just because the higher number sounds better. Unless you are using proper frame interpolation, the export may simply repeat frames, take up more space, or look no smoother than before.
The codec and bitrate matter too. For a video headed to a website, social platform, or everyday device, choose a widely supported format. Do not squeeze the bitrate too hard. Otherwise, the cleaner edges and recovered texture may be lost again during export, especially in motion or darker scenes.
Then watch the finished file all the way through. Do more than check whether it opens. Make sure the audio still matches the picture, the aspect ratio has not shifted, fast movement plays smoothly, and the file meets the upload limit. A two-minute clip may look fine at the beginning and drift out of sync near the end.
Keep the original 480p file as well. The enhanced version is the one you publish or play. The source remains your fallback if you need to try different settings later.
Common Problems When Upscaling 480p Video to 1080p
A successful export only tells you the job is finished. It says nothing about whether the video actually looks good.
Once you play it back, the picture may still feel soft. Faces can take on a strange, overprocessed look, and small text may come out sharper but wrong. Long clips bring another surprise: processing can take far longer than expected.
Sometimes the source is the problem. In other cases, the settings were pushed too hard, or the final export compressed the video again. Here are the issues that show up most often.
The Video Is Still Blurry
Blur after upscaling rarely comes from one setting alone.
The camera may have missed focus during recording. Fast movement could also have created motion blur, especially in low light; if the picture is underexposed as well as noisy, see how to make a dark video brighter before pushing clarity settings.
If the source was saved at a very low bitrate or compressed several times, much of the fine detail may already be gone before the upscale even begins.
Basic resizing will not repair that. It simply spreads the existing pixels across a larger frame.
Go back to the source file first. You may have a cleaner copy of the original phone, camera card, or hard drive than the one saved from a chat app. Use that version if possible.
Then look at the enhancement settings. A little deblurring may help with soft edges. Noise reduction can calm down grain, while artifact cleanup may reduce blocky patches from older compression.
More sharpening is not always the answer. A face that was out of focus and a face that is merely a little soft are not the same problem. Push sharpness too far, and you may end up with bright halos around hair, shoulders, or text without gaining any real detail.
Faces and Text Look Artificial
This usually means the reconstruction, sharpening, or noise reduction is too aggressive.
Skin can turn waxy. Hair may look like a bundle of drawn lines instead of natural strands. Small text is even less predictable because the software has very little information to work with.
Picture a 480p classroom recording. The instructor’s face is still recognizable, but the words on the projector screen are only a handful of pixels wide. AI may produce cleaner-looking letter shapes, yet it has no reliable way to know what those letters originally said.
Sharper does not always mean more accurate.
Lower the enhancement strength and compare the result with the source side by side. For faces, natural motion and stable texture matter more than hard edges. For text, accuracy comes first.
When important wording is already unreadable in the original, adding a new caption or graphic is often the better fix. Upscaling software cannot restore information that was never preserved.
Processing Takes Too Long
AI upscaling has to examine and rebuild a large number of frames. A one-hour video at 30 fps contains more than 100,000 of them.
Longer footage takes more time. So do heavier AI models and higher output settings. Your computer, upload speed, and the current workload of an online service can all affect the wait.
Do not test new settings on the full video. Use a short section first, preferably one that includes the difficult parts of the footage. If that sample looks wrong, you have lost a few minutes instead of several hours.
Long projects can also be split by chapter or scene. An interview, a screen recording, and a dimly lit event clip may not need the same treatment anyway. Working in sections makes it easier to change settings and rerun only the part that failed.
Keep the frame rate and audio settings consistent across every segment. Before joining them back together, check for sudden changes in volume, color, or sharpness at each cut.
FAQ
Is 480p Considered HD?
No. 480p is generally classified as standard definition, or SD. The HD range usually begins at 720p, while 1920 × 1080 is the familiar Full HD format.
Is 640 × 480 Considered 480p?
Usually, yes. A 640 × 480 frame uses the older 4:3 aspect ratio and contains 480 vertical pixels. With progressive scanning, it can be labeled 480p. Widescreen 480p keeps the same height but is typically 854 × 480.
How Do You Compress a Video and Keep It at 1080p?
Compression and resolution are not the same setting. First, keep the output size at 1920 × 1080. Then control the file size through the codec, bitrate, and audio settings.
Lowering the bitrate will reduce the file size, but going too far can leave motion blocky and fine details soft. Start with the platform’s required 1080p dimensions, then adjust compression until the file is small enough without an obvious drop in quality.
How Long Does It Take to Upscale 480p to 1080p?
There is no fixed processing time. It depends on the video length, device performance, AI model, internet speed, and export settings.
A short clip may finish fairly quickly. A longer video can take much more time. Testing a small section first gives you a more realistic estimate before processing the entire file.
Can AI Make 480p Look Like Native 1080p?
Not completely. AI can reduce noise, clean up rough edges, and make compression damage less distracting, so the video may look better on a 1080p screen.
Native 1080p still contains more real detail from the moment it was recorded. AI has to estimate missing textures from the limited information left in the 480p source. The better goal is a cleaner, more watchable version—not a perfect match for true Full HD footage.
You May Be Interested
How to Turn Long YouTube Videos into TikToks with an AI Video Clip Generator
Best AI Video Enhancer in 2026: 8 Tools, Pros and Cons
Best TikTok Script Generator in 2026
RoboNeo x Happy Horse 1.0: The Epic Combo Is Here
How to Make a Realistic Avatar in Roboneo: Easy Guide