How to Make 3D Animation: Step-by-Step Guide With 3 Tools
 RoboNeo TeamOctober 30, 2026
Creating 3D animation can be challenging for beginners because traditional workflows involve modeling, texturing, rigging, and rendering. These steps require time and technical skills, especially when creating a character or realistic product scene.
Fortunately, several tools make the process easier. AI-powered video generation, design platforms, and professional 3D software offer different ways to create animation, depending on your skills and project requirements.
How to Make 3D Animation Step by Step
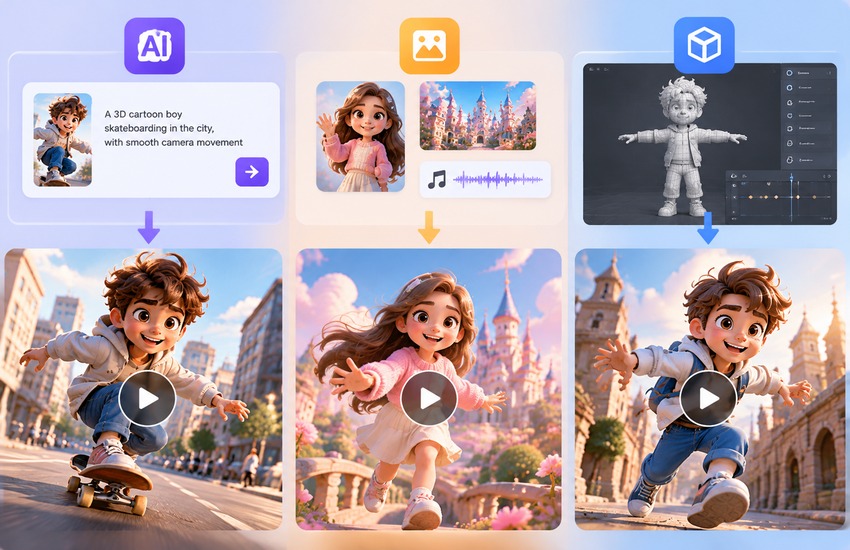
Three common approaches to making 3D animation are using RoboNeo, Canva, and professional 3D software such as Blender. RoboNeo is suitable for animating existing images, Canva helps create simple animated visuals, and Blender provides detailed control over 3D models and movement.
Method 1: How to Make 3D Animation with RoboNeo
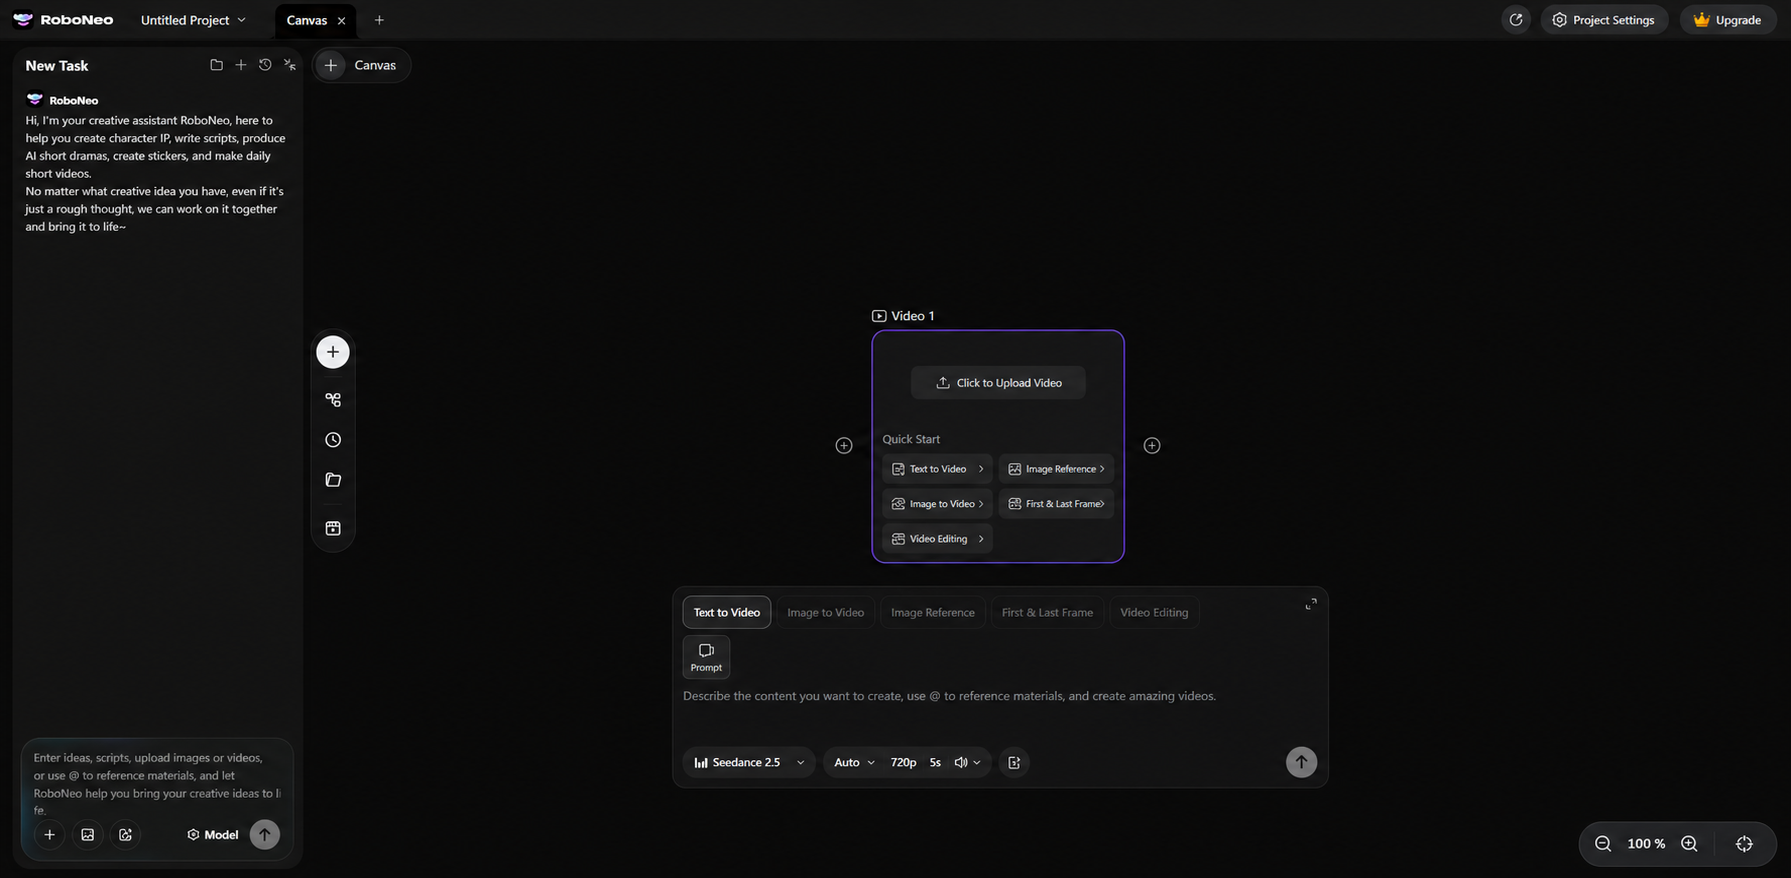
RoboNeo lets you add a Video Node to the canvas, choose an image-to-video or text-to-video workflow, and adjust available generation settings. Its AI video maker also supports different input modes, allowing creators to build short animated clips from prompts, images, or existing footage.
Step 1: Choose Image-to-Video Generation
Open RoboNeo and select Image-to-Video mode on the canvas. Upload a reference image, enter a prompt describing the desired movements and camera angles, and adjust the available video settings. Use the canvas to organize your inputs and generated clips for easier animation editing.
Step 2: Upload a 3D-Style Image and Describe the Motion
Upload a clear 3D character or product image, then adjust its viewing angle to explore different perspectives. Customize lighting and shadows to achieve your desired look before generating the video. For more ideas on animating still images, explore these image-to-video techniques. Next, enter a motion prompt, such as “A small 3D robot raises its hand and waves as the camera slowly moves closer,” to bring your image to life.
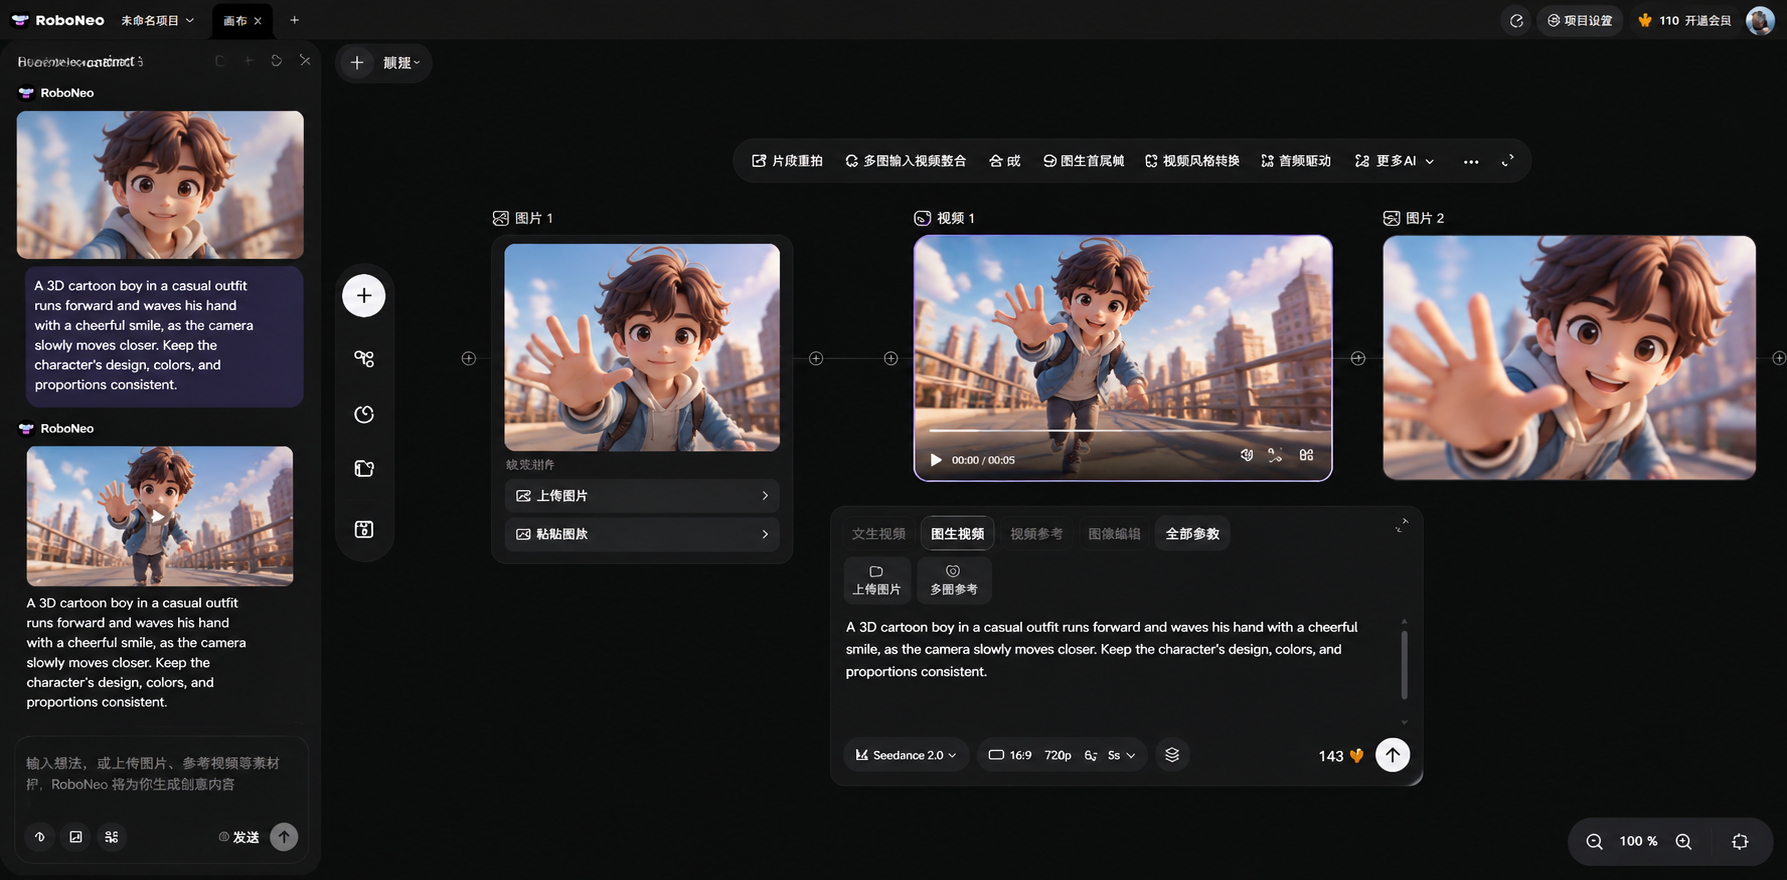
Step 3: Select a Model and Set Your Video Options
Choose a video generation model based on your animation needs. RoboNeo offers models including Seedance 2.0, Kling 3.0, Sora 2, Veo 3.0, and Wan 2.6, each suited to different creative workflows. Adjust the available duration, aspect ratio, resolution, and audio settings to match your project. For example, use a vertical format for social media clips and a horizontal format for website videos. Check the displayed credit cost before generating, as it varies by model and settings.
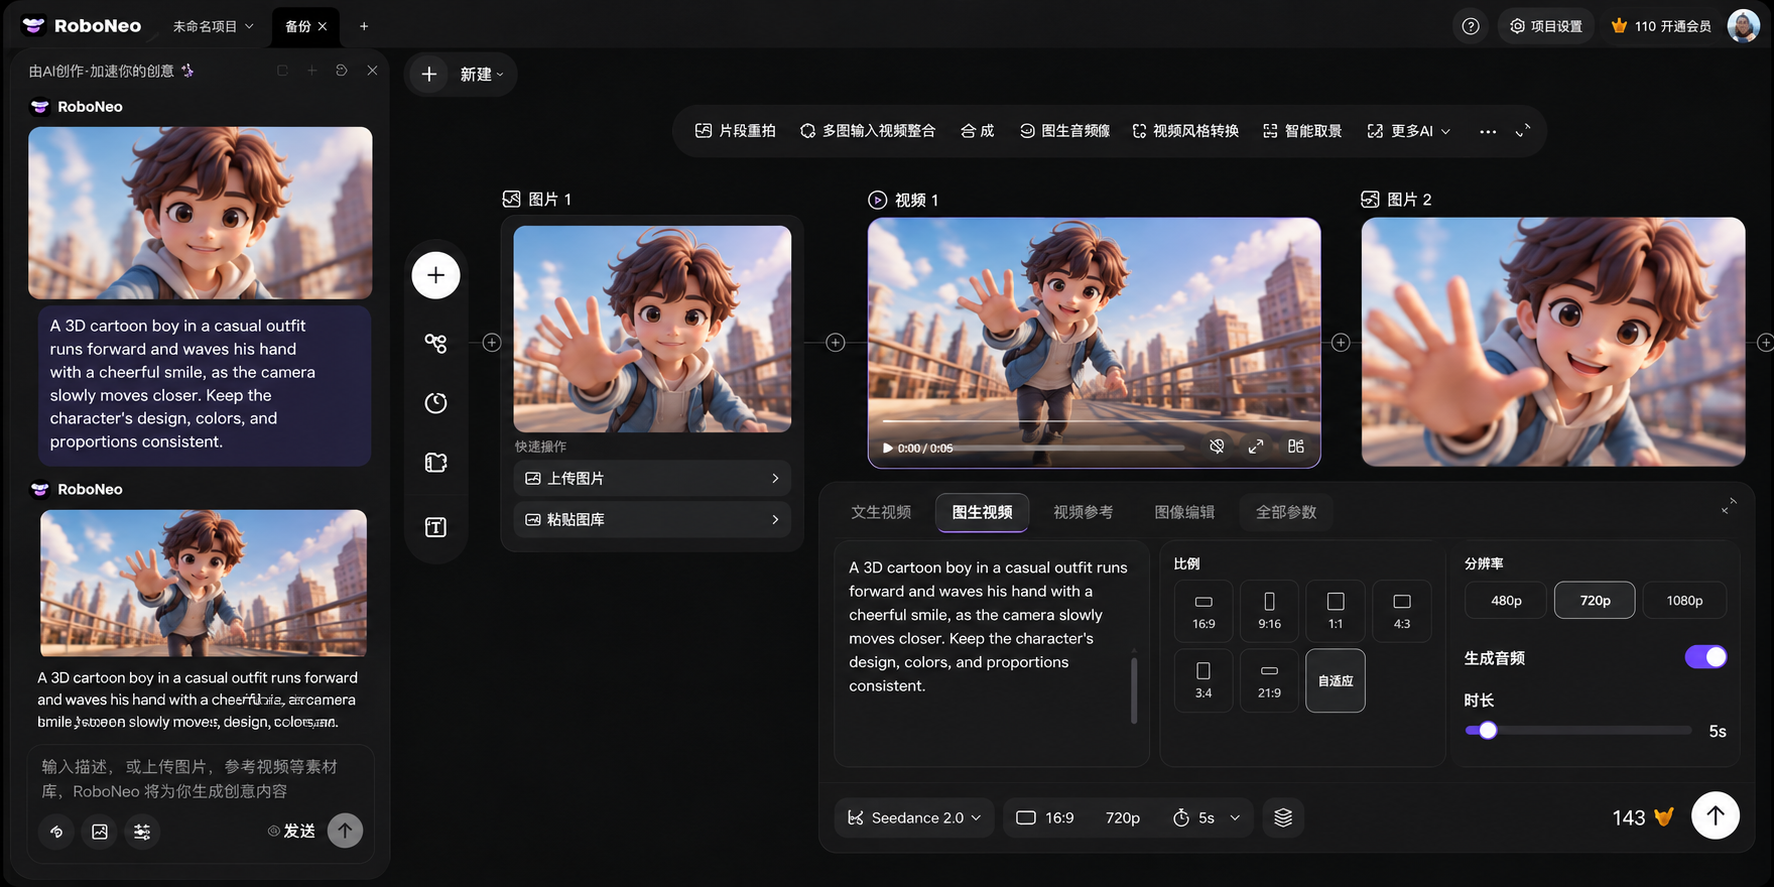
Step 4: Generate and Review Your Animation
After generating the clip, check whether the character's movements look natural and its appearance remains consistent throughout the scene. If you need more ideas for refining your workflow, these AI animation techniques cover different ways to create and improve animated videos.
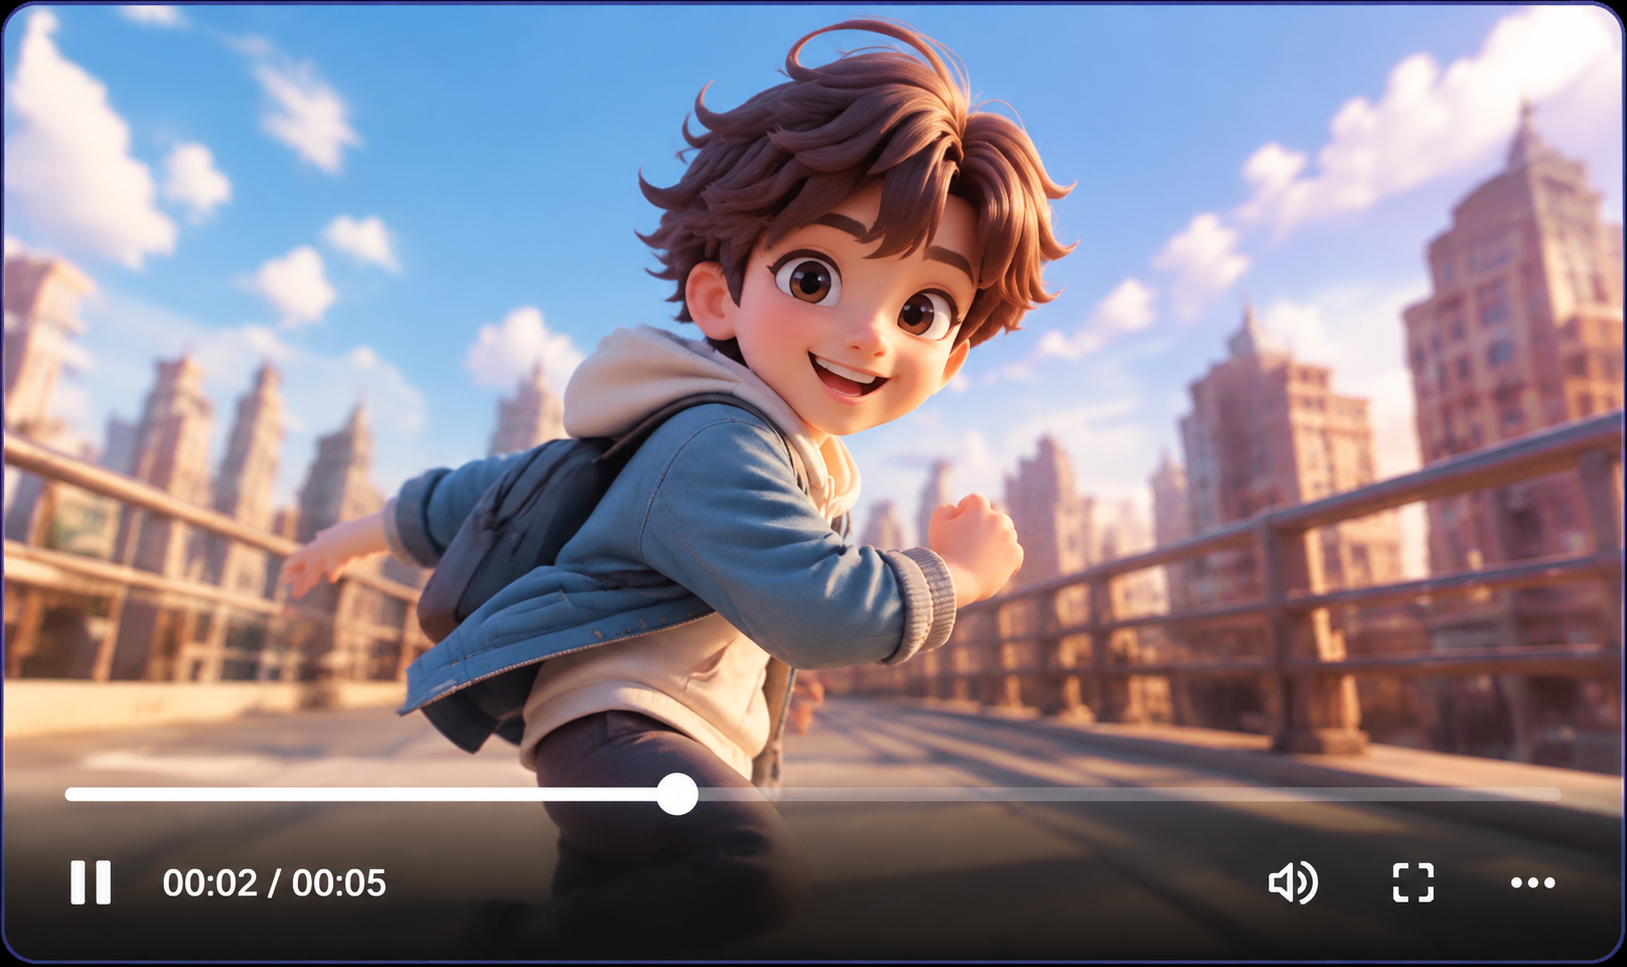
Step 5: Adjust Your Inputs, Regenerate, and Download
Make targeted changes to correct specific problems, such as slowing down the movement or reducing camera motion. Once the result looks natural, download the video and add captions, music, or transitions if needed.
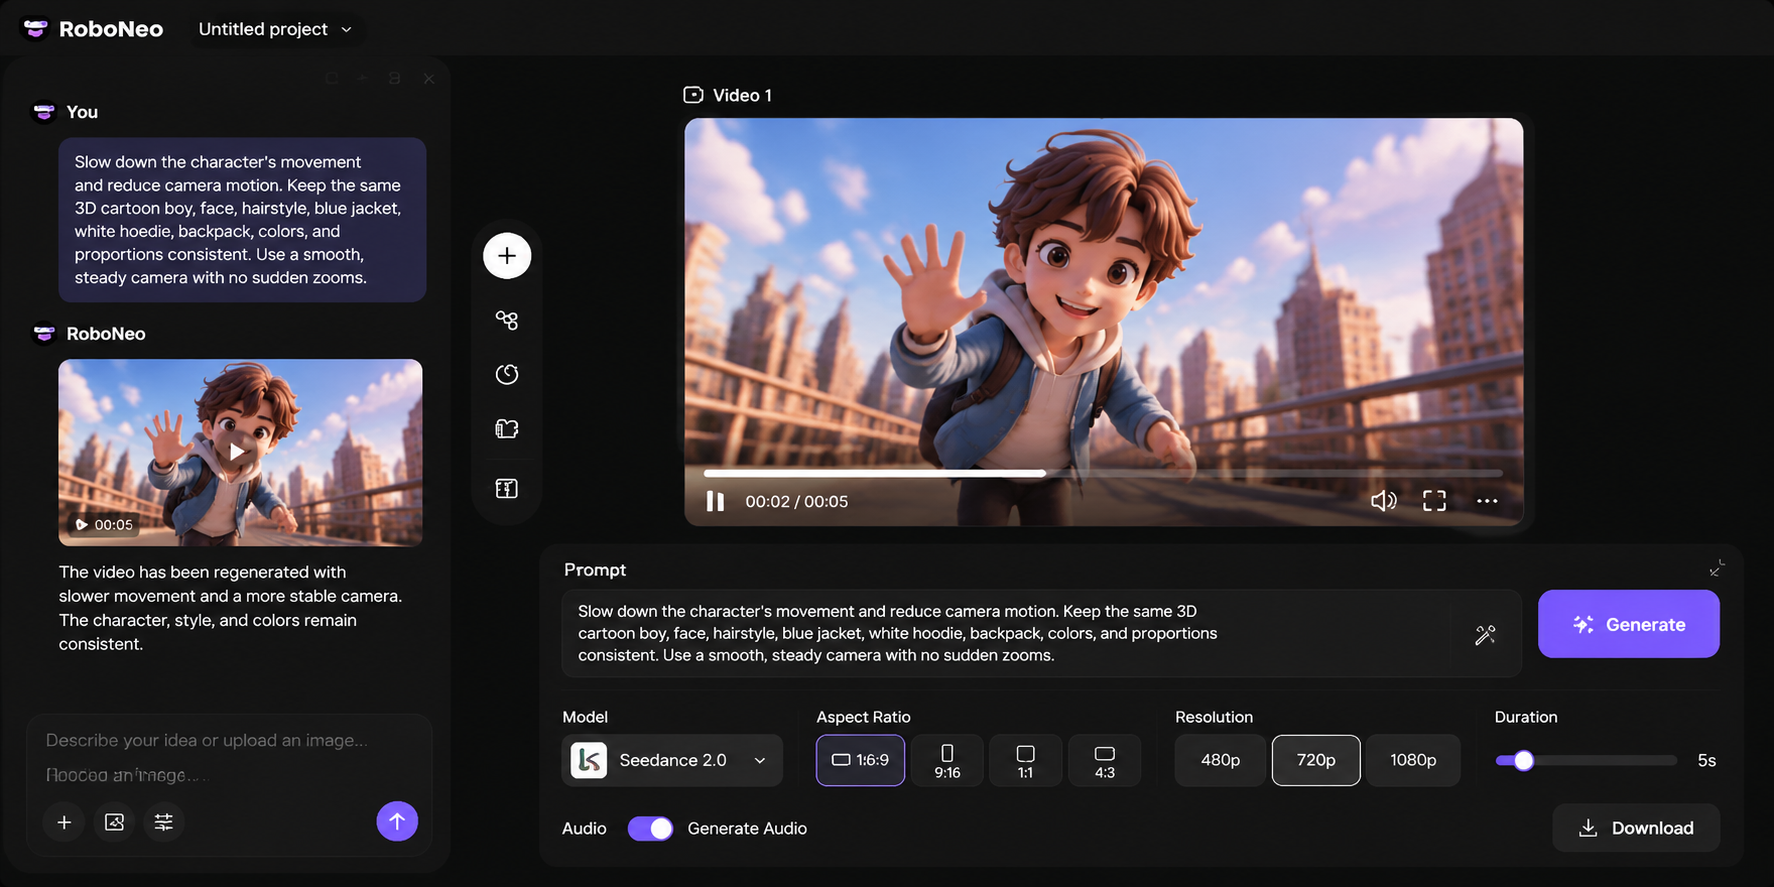
RoboNeo provides a practical way to turn 3D-style images into animated video clips without manually building and animating 3D models. From image uploads and motion prompts to model selection and final refinements, creators can adjust each generation to match their desired result. It is a useful option for short 3D-style animations, character movements, and product visuals.
Create your animation with RoboNeo
Method 2: How to Make 3D Animation with Canva
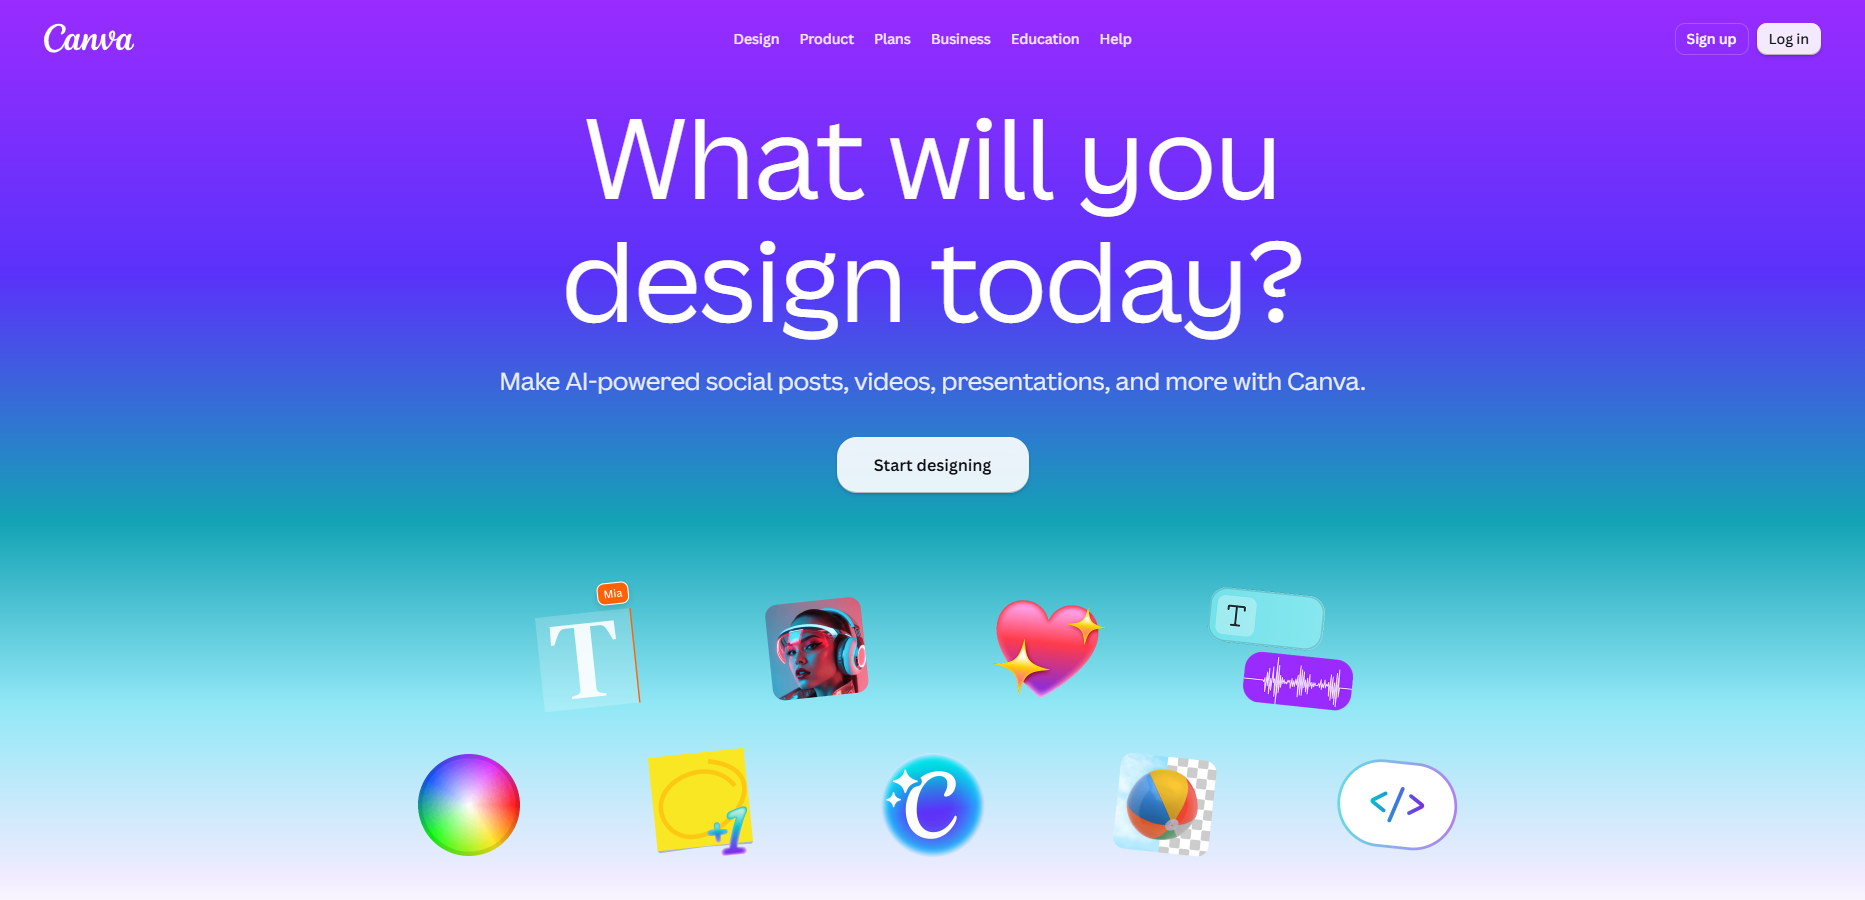
Canva is suitable for creating animated designs that combine 3D-style graphics, text, and transitions. Instead of building complete 3D models, you can animate supported elements or use available image-to-video features to create promotional content.
Step 1: Choose a 3D Video Template
Open Canva and search for video templates featuring 3D-style graphics or animated elements. Choose a layout that matches your project, such as a product showcase or social media promotion, to reduce design time.
Step 2: Replace the Sample Text and Visuals
Replace the template's text, images, and graphics with your own content. For example, a small business can add a 3D-style product image, a short product description, and its brand logo.
Step 3: Animate Your Elements
Select supported text or visual elements and apply effects through Canva's Animate feature. Subtle movement, such as a title fading in or a product graphic sliding into view, can make the video more engaging.
Step 4: Adjust Scene Timing and Transitions
Arrange elements in the timeline and adjust their duration to create a smooth sequence. Keep transitions simple so viewers can focus on the main visual rather than distracting effects.
Step 5: Preview and Export Your Video as an MP4
Preview the entire video to check text readability, animation timing, and visual consistency. When everything looks right, download the project as an MP4 video for sharing on social media or embedding on a website.
Method 3: How to Make 3D Animation with Professional 3D Software
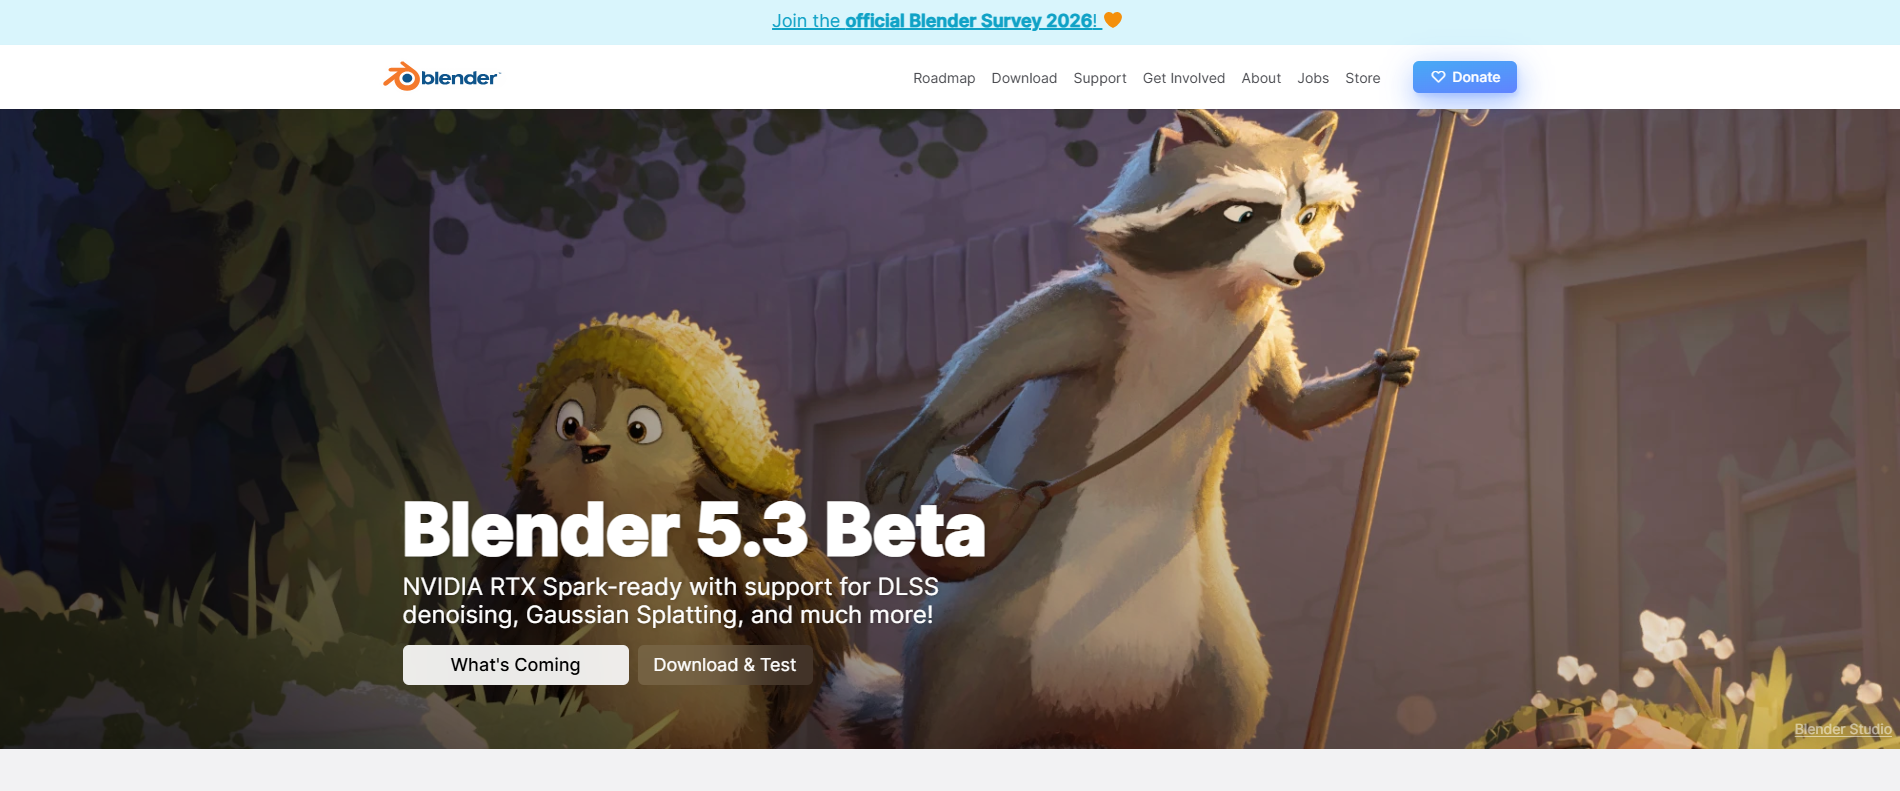
Professional 3D software such as Blender gives creators greater control over modeling, character movement, and scene details. Although the learning curve is steeper, this approach is ideal for animations that require precise movements and fully customizable 3D environments.
Step 1: Create or Import Your 3D Models
Create a model from basic shapes or import an existing 3D asset. Beginners can start with a simple product, such as a bottle or a toy car, before working with complex characters.
Step 2: Arrange Your Scene and Set the Camera
Position your models, choose a background, and adjust the camera angle. For a product showcase, a three-quarter view can highlight the object's shape while leaving enough space for text.
Step 3: Rig Your Models If Needed
Character animation often requires a rig, which provides controls for moving bones and body parts. A properly configured rig allows a character to walk, wave, or turn its head without manually adjusting every part.
Step 4: Add Keyframes and Preview the Motion
Set keyframes for properties such as position, rotation, and scale, then preview the animation. For example, a rotating product can move smoothly between keyframes, while a walking character requires more carefully coordinated movements.
Step 5: Refine Materials and Lighting with Test Renders
Adjust surface textures, colors, shadows, and lighting to achieve the desired appearance. Render a few test frames to identify issues such as overly dark surfaces, unnatural reflections, or unwanted shadows before processing the entire animation.
Step 6: Render and Export Your Animation
Set the frame rate, resolution, output format, and frame range. After checking the final scene, render the animation and export it as a video file for publishing or further editing.
Why Choose RoboNeo for 3D-Style Animation?
Traditional 3D software offers extensive creative control, but modeling, rigging, and scene setup can take considerable time. RoboNeo provides an alternative by bringing creative planning, storyboards, reference materials, and shot-by-shot generation into a more streamlined workflow. Creators can focus on shaping the story and visual direction instead of spending all their time learning complex software operations.
For multi-shot animation, RoboNeo also supports a workflow built around managing character, scene, and style references, with opportunities to review and revise individual shots. This makes it easier to work toward consistent character appearances and smoother scene continuity across a sequence. For creators who want to produce 3D-style animated videos efficiently, RoboNeo is a practical starting point, particularly when speed and visual storytelling matter more than detailed manual control over 3D geometry.
Tips for Making Better 3D Animations
A good 3D animation depends on more than the generation tool you choose. Consistent character details, natural movements, smooth camera work, and coordinated lighting all help create a more polished result. Keep these tips in mind throughout the production process.
Keep Character Designs Consistent
Use the same character references, colors, and proportions throughout the animation. For multi-shot projects, consistent reference materials help reduce unwanted changes in appearance. You can also learn more about making AI videos step by step to improve your prompts, control motion, and achieve better results.
Use Clear and Simple Movements
Focus on one or two main actions per shot to make the animation easier to follow. Simple movements, such as turning, waving, or walking, are also easier to refine.
Make Camera Movements Smooth
Avoid sudden zooms or unnecessary camera rotations that distract from the subject. Slow pans and gentle zooms often create a more natural viewing experience.
Match Lighting and Background Styles
Maintain similar lighting, color tones, and background details across shots to create a unified visual style. Consistent scene references can help make transitions between shots feel more natural.
How to Make 3D Animation Without Wasting AI Credits
To avoid wasting AI credits when creating 3D animations, follow these steps to make your workflow more efficient.
Step 1: Start with a Clear Concept. Define your story, character, and visual style before generating.
Step 2: Use Templates and References. Choose a suitable template and prepare consistent character and scene references.
Step 3: Write Specific Prompts. Describe the subject's actions, camera movement, and scene details clearly.
Step 4: Review Each Shot. Check character consistency, motion quality, and scene continuity before proceeding.
Step 5: Make Targeted Adjustments. Fix specific problems instead of regenerating the entire sequence.
Step 6: Check Credit Costs and Export. Review generation costs before each attempt and export the approved animation.
FAQ
Do I Need Drawing Skills to Make 3D Animation?
No. AI-powered tools such as RoboNeo can animate existing images without requiring drawing or modeling skills. Drawing can still help when designing original characters or planning detailed scenes.
Do I Need a Powerful Computer for 3D Animation?
Not always. Browser-based AI tools generally reduce the need for local rendering hardware, while professional 3D software may require a stronger processor, more memory, and a capable graphics card for complex scenes.
How Long Does It Take to Make a Short 3D Animation?
A simple AI-generated clip may take only a few minutes to generate, while a polished animation can require several hours or longer. The total time depends on scene complexity, motion quality, and the number of revisions needed.
Can I Make 3D Animation on My Phone?
Yes. Mobile-friendly design platforms and browser-based AI tools can help you create short animated videos on a smartphone. However, detailed modeling and complex animation are generally easier on a computer.
Can I Turn a 2D Image Into a 3D Animation?
Yes. Image-to-video tools such as RoboNeo can generate movement from a still image, creating a 3D-style animated result. However, this does not necessarily produce a fully editable 3D model with real three-dimensional geometry.
You May Be Interested
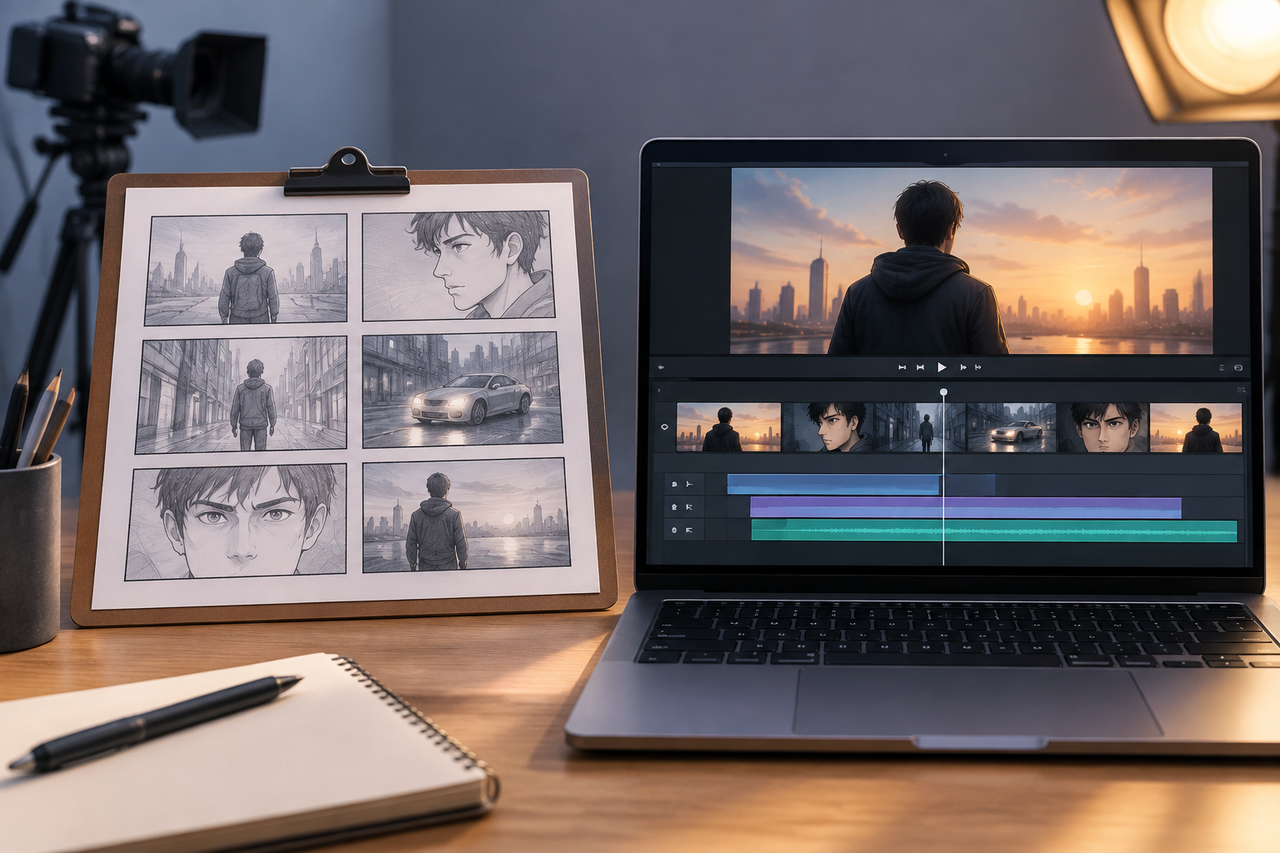
Animatic vs. Storyboard: Key Differences and Best Uses
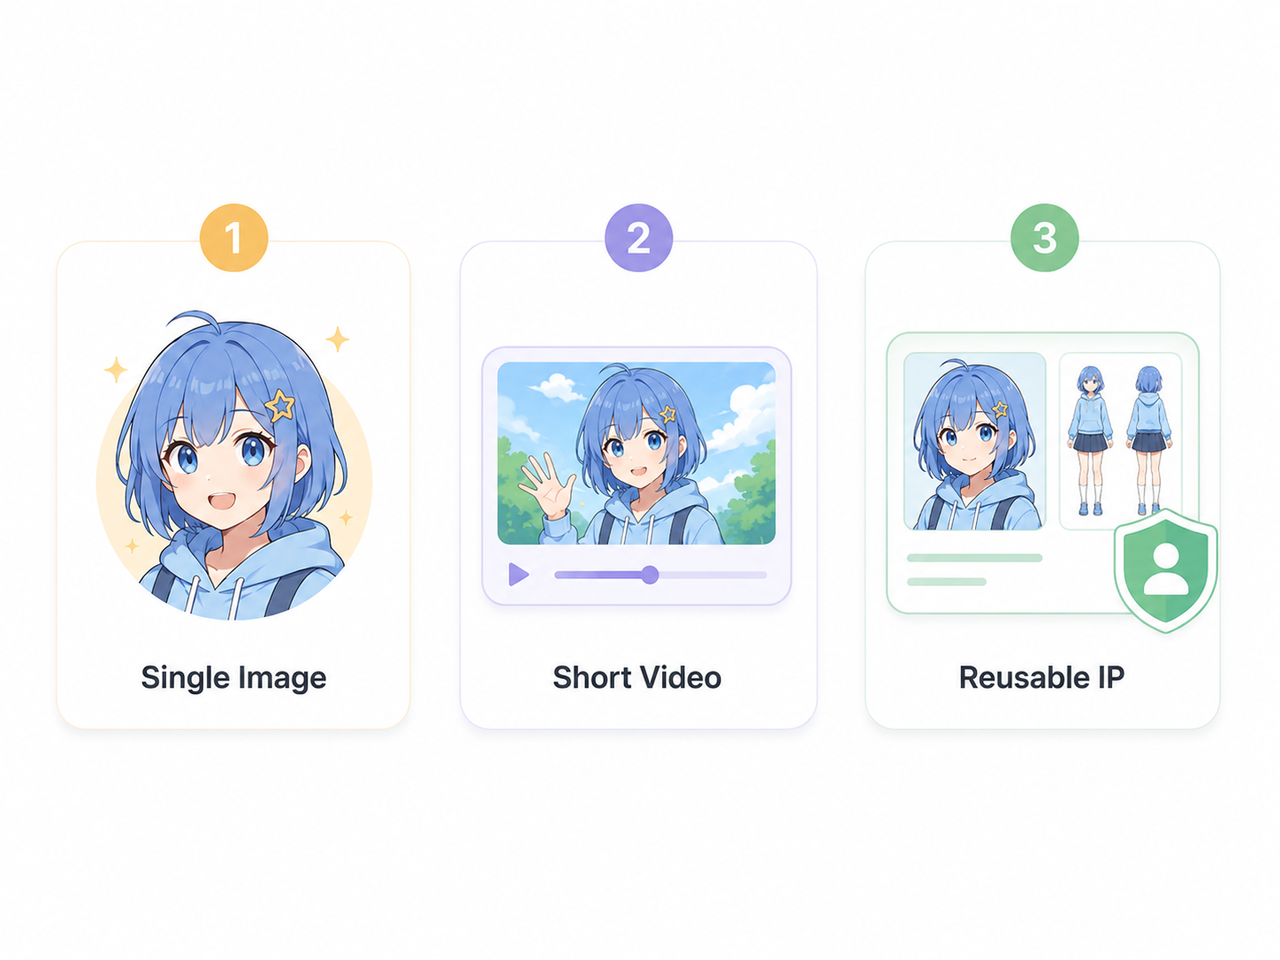
How to Create an Anime Character with AI: Practical Guide
How to Create an Anime Movie: The Complete Process
How to Create Animated Videos: 5 AI Methods to Final Video
Best AI Video Generators for Anime Style 2026: 7 Picks
How to Create a Whiteboard Animation: 6 Easy Steps