
How to Make Images Less Blurry: Methods for Clearer Images
 RoboNeo TeamAugust 13, 2026
A fuzzy picture often packs enough raw data to yield a crisp, usable shot. Success hinges entirely on pinpointing the culprit—did camera shake, missed focus, low resolution, grain, or harsh compression ruin the shot in the first place? Diagnose the damage first. Once you spot the root cause, picking the right tool to figure out how to make an image less blurry becomes simple, and you won't end up over-processing your work.
What Is Making Your Photo Look Blurry?
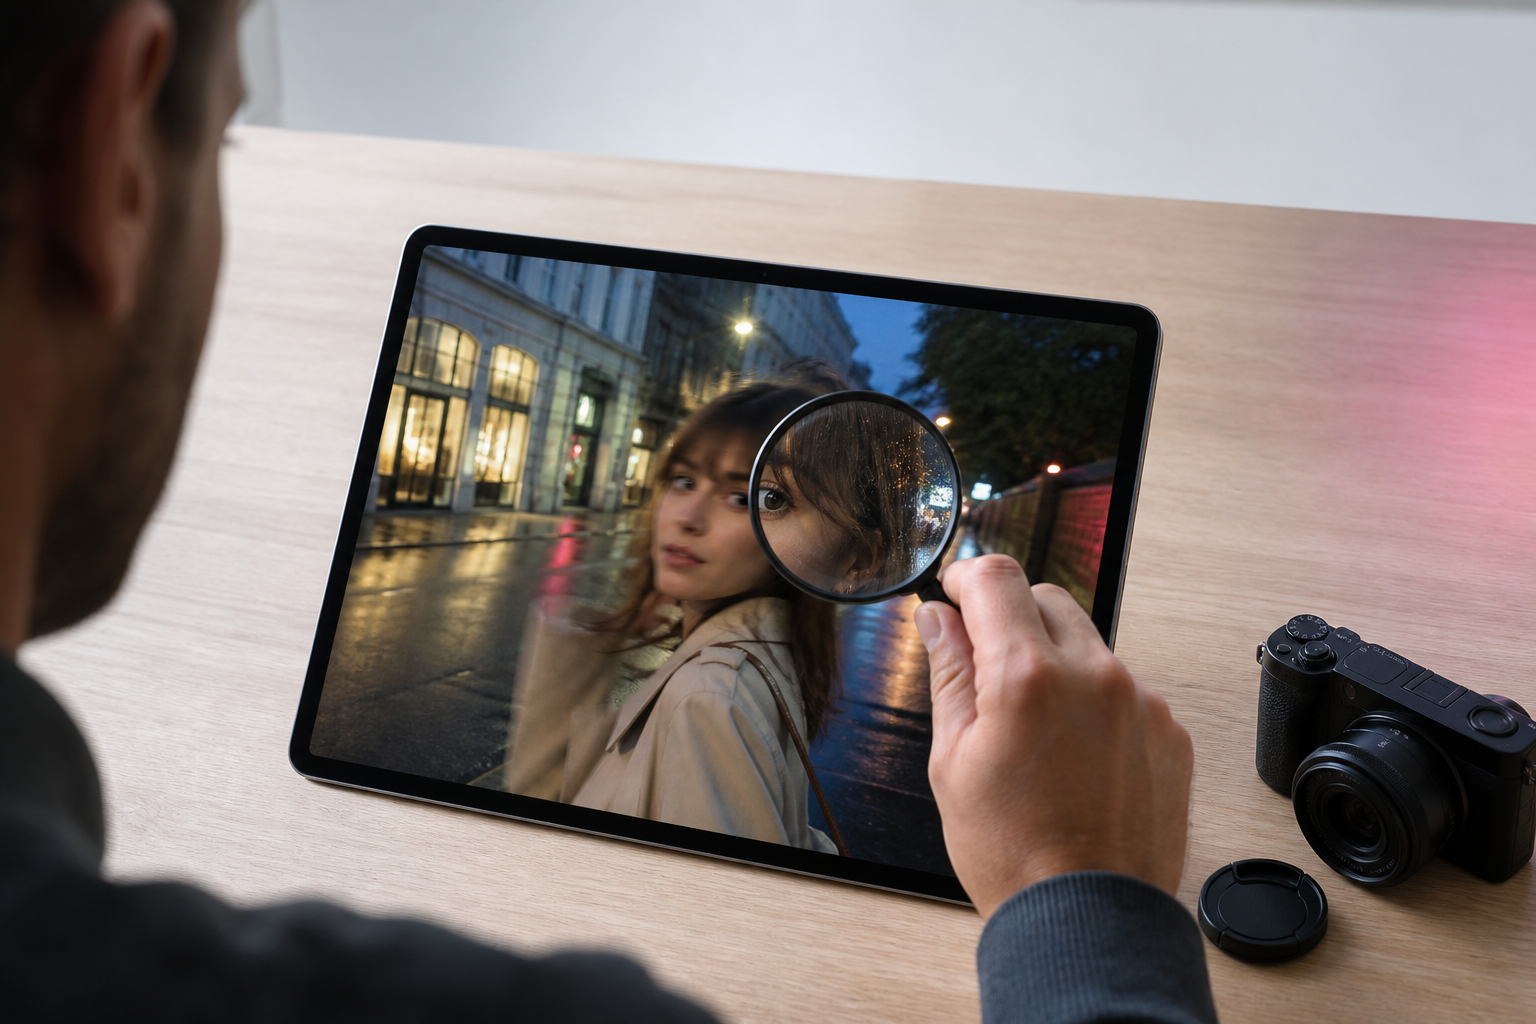
Blur does not always have the same cause. Examining the affected areas at full size can help you determine whether sharpening, noise reduction, upscaling, or AI enhancement is most likely to work.
Camera Shake and Motion Blur
Hand jitter ruins shots fast. A quick twitch while the shutter is open turns the whole scene mushy, leaving ugly streaks around streetlamps—a classic pain when shooting handheld at night.
Movement inside the frame is a different story. Picture a speeding racecar leaving a long blur across the track, or a waving hand turned into a phantom smear while the background stays perfectly sharp.
Can you fix it? Minor wobbles usually yield to smart deblurring tools. Long streaks, though, are a lost cause because the original shapes simply vanished. Over-processing here only creates ugly double edges and weird distortions.
Missed Focus and Shallow Depth of Field
Missed focus usually makes the subject look evenly soft without a clear directional trail. In a group portrait, the camera might focus on the wall behind the people, leaving their faces slightly blurred.
Shallow depth of field is different because some blur is intentional. When only a narrow area is in focus, objects in front of or behind it naturally appear soft. Editing can improve minor softness around the intended subject, but it cannot move the original focus plane.
Older scanned photographs may combine missed focus with fading, scratches, dust, and discoloration. A broader photo restoration tool may be more suitable for these images than sharpening alone.
Low Resolution, Noise, and Compression
Crisp focus won't save a photo if compression ruins the pixels first. Tiny social media downloads look fine as thumbnails, but expanding them reveals a blocky, pixelated mess. Screenshots, chat apps, and repeated saves actively strip away fine textures, creating ugly digital blocks around hair, text, and sharp edges.
Low-light noise creates a different form of softness. Heavy grain and colored speckles choke out subtle details, while overly aggressive noise reduction melts away skin texture and fabric patterns. Simply enlarging the canvas won't fix these underlying issues.
How to Make a Photo Less Blurry Step by Step
A reliable workflow begins with the best available source and moves from broad corrections to more targeted enhancement. This order helps preserve natural detail and reduces the risk of halos, harsh edges, or invented textures.
Step 1: Start With the Best Available Version
Look for the largest and least compressed copy of the photo. A camera original, RAW file, or full-resolution phone image usually contains more useful visual information than a screenshot or social media download.
Check the original device, cloud backups, email attachments, shared albums, and memory cards. If someone sent the picture through a messaging app, ask whether they can share the original file instead.
Source quality is especially important if you plan to make a video from photos. Starting with clearer, similarly sized images helps the finished video look more consistent.
Create a duplicate before editing so the source remains untouched.
Step 2: Correct Noise, Exposure, and Contrast
A dark or noisy photo may look blurrier because important edges are difficult to distinguish. Begin by correcting exposure, highlights, shadows, white balance, and contrast.
Apply noise reduction before strong sharpening. Otherwise, the sharpening effect may make grain and colored speckles more noticeable. The goal is to reduce distracting noise without removing all natural texture.
If the image needs several broad adjustments, an AI image editor can help with general cleanup before more focused clarity enhancement. Review faces, hair, fabric, and other textured areas to make sure they have not become unnaturally smooth.
Step 3: Apply Sharpening to Mild Blur
Sharpening works by boosting contrast along existing edges. It shines best on mildly soft photos that still hold recognizable detail.
Always start small. Dial in a modest boost, then inspect your image at 100% view—glowing outlines, rough skin, brittle hair, or extra grain mean you've pushed the effect too far.
If you are figuring out how to make pictures not blurry, targeted tweaks usually beat full-frame edits. In a portrait, for instance, the eyes and hair benefit from extra definition, while the skin and background should stay softer. Similarly, a product shot may only need sharper packaging borders and a clearer label rather than a blanket fix.
Step 4: Use AI for Stronger Blur or Low Resolution
When ordinary sharpening does not provide enough improvement, RoboNeo AI Enhancer can address blur, noise, and limited resolution together. Users can enhance facial features, product details, or background text, generate a new version, and compare it with the original without manually combining multiple effects.
AI is generally better at improving perceived clarity than recovering factual details that have disappeared completely. It may reconstruct eyelashes, hair, lettering, or surface textures based on learned patterns rather than information preserved in the original file.
Pay particular attention to faces, text, logos, and regular geometric patterns. Distorted eyes, incorrect characters, uneven teeth, bent building lines, or repeated textures are signs that the result has been overprocessed.
Enhance with RoboNeo AI Enhancer
Step 5: Review the Result and Save the Final Image
Compare the original and enhanced versions at both 100% magnification and normal viewing size. Inspect the areas where enhancement errors are most likely to appear:
Eyes, hair, teeth, hands, and fingers
Signs, dates, labels, and background text
Window frames, rooflines, fences, and product edges
Fabric, grass, brickwork, and repeating textures
The sharpest version is not always the best version. Choose the result that makes the subject easier to see without noticeably changing its appearance.
Export the photo at a size appropriate for its intended use. JPEG is practical for websites and social media, while PNG or TIFF may be more suitable for graphics, printing, or continued editing.
Which Method Works Best for Different Photos?
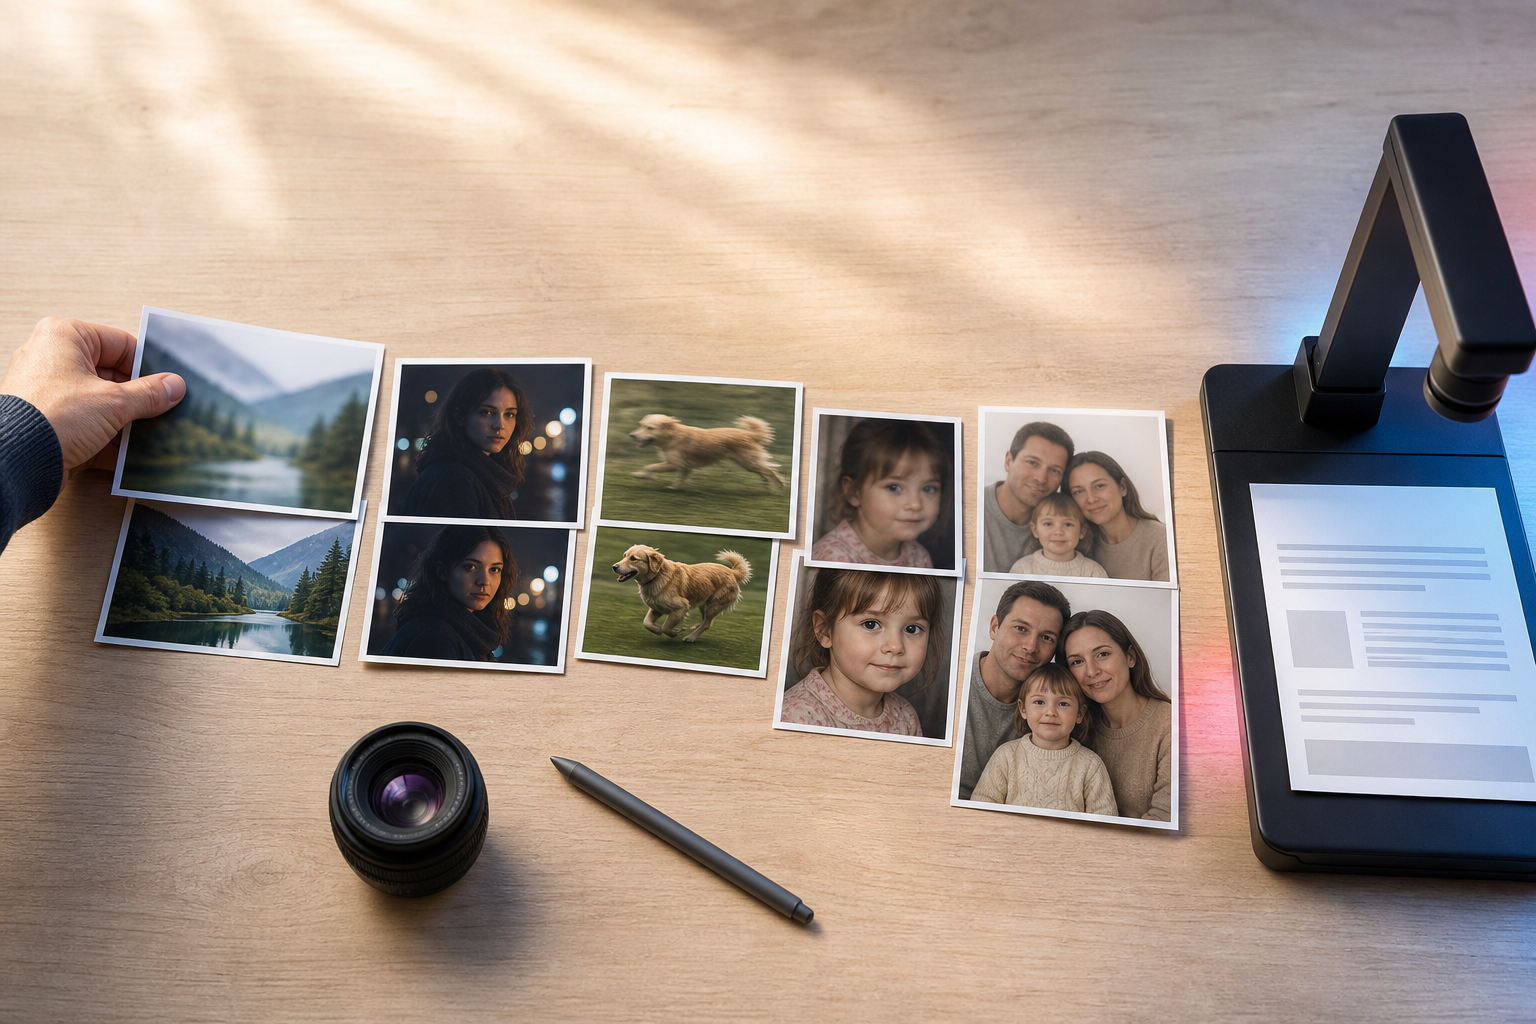
The most effective method depends on what caused the loss of clarity and how the photo will be used. Matching the correction to the problem can prevent unnecessary processing.
Photo Problem | Recommended Method | Suitable Tools | Best Use Case | Expected Result | Risk to Check |
Mild soft focus | Basic sharpening | Phone or desktop photo editor | Landscapes and casual photos | Better definition around existing edges | Halos and increased grain |
Low-light noise | Noise reduction followed by sharpening | RAW editor or denoising software | Indoor events and night photos | Cleaner shadows with moderate detail | Waxy skin and lost texture |
Mild motion blur | Directional deblurring | Specialized deblur software | Pets, sports, and handheld photos | Shorter or less visible motion trails | Double edges and distorted outlines |
Low resolution | AI upscaling with controlled enhancement | AI image enhancer | Small web images and older digital photos | Larger output with improved visual clarity | Invented textures and false detail |
Soft portrait | Local or facial enhancement | Portrait editor or AI enhancer | Profile pictures and family photos | More defined facial features | Altered identity or unnatural skin |
Blurry text | Find the original or rescan | Scanner or document capture app | Receipts, contracts, and records | More accurate and readable text | Incorrect reconstructed characters |
When Retaking or Rescanning Is the Better Option
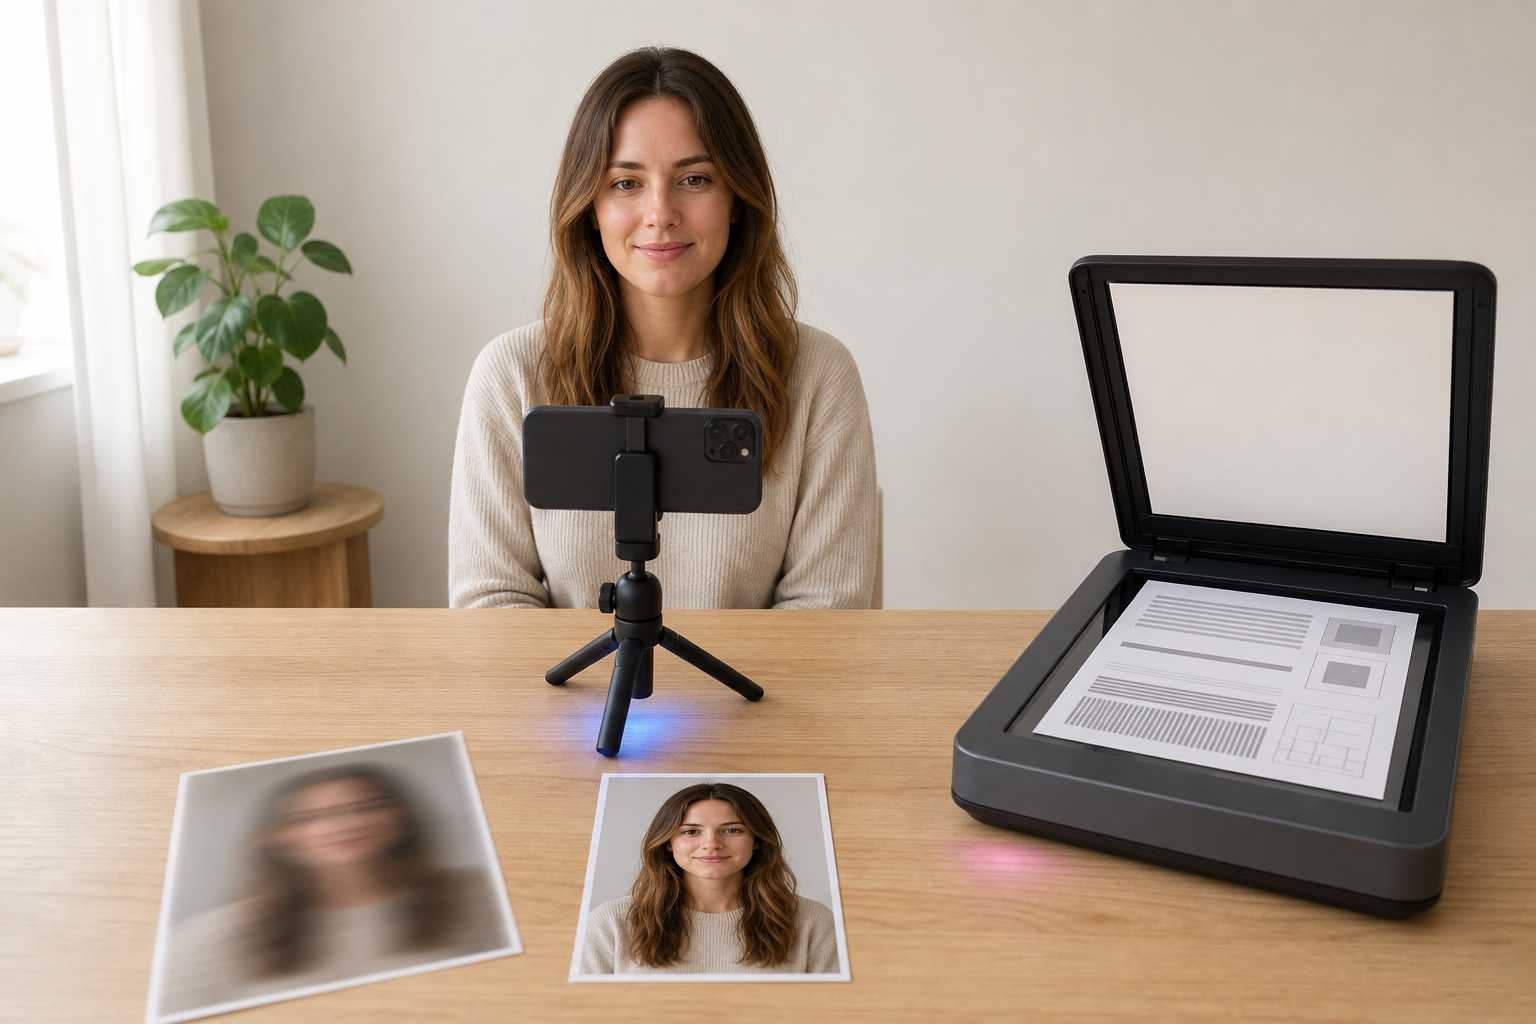
Continued enhancement is not always worthwhile. Retaking the photo is generally more reliable when the subject is extremely small, completely out of focus, or covered by a long motion trail. Documents containing names, dates, account numbers, medical instructions, or financial information should be rescanned rather than reconstructed with AI. You should also return to the original file when enhancement produces changed facial features, incorrect lettering, or broken patterns. If the subject or document is still available, better lighting, steadier support, and accurate focus will usually produce a more trustworthy image than repeated processing.
Common Mistakes That Can Make a Photo Look Worse
Even an appropriate editing method can produce an unnatural image when applied too strongly or in the wrong order.
Applying Too Much Sharpening
Heavy sharpening creates bright or dark outlines around edges and exaggerates existing noise. Skin can become rough, hair may look brittle, and distant objects may develop unnatural borders.
Natural photos contain both sharp and soft areas. Increase the effect only until the important subject becomes easier to see. If halos or harsh textures appear, reduce the sharpening strength or apply it only to selected areas.
Upscaling Without Fixing the Original Problem
Increasing the pixel dimensions does not automatically remove missed focus, motion blur, noise, or compression artifacts. It may only produce a larger version of the same unclear image.
Identify the main problem before upscaling. A noisy photo needs cleanup first, while a mildly blurred image may benefit from deblurring or sharpening before its dimensions are increased.
Upscaling can make a photo larger and cleaner, but it cannot recreate every detail that was missing from the original. The same limitation applies to 4K upscaling: matching the dimensions of a native 4K image does not mean the two files contain the same level of detail.
Treating AI-Generated Detail as Original Evidence
AI can reconstruct facial features, letters, numbers, and textures that look convincing but are not necessarily accurate. These details should not be treated as information recovered directly from the original image.
This distinction is particularly important for identity verification, legal evidence, medical information, security footage, and official records. Keep the original file unchanged and rely on clearer source material or verified documents whenever accuracy matters.
FAQ
Can a completely blurry photo be restored?
Rarely. Mild softness, digital noise, ugly compression, and slight motion trails usually yield to a quick cleanup, but no tool can resurrect detail that never hit the sensor in the first place. Smart algorithms might spin up a plausible guess, but don't confuse a clever reconstruction with authentic data.
Is sharpening the same as removing blur?
Not quite. Sharpening simply boosts contrast along existing borders to trick the eye, whereas true deblurring attempts to reverse actual focus slips or motion trails. While a touch of sharpening crispens up slightly soft shots, cranking it up on a heavily blurred image only amplifies ugly artifacts.
Can I make a photo less blurry on an iPhone or Android phone?
You sure can. Native photo apps tackle mild softness remarkably well using built-in controls like Sharpness, Definition, and Noise Reduction. If you are hunting for ways on how to make images less blurry when dealing with severe fuzziness, third-party AI editors can step in, though you should always inspect the output for weird, artificial details.
Why does a photo still look blurry after increasing the resolution?
Because pixel count and sharpness are two entirely different animals. Bumping up the resolution stretches your canvas or adds fresh pixels, but it won't magically undo hand tremors or a missed focus point. You have to fix the underlying defect itself rather than just blowing up the file size.
Can AI accurately unblur faces or text?
It can clean them up visually, but pinpoint accuracy is a gamble. The software often subtlely shifts facial features or hallucinates incorrect letters and numbers. Whenever you need rock-solid identification or precise transcriptions, skip the AI interpretation and track down original files, high-res scans, or official documents instead.
You May Be Interested
How to Turn Long YouTube Videos into TikToks with an AI Video Clip Generator
Best AI Video Enhancer in 2026: 8 Tools, Pros and Cons
Best TikTok Script Generator in 2026

How to Choose the Right Free AI Music Video Generator in 2026
How to Enhance Sora AI Video Quality: Step-by-Step Guide