
How to Unblur an Image: Easy Ways to Make Blurry Photos Clear
 RoboNeo TeamAugust 13, 2026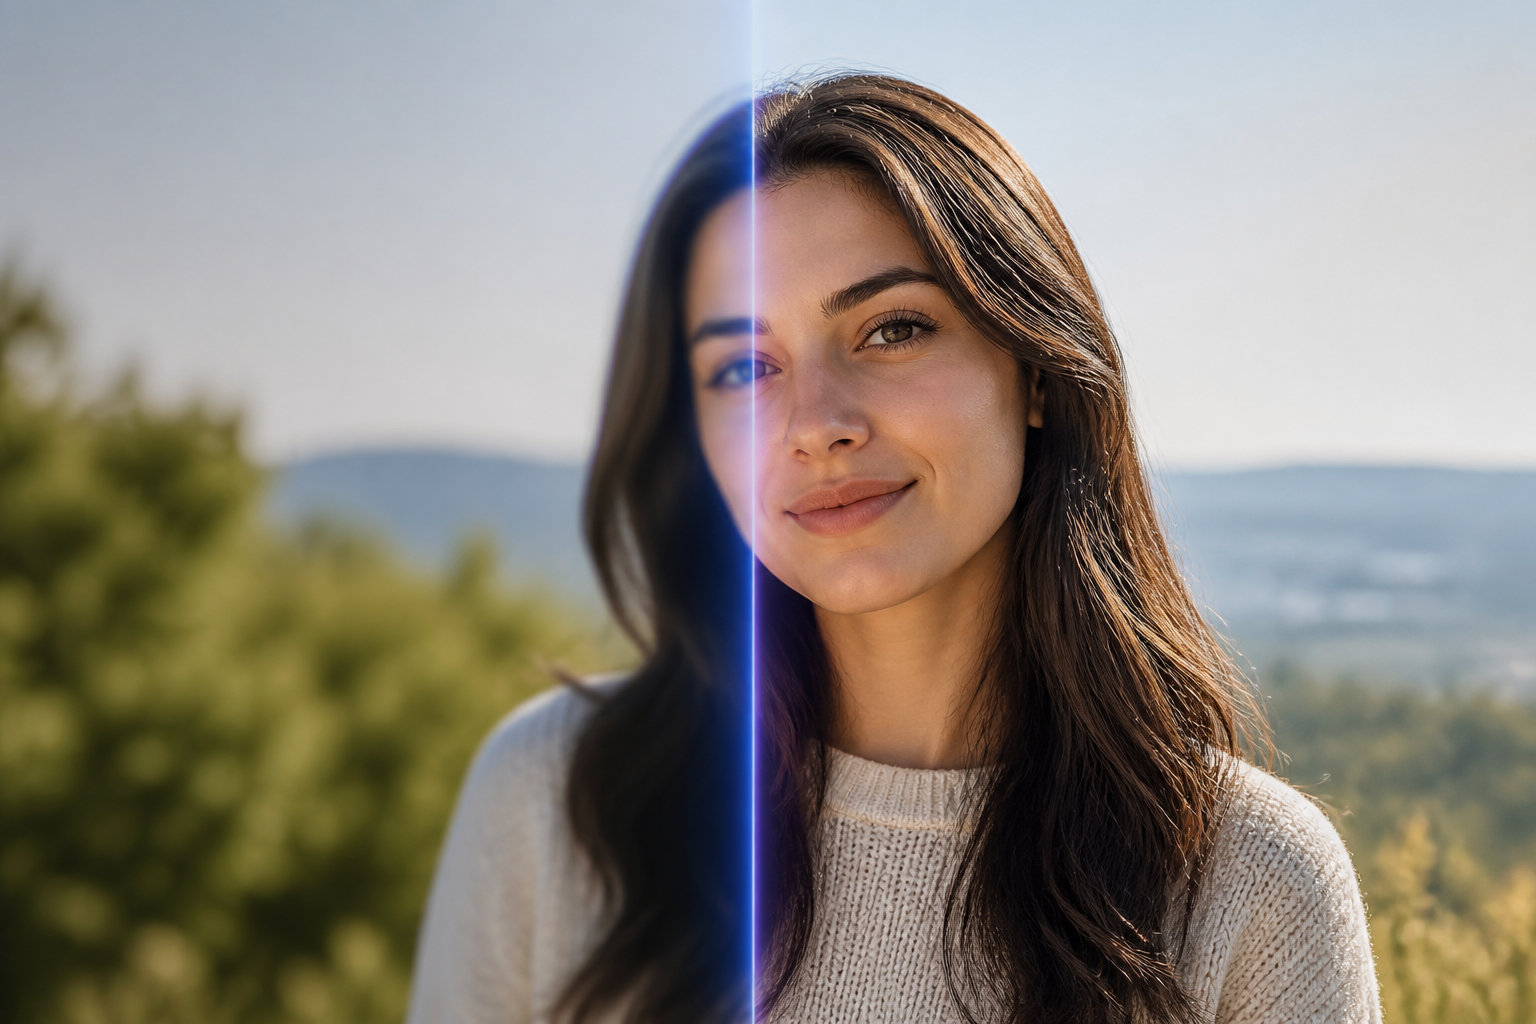
A blurry photo isn't always trash. Modern AI tech, combined with classic sharpening, noise suppression, and upscaling, can rescue a surprisingly wide range of soft shots.
Ever wonder why your pictures come out fuzzy anyway? This guide breaks down the root causes of image blur, shows you how to unblur an image online in just a few clicks, and reveals practical tricks to crisp up details without over-processing your work.
Can a Blurry Image Really Be Made Clear?
Yes, you can save plenty of blurry shots. How far you get, though, hinges entirely on the raw data left in your original file.
Minor focus slips, slight hand tremors, quick motion trails, low pixel counts, and ugly compression artifacts usually yield to a quick cleanup. Apply the right tweaks, and suddenly faces crisp up, product textures pop, and harsh digital noise fades into the background.
Severe blur? That is a whole different beast. When a lens misses focus entirely or your subject rockets across the scene leaving a massive smear, that information vanishes for good. Sure, smart algorithms can step up and pitch a plausible educated guess. But can any tool invent crisp data out of thin air? Hardly.
Shoot for a clean, natural image instead of chasing a miracle fix for a ruined photo.
Identify What Is Making Your Photo Blurry
Before deciding how to remove blur from a picture, consider what caused it. Focus errors, movement, compression, and low-light noise affect images differently and do not always respond to the same treatment.
Out-of-Focus Blur
Soft, evenly blurred edges usually indicate an out-of-focus image. This often happens when the camera locks onto the background, the depth of field is too shallow, or the photographer is too close to the subject.
In a family portrait, everyone may appear clear in the thumbnail, only for their faces to look soft when the image is opened at full size. Mild focus errors sometimes respond to AI enhancement or careful sharpening. Older pictures with fading, scratches, or physical damage may need a more complete photo restoration process.
Motion Blur and Camera Shake
Movement during exposure leaves a directional trail. A running dog, for instance, might look stretched out around its face and legs even if the background stays clear.
Camera shake, on the other hand, usually affects the whole frame. Streetlights, buildings, and people might all lean or blur in the same direction when a night photo turns out blurry from an unsteady grip. Slight shake is usually easier to fix because more of each object’s original shape stays visible.
Low Resolution and Compression Blur
A small image can appear clear in a message preview but look pixelated or soft once enlarged. Screenshots, repeated saving, and social media compression may remove fine textures and create visible blocks around edges.
Depending on the damage, improvement may involve:
Compression artifact and noise reduction
Resolution upscaling
Edge enhancement
Controlled sharpening
These adjustments can create a larger, cleaner-looking file, but they cannot automatically recover every detail that compression removed.
Low-Light Noise and Softness
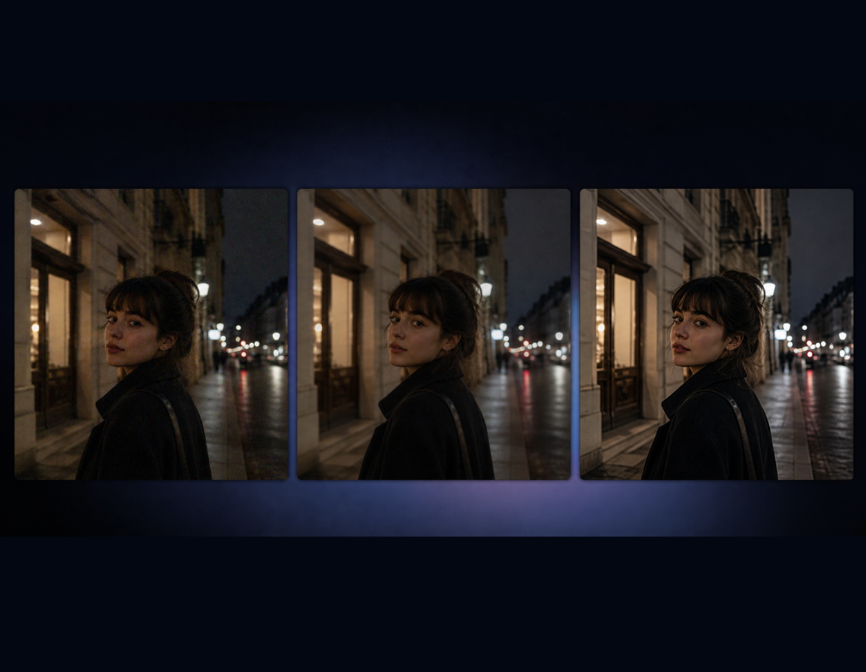
Dim restaurants, concert venues, and nighttime streets commonly produce photos with both noise and blur. A slower shutter leaves moving subjects soft, while a high ISO setting adds grain and colored speckles.
In this situation, noise reduction usually works best before strong sharpening. Reversing the order may sharpen the grain along with the subject. A balanced edit can clean up the image without making skin, hair, or fabric look unnaturally smooth.
How to Unblur an Image with AI
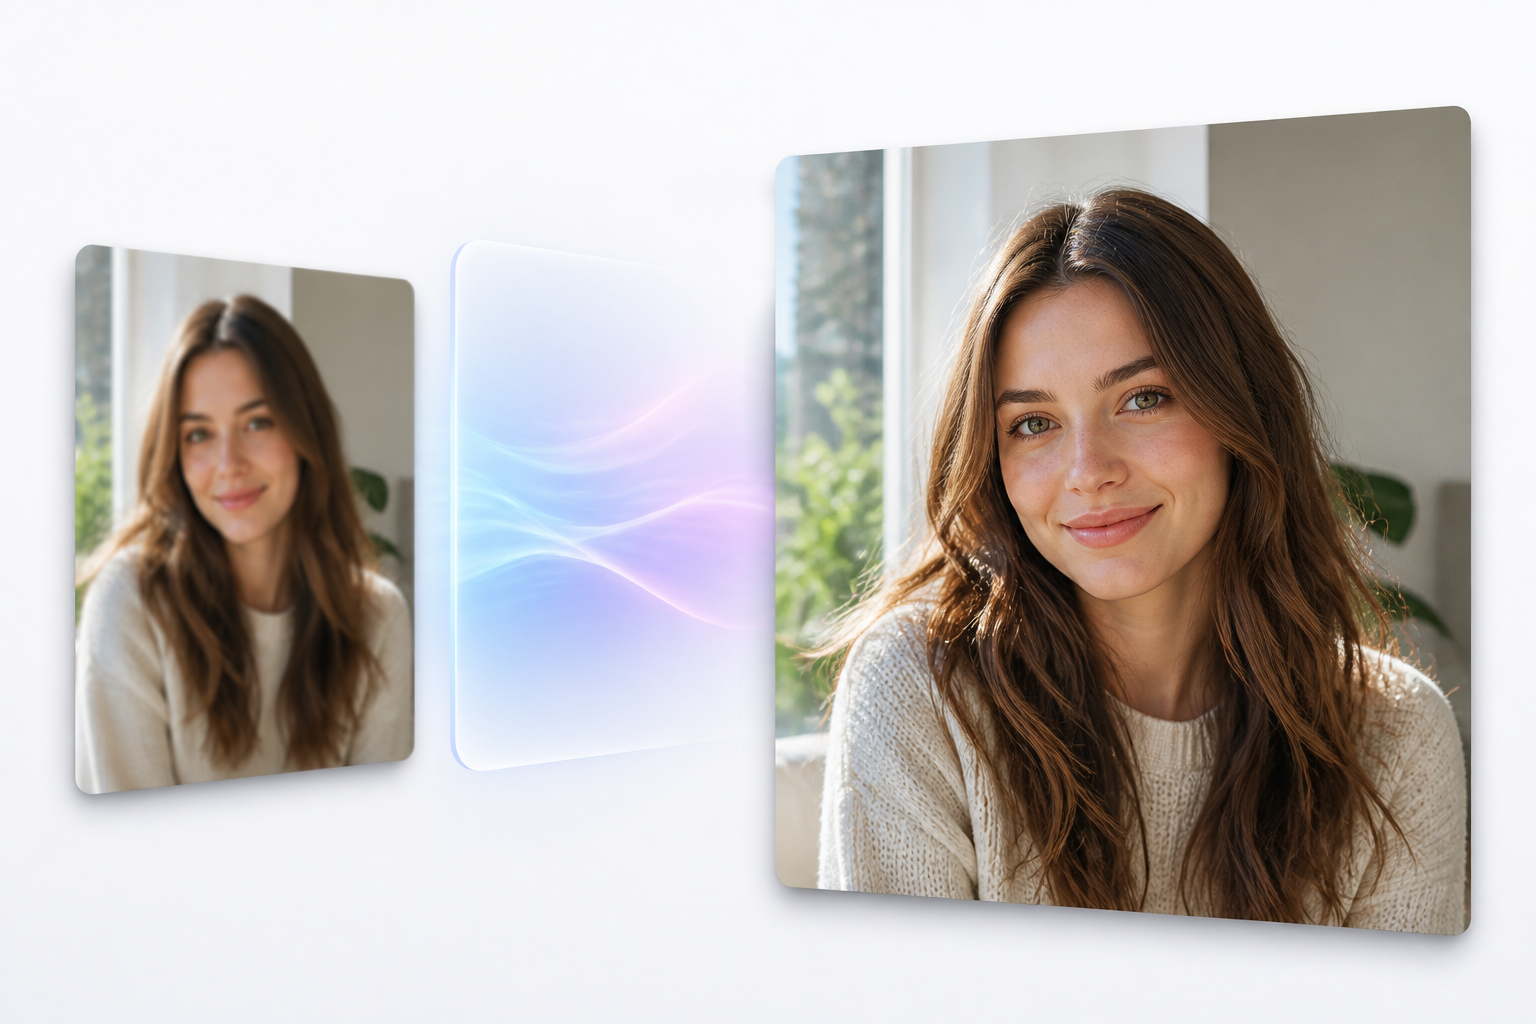
For anyone wondering how to remove blur from photos without learning advanced editing controls, AI enhancement offers an accessible solution. RoboNeo combines image enhancement with other AI-assisted visual tools in a browser-based workspace.
Step 1: Find the Highest-Quality Original
The largest, least compressed version will provide the best starting point. Camera originals, RAW files, and full-resolution phone photos contain more information than screenshots or images saved from social media.
When a relative shares an old birthday photo through a messaging app, asking for the original file may improve the final result more than selecting a stronger enhancement setting. Source quality also matters when the pictures will later be used for making a video from photos.
Step 2: Upload the Image to an AI Enhancer
The photo can be uploaded to the RoboNeo AI Enhancer. It provides a straightforward way to unblur an image online without installing desktop software or working through numerous manual controls.
Processing should begin only after the original file has finished uploading. Larger images may take more time, but the additional visual information can help the tool distinguish real details from blur and noise.
Step 3: Apply the Appropriate Enhancement
The selected enhancement should match the main issue in the photo. Upscaling may help a low-resolution image, whereas a grainy nighttime shot usually needs a combination of noise reduction and detail enhancement.
Stronger processing does not always produce a better result. Artificial eyelashes, invented hair strands, harsh outlines, and waxy skin are common signs of overcorrection. A school portrait should still look like the person in the original, even if some softness remains. Product photos may tolerate stronger edge enhancement, provided that logos, straight lines, and repeating patterns remain accurate.
The distinction between native 4K and upscaled 4K further explains why identical output dimensions do not necessarily contain the same amount of genuine detail.
Step 4: Inspect Important Details
A small preview can hide processing errors, so the enhanced image should also be viewed at full size. The most noticeable areas deserve particular attention:
Eyes, hair, skin, and facial outlines
Text, numbers, labels, and logos
Product edges and repeating patterns
Background details such as brickwork or tree branches
Bright halos, jagged lines, duplicated textures, and distorted letters usually indicate excessive processing. If a face appears sharper but no longer resembles the person, a lighter setting will produce a more believable result.
Step 5: Export the Most Natural Version
Before downloading, compare the processed image directly with the original. The best version is not necessarily the sharpest one; clarity should improve without altering important details or introducing distracting artifacts.
Output size should reflect how the image will be used. A vacation photo posted on Instagram does not require the same dimensions as a print intended for a large frame. Keeping the original file also leaves room for a different edit later.
Other Ways to Sharpen a Blurry Photo
Traditional editing methods remain useful for slightly soft pictures and situations where AI reconstruction is unnecessary. Instead of estimating missing content, these tools strengthen edges and details already present in the file.
Adjust Sharpness and Clarity on a Phone
Sharpness, Definition, Clarity, and Structure controls are available in many phone photo editors. Although the names differ, they generally increase contrast around edges and fine details.
Small adjustments are usually enough. On a beach photo, moderate sharpening might define faces and clothing, while a high setting could make skin, clouds, and sand appear harsh. Grainy images generally benefit from light noise reduction first. Reviewing the photo at full size after each adjustment helps prevent overprocessing.
Use Sharpening Tools in a Photo Editor
Photoshop, Lightroom, and similar desktop programs offer tools such as Sharpen, Unsharp Mask, and deconvolution-based sharpening.
Amount determines the overall strength, while Radius controls how far the effect spreads around an edge. An oversized radius often creates visible halos. Masking and noise reduction can keep the adjustment away from smooth areas such as skies, walls, and skin.
A slightly soft graduation portrait may only need added definition around the eyes, hair, and clothing. Applying equal sharpening across the frame could emphasize pores and background grain without making the graduate noticeably clearer.
Improve Specific Areas Instead of the Entire Image
Targeting the entire frame usually backfires when only a single patch of your photo looks soft. Smart editors pinpoint their work instead. By dropping a mask or quick selection over a specific spot, you lock your sharpening right onto the subject, product label, or tricky snippet of text that needs help.
Take a faint receipt, for instance. A tight crop paired with boosted contrast and a light touch of sharpening brings washed-out numbers right back to life. Or picture a product listing. Fine-tuning the product label and crisping up its borders boosts clarity instantly while leaving background textures and harsh reflections untouched.
FAQ
Can I unblur an image online for free?
Absolutely. Plenty of web tools give you free fixes or a handful of trial edits. Just double-check their export limits, watermark policies, and privacy terms before handing over sensitive personal shots.
How can I make blurry text in a photo easier to read?
Always start with the cleanest, highest-resolution original you can find. Tight crops, boosted contrast, and subtle sharpening usually bring faint lettering right back into focus. But be careful—AI can hallucinate characters. Always cross-reference legal, medical, or financial text against a trusted paper trail.
Does increasing image resolution remove blur?
Not on its own. Bumping up resolution stretches the canvas, but it won't magically wipe away blur. Standard resizing merely blows up existing pixels, while AI upscalers make an educated guess at missing details. You'll still need targeted noise reduction and controlled sharpening to truly crisp things up.
What is the best file format for an enhanced photo?
Go with JPEG for web pages, emails, and social feeds. PNG handles screenshots, graphics, and sharp text much better. If you plan to print or keep editing down the line, stick with TIFF—it guards every drop of quality, though you'll pay for it in storage space.
Can AI restore intentionally blurred or pixelated details?
Hardly. AI might sketch out a believable guess, but it cannot resurrect actual data hidden under a censor bar or pixel block. Never trust these reconstructions as proof, and definitely don't use them to unmask faces, license plates, or passwords.
Dim restaurants, concert venues, and nighttime streets commonly produce photos with both noise and blur. A slower shutter leaves moving subjects soft, while a high ISO setting adds grain and colored speckles.
In this situation, noise reduction usually works best before strong sharpening. Reversing the order may sharpen the grain along with the subject. A balanced edit can clean up the image without making skin, hair, or fabric look unnaturally smooth.
For anyone wondering how to remove blur from photos without learning advanced editing controls, AI enhancement offers an accessible solution. RoboNeo combines image enhancement with other AI-assisted visual tools in a browser-based workspace.
Step 1: Find the Highest-Quality Original
The largest, least compressed version will provide the best starting point. Camera originals, RAW files, and full-resolution phone photos contain more information than screenshots or images saved from social media.
When a relative shares an old birthday photo through a messaging app, asking for the original file may improve the final result more than selecting a stronger enhancement setting. Source quality also matters when the pictures will later be used for making a video from photos.
Step 2: Upload the Image to an AI Enhancer
The photo can be uploaded to the RoboNeo AI Enhancer. It provides a straightforward way to unblur an image online without installing desktop software or working through numerous manual controls.
Processing should begin only after the original file has finished uploading. Larger images may take more time, but the additional visual information can help the tool distinguish real details from blur and noise.
Step 3: Apply the Appropriate Enhancement
The selected enhancement should match the main issue in the photo. Upscaling may help a low-resolution image, whereas a grainy nighttime shot usually needs a combination of noise reduction and detail enhancement.
Stronger processing does not always produce a better result. Artificial eyelashes, invented hair strands, harsh outlines, and waxy skin are common signs of overcorrection. A school portrait should still look like the person in the original, even if some softness remains. Product photos may tolerate stronger edge enhancement, provided that logos, straight lines, and repeating patterns remain accurate.
The distinction between native 4K and upscaled 4K further explains why identical output dimensions do not necessarily contain the same amount of genuine detail.
Step 4: Inspect Important Details
A small preview can hide processing errors, so the enhanced image should also be viewed at full size. The most noticeable areas deserve particular attention:
Eyes, hair, skin, and facial outlines
Text, numbers, labels, and logos
Product edges and repeating patterns
Background details such as brickwork or tree branches
Bright halos, jagged lines, duplicated textures, and distorted letters usually indicate excessive processing. If a face appears sharper but no longer resembles the person, a lighter setting will produce a more believable result.
Step 5: Export the Most Natural Version
Before downloading, compare the processed image directly with the original. The best version is not necessarily the sharpest one; clarity should improve without altering important details or introducing distracting artifacts.
Output size should reflect how the image will be used. A vacation photo posted on Instagram does not require the same dimensions as a print intended for a large frame. Keeping the original file also leaves room for a different edit later.
Other Ways to Sharpen a Blurry Photo
Traditional editing methods remain useful for slightly soft pictures and situations where AI reconstruction is unnecessary. Instead of estimating missing content, these tools strengthen edges and details already present in the file.
Adjust Sharpness and Clarity on a Phone
Sharpness, Definition, Clarity, and Structure controls are available in many phone photo editors. Although the names differ, they generally increase contrast around edges and fine details.
Small adjustments are usually enough. On a beach photo, moderate sharpening might define faces and clothing, while a high setting could make skin, clouds, and sand appear harsh. Grainy images generally benefit from light noise reduction first. Reviewing the photo at full size after each adjustment helps prevent overprocessing.
Use Sharpening Tools in a Photo Editor
Photoshop, Lightroom, and similar desktop programs offer tools such as Sharpen, Unsharp Mask, and deconvolution-based sharpening.
Amount determines the overall strength, while Radius controls how far the effect spreads around an edge. An oversized radius often creates visible halos. Masking and noise reduction can keep the adjustment away from smooth areas such as skies, walls, and skin.
A slightly soft graduation portrait may only need added definition around the eyes, hair, and clothing. Applying equal sharpening across the frame could emphasize pores and background grain without making the graduate noticeably clearer.
Improve Specific Areas Instead of the Entire Image
Targeting the entire frame usually backfires when only a single patch of your photo looks soft. Smart editors pinpoint their work instead. By dropping a mask or quick selection over a specific spot, you lock your sharpening right onto the subject, product label, or tricky snippet of text that needs help.
Take a faint receipt, for instance. A tight crop paired with boosted contrast and a light touch of sharpening brings washed-out numbers right back to life. Or picture a product listing. Fine-tuning the product label and crisping up its borders boosts clarity instantly while leaving background textures and harsh reflections untouched.
FAQ
Can I unblur an image online for free?
Absolutely. Plenty of web tools give you free fixes or a handful of trial edits. Just double-check their export limits, watermark policies, and privacy terms before handing over sensitive personal shots.
How can I make blurry text in a photo easier to read?
Always start with the cleanest, highest-resolution original you can find. Tight crops, boosted contrast, and subtle sharpening usually bring faint lettering right back into focus. But be careful—AI can hallucinate characters. Always cross-reference legal, medical, or financial text against a trusted paper trail.
Does increasing image resolution remove blur?
Not on its own. Bumping up resolution stretches the canvas, but it won't magically wipe away blur. Standard resizing merely blows up existing pixels, while AI upscalers make an educated guess at missing details. You'll still need targeted noise reduction and controlled sharpening to truly crisp things up.
What is the best file format for an enhanced photo?
Go with JPEG for web pages, emails, and social feeds. PNG handles screenshots, graphics, and sharp text much better. If you plan to print or keep editing down the line, stick with TIFF—it guards every drop of quality, though you'll pay for it in storage space.
Can AI restore intentionally blurred or pixelated details?
Hardly. AI might sketch out a believable guess, but it cannot resurrect actual data hidden under a censor bar or pixel block. Never trust these reconstructions as proof, and definitely don't use them to unmask faces, license plates, or passwords.
You May Be Interested

How to Use an AI Video Generator Online to Create Viral Content

How to Choose the Best AI Text to Video Generator in 2026 (+ Our Top Pick)
Best TikTok Script Generator in 2026

Why Your AI-Generated Image Sequences Look Choppy as Video (And How We Fixed It)
How to Create an Anime Character with AI: Practical Guide