How Can I Make an Image High Resolution?
 RoboNeo TeamAugust 13, 2026
A low-res image looks fine on a tiny phone display. Try cropping it, printing it out, or throwing it onto a 27-inch monitor, though, and the whole thing falls apart instantly. You cannot fix pixelation just by swapping out a DPI tag or dragging canvas handles in Photoshop. Why does enlarging a file turn sharp details into mud?
Resolution comes down to raw pixel density, not arbitrary file properties. This guide cuts through the technical noise to show you how upscaling actually works. You will learn how to choose the right resizing algorithm, dial in precise pixel counts for everyday jobs, and keep line art sharp when expanding your artwork.
Can a Low-Resolution Image Really Be Improved?
Careful resampling or AI upscaling often makes low-resolution images larger and noticeably clearer. Results depend on the source: a small, sharp photo handles expansion much better than one spoiled by heavy blur or compression.
While upscaling sharpens edges and textures, it cannot restore detail that was never recorded. Expecting a cleaner, more usable image is far more realistic than hoping for a perfect reconstruction.
What Makes an Image High Resolution?
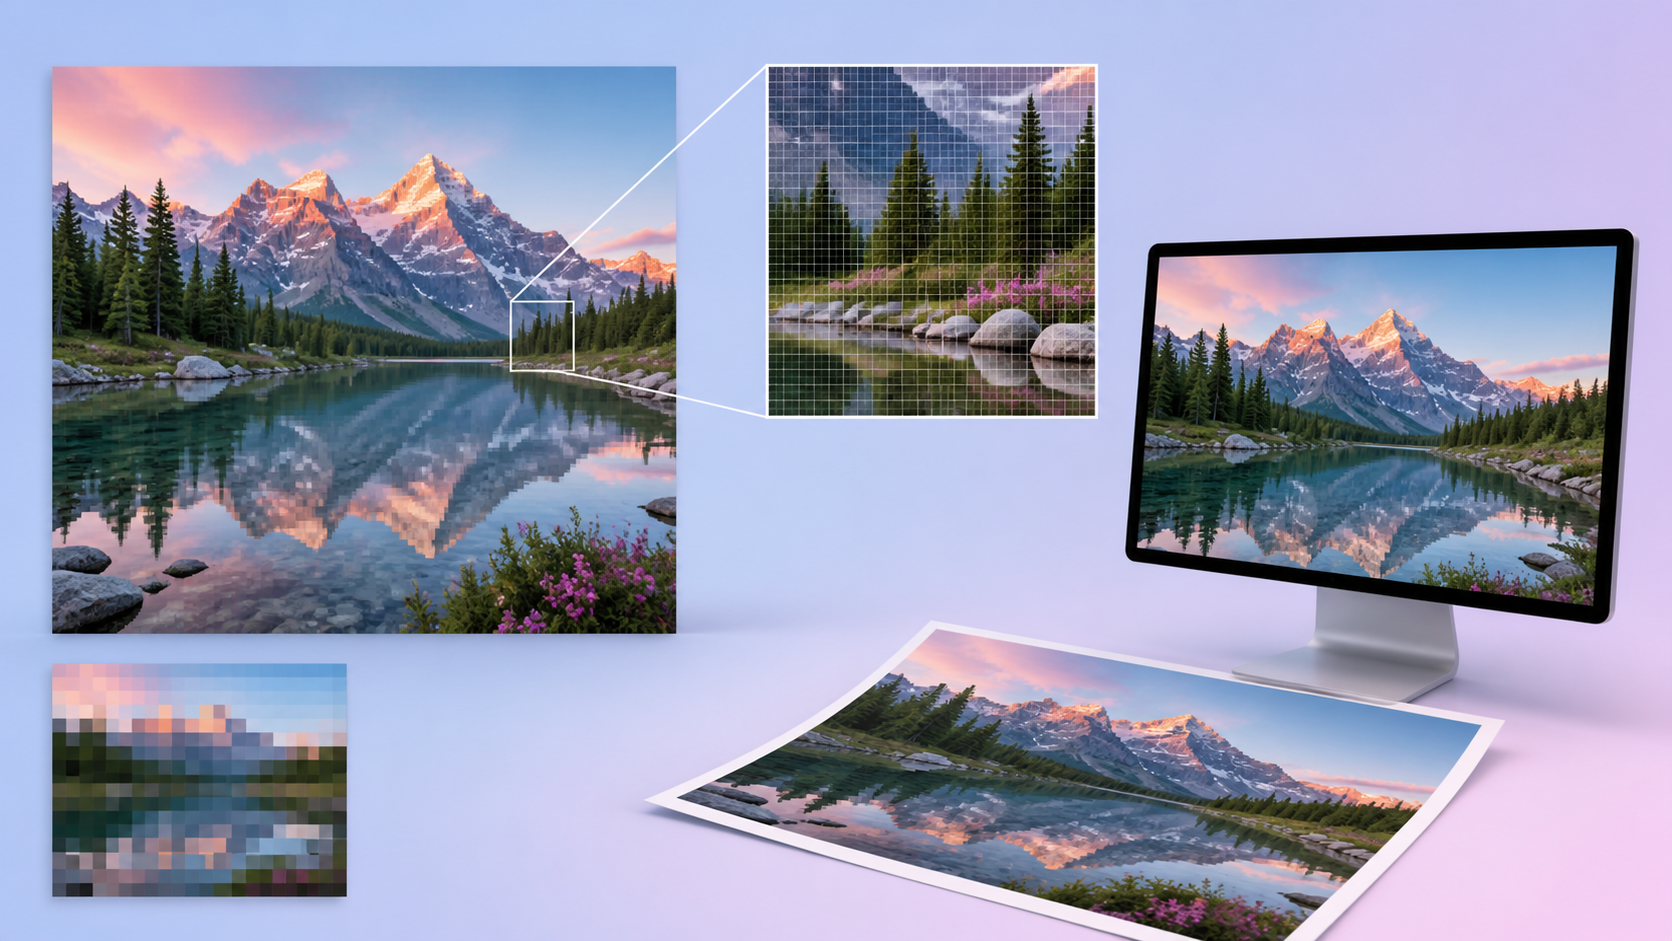
A high-resolution image has enough pixels and usable detail for its intended display or print size. A 4000 × 3000 image contains 12 million pixels, or 12 megapixels, giving it more room for cropping and printing than an 800 × 600 image.
Several measurements are often confused:
Pixel dimensions show the width and height of a digital image in pixels.
Megapixels indicate the total number of pixels in the file.
PPI, or pixels per inch, describes pixel density at a chosen print size.
DPI, or dots per inch, usually refers to how a printer places ink or toner on paper.
Changing an image from 72 DPI to 300 DPI without adding pixels does not improve its actual quality. The same pixels are simply assigned to a smaller print area.
Pixel count is not the only factor, either. A large image can still look poor if it is out of focus, heavily compressed, or repeatedly edited and exported. The distinction between native and upscaled 4K reflects the same principle: two files may have identical output dimensions while containing very different amounts of original detail.
How to Increase the Resolution of an Image
The best workflow begins with the source file and ends with a careful review of the exported result. This prevents you from creating an oversized file that still looks blurry or artificial.
Step 1: Start With the Best Available Source
Find the largest and least compressed version of the image. An original camera file, full-size phone photo, cloud backup, or photographer-provided copy will usually contain more usable detail than a screenshot or social media download.
A family photo saved from a group chat may have been reduced to a fraction of its original size. Getting the full-size copy from the person who took it can improve the final result more than applying multiple enhancement filters to the compressed version.
Repeatedly edited JPEGs are also poor starting points. Each lossy export may remove additional color and texture information, so return to the earliest available version whenever possible. When an older picture also has scratches, fading, noise, or other visible damage, a dedicated AI photo restoration tool may be more suitable than basic resizing alone.
Step 2: Set the Required Output Size
Choose the target dimensions based on where the image will be used. A blog thumbnail does not need the same resolution as an 8 × 10-inch print or a conference poster.
Keep the original aspect ratio unless you plan to crop the image. Stretching a rectangular photo into a square will distort faces, products, and other objects.
There is also no need to turn every image into a 4K file. A product photo displayed at 800 pixels wide might only need a 1600-pixel version for high-density screens. An image prepared for printing will usually need considerably more pixels. If 4K is the intended target, understanding what 4K upscaling changes can help you separate a larger output size from a genuine improvement in visible detail.
Step 3: Choose the Right Upscaling Method
The most suitable method depends on the image and how much larger it needs to become.
Traditional resampling works well when a clear source only needs a modest increase in size. It adds pixels by calculating values from the surrounding image, but it does not recreate significant missing detail.
AI image upscaling is better suited to small photos, older scans, product images, and social media assets that need more noticeable enlargement. It analyzes visual patterns to refine edges, reduce some noise, and generate plausible texture.
Logos, icons, lettering, and simple illustrations often benefit more from vector redrawing. Unlike a pixel-based image, a vector graphic can be enlarged without becoming pixelated.
Anyone searching for how to make a photo high resolution without managing several editing controls can use RoboNeo AI Enhancer. The tool can increase resolution, improve perceived clarity, and reduce some visible noise in ordinary photos, product shots, and social media images.
AI processing should not be treated as a factual reconstruction. An enhancer may make an unreadable sign look more defined, but it cannot confirm the original words. The same limitation applies to faces, license plates, and other details that were not clearly recorded.
Upscale with RoboNeo AI Enhancer
Step 4: Upscale and Review the Image
Feed in your cleanest source file and pick a scale factor that fits your end goal. You simply upload the shot, hit the upscaling setting, run the engine, and pull down the rendered file.
A 2× jump serves as a safe baseline. Scaling a 1000 × 750 pixel photo doubles it to 2000 × 1500 pixels—plenty for a site layout, slide deck, or small print.
Check that render carefully before pushing to 4×. Pushing size too far can warp skin into plastic, tear up fabric patterns, jagged up straight lines, or wreck background details.
And don't trust a shrunk-to-fit preview screen! Zoom straight to 100% to scrutinize eyes, hair, hands, fine print, reflections, and crisp product edges. Why? Those spots always leak processing flaws first.
Step 5: Refine Sharpness and Noise
Enlarged images often need a light touch of sharpening, while grainy shots usually call for noise suppression. Go easy on both.
Over-sharpening kicks up harsh white halos around edges and makes digital grain pop. Turn noise reduction up too high, though, and you instantly melt away natural textures in hair, skin, clothing, and painted walls. After all, a restored portrait should still resemble a real photograph, not a digital painting.
If your AI upscaler already dialed in sharpness and noise cleanup automatically, stacking extra edits in another program usually ruins the shot. Always compare your render against the raw original before piling on more tweaks.
Step 6: Export and Inspect the Final Image
Match the export format to the content and destination. JPEG is a practical choice for most photographs because it keeps file sizes manageable. PNG works well for transparency, text, screenshots, and graphics with sharp edges. TIFF is commonly used for archival files and professional print workflows.
Export at a high-quality setting, then reopen the saved file. Confirm its pixel dimensions, color, sharpness, and file size rather than judging only from the editing preview.
For a print project, check the image at the planned physical dimensions. For a website, test it in the actual page layout and on both desktop and mobile screens.
What Resolution Do You Need for Different Uses?
The appropriate resolution depends on how large the image will appear and how closely people will view it. These figures provide practical starting points.
Use Case | Recommended Pixel Dimensions | Suggested PPI | Preferred Format | Key Considerations |
Website thumbnail | 400–800 px wide | Not critical for screens | WebP or JPEG | Keep the file lightweight |
Blog or product image | 1200–2000 px wide | Not critical for screens | WebP, JPEG, or PNG | Create responsive versions |
Instagram square post | 1080 × 1080 px | Not critical for screens | JPEG or PNG | Preserve the 1:1 aspect ratio |
Presentation slide | 1920 × 1080 px or larger | Not critical for screens | PNG or JPEG | Match the slide dimensions |
4 × 6-inch print | 1200 × 1800 px | 300 PPI | JPEG or TIFF | Inspect faces and fine details |
8 × 10-inch print | 2400 × 3000 px | 300 PPI | JPEG or TIFF | Leave room for cropping |
Large poster | Based on final size | 100–200 PPI | TIFF, PDF, or high-quality JPEG | Account for viewing distance |
How to Calculate the Resolution Needed for Printing
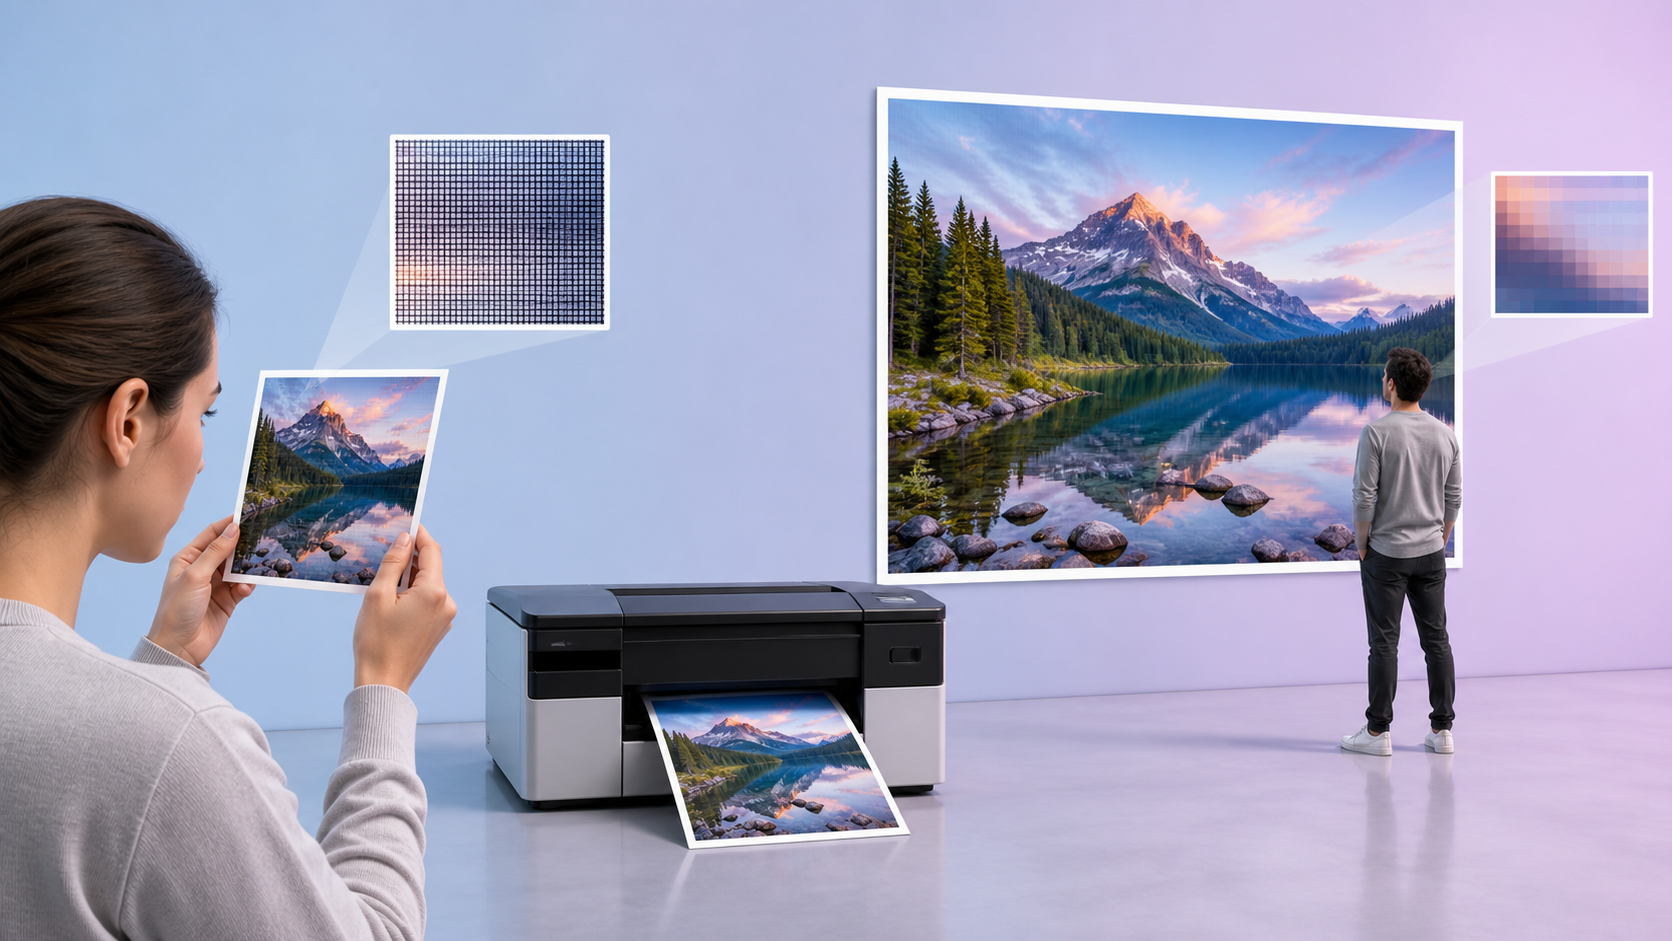
Use this basic formula:
Required pixel dimensions = print size in inches × target PPI
An 8 × 10-inch photo printed at 300 PPI requires approximately 2400 × 3000 pixels. That density is commonly used for high-quality prints viewed at close range. A 24 × 36-inch poster may work at a lower effective PPI because viewers normally stand farther away. Paper type, printer specifications, image content, and viewing distance can all influence the final requirement.
AI-generated details should never be treated as reliable evidence in identification photos, medical images, legal records, or situations where accurate text and facial features are essential.
How to Preserve Image Quality After Upscaling
Keep a high-quality master copy once the image has been enlarged. Smaller versions can then be created for websites, email, or social media without repeatedly editing and compressing the same file.
A few habits can prevent additional quality loss:
Avoid repeated resizing, sharpening, and JPEG exports.
Use moderate JPEG compression rather than the smallest possible file setting.
Send original files through cloud storage or a file-transfer service that does not automatically reduce image size.
Save a larger, lightly compressed version for printing and future editing.
Generate responsive image sizes for websites instead of loading one oversized file on every device.
A photographer building an online portfolio might keep full-resolution TIFF or high-quality JPEG masters while exporting smaller WebP versions for each page. Visitors receive fast-loading images, while the printable originals remain intact.
FAQ
Can I turn a small JPEG into a high-resolution image?
Resampling or AI upscaling lets you scale up a small JPEG without much hassle. Wondering how can i make an image higher resolution while keeping things clean? Start with a sharp original that hasn't suffered heavy compression—though keep in mind that missing pixels won't magically reappear.
Does changing an image to 300 DPI improve its quality?
Toggling the DPI number alone adds zero actual pixels and zero extra detail. To get a crisper print, your file must pack enough raw pixel dimensions to cover the physical print dimensions at 300 PPI.
How much can I enlarge an image without losing quality?
A clean source file handles a 2× stretch with ease. Modern AI tools can push that to 4× with solid results, but focus errors, noise, compression, and subject matter dictate the final limit. Always zoom to 100% and inspect full-size before sending it off to print.
Is PNG always higher resolution than JPEG?
Not at all. Pixel count dictates resolution, not the file extension at the end of the name. PNG relies on lossless compression for sharp graphics and text, whereas JPEG squeezes photographic files down to save disk space.
You May Be Interested

How to Turn Long YouTube Videos into TikToks with an AI Video Clip Generator
3 Best Background Noise Removal Apps for 2026
Character AI Alternative: Better AI Chat Tools
How to Create AI Video from Script: A Complete Guide
How to Make an AI Dance Video in 2026: Easy Guide