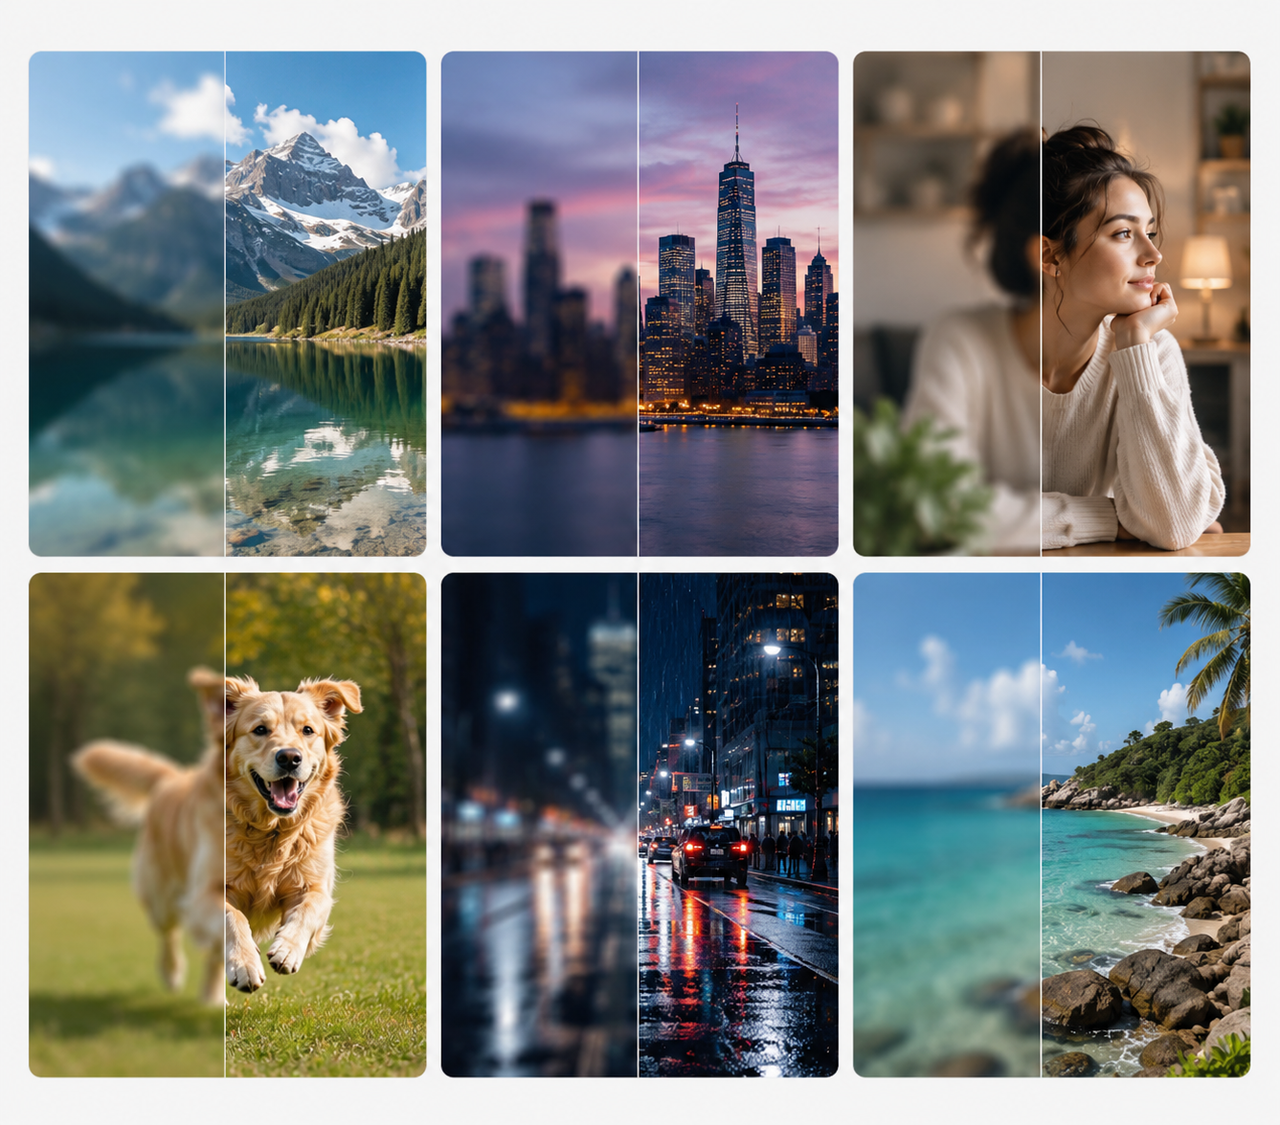
How to Fix Grainy Photos: Remove Grain and Improve Photo Quality
 RoboNeo TeamAugust 24, 2026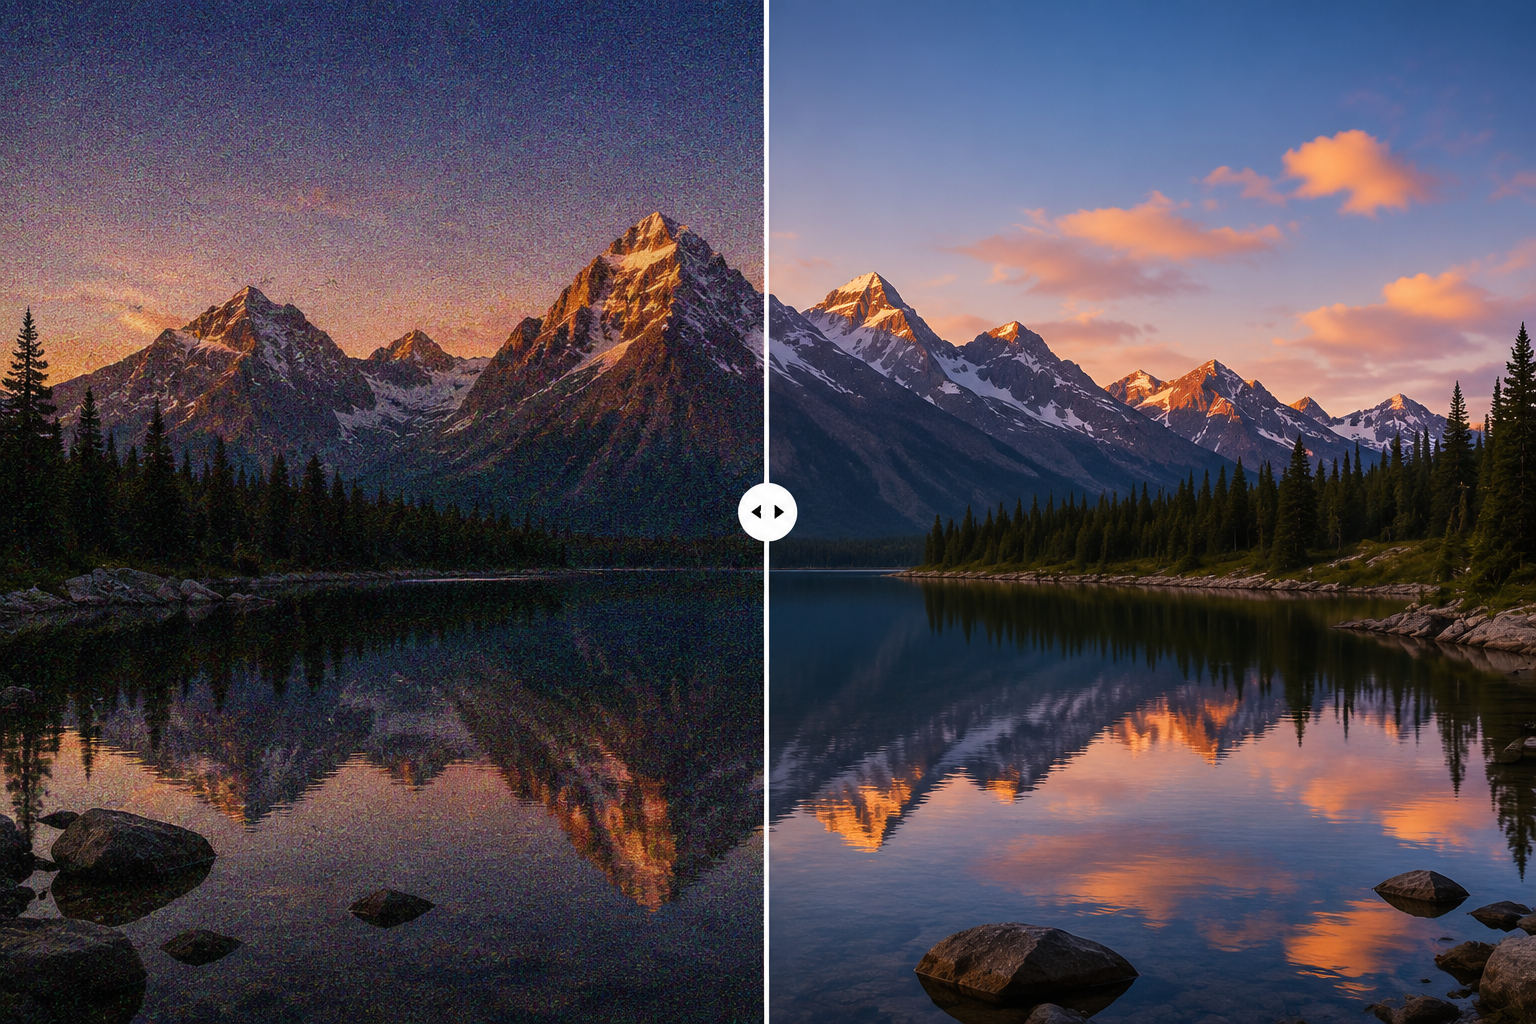
Grainy photos can often be noticeably improved with noise reduction, followed by careful detail recovery and sharpening. The goal is not to remove every visible speck. Excessive denoising can erase natural texture from skin, hair, fabric, and other surfaces, leaving the image smooth but artificial.
Learning how to fix grainy photos also requires identifying the actual problem. Noise, blur, pixelation, and compression artifacts may look similar at first, yet each needs a different treatment. This guide explains why grain appears, how to make a picture less grainy with different editing tools, what level of recovery is realistic, and how to reduce noise when taking future photos.
Why Do Photos Become Grainy?
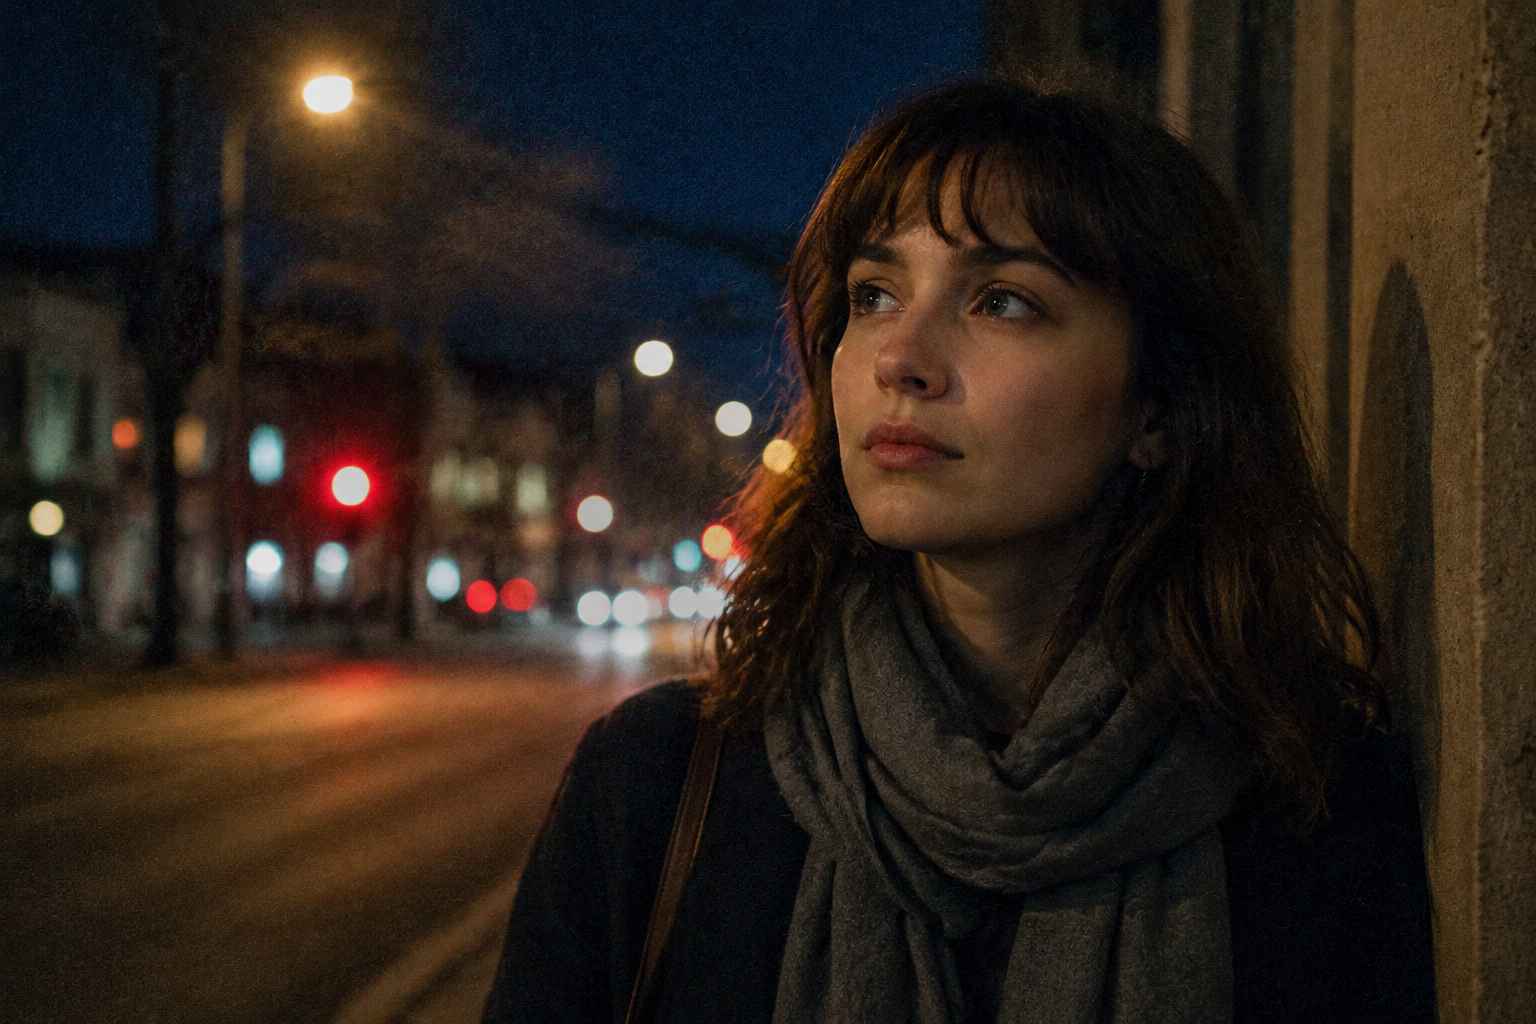
Digital grain, commonly called noise, appears when a camera has limited image information to work with. Although high ISO is a frequent cause, the final result is usually influenced by several shooting and file-quality factors.
High ISO: Increasing ISO allows the camera to amplify a weak light signal, but the noise within that signal becomes more visible as well. This often occurs when photographing concerts, indoor events, sports, or nighttime street scenes where available light is limited.
Low light and underexposure: A sensor records less useful information when insufficient light reaches it. If a dark photo is later brightened by raising Exposure or Shadows, noise hidden in the darker areas becomes much easier to see. A family photo taken in a dim restaurant may look acceptable on a phone screen, then appear rough once the faces are brightened.
Small camera sensors: Smartphones and compact cameras have smaller sensors than many interchangeable-lens cameras. In weak light, they often depend heavily on computational processing. This can produce visible noise or uneven texture in shadows, hair, foliage, and other detailed areas.
Heavy cropping or low resolution: Cropping does not create noise, but it enlarges the noise already present. A distant bird that occupies only a small part of the original frame may look sharp at normal size. After a large crop, both the pixels and the grain become more obvious. Although 4K upscaling can increase output dimensions and improve some edges, it cannot fully recover information missing from the original file.
JPEG compression: Repeatedly saving, sharing, or downloading a compressed JPEG can introduce blocky edges, color patches, and ringing around details. These artifacts may resemble grain, although conventional noise reduction cannot always remove them cleanly.
Long exposures and higher sensor temperatures can also increase noise, particularly in night photography. Grain should therefore not be attributed to high ISO alone. Exposure, sensor size, processing, cropping, and compression all affect how noticeable it becomes.
Before editing, inspect the photograph at approximately 100% magnification. Fine random specks in shadows or flat colors usually indicate noise. Soft edges across the subject are more likely to come from missed focus or motion blur, while visible square blocks often point to pixelation or JPEG compression.
How to Remove Grain Without Losing Photo Detail
The best method depends on the source of the image, the number of files involved, and the amount of control required. A quick smartphone cleanup does not need the same workflow as hundreds of high-ISO wedding photographs.
Use AI Enhancement for Quick Photo Cleanup
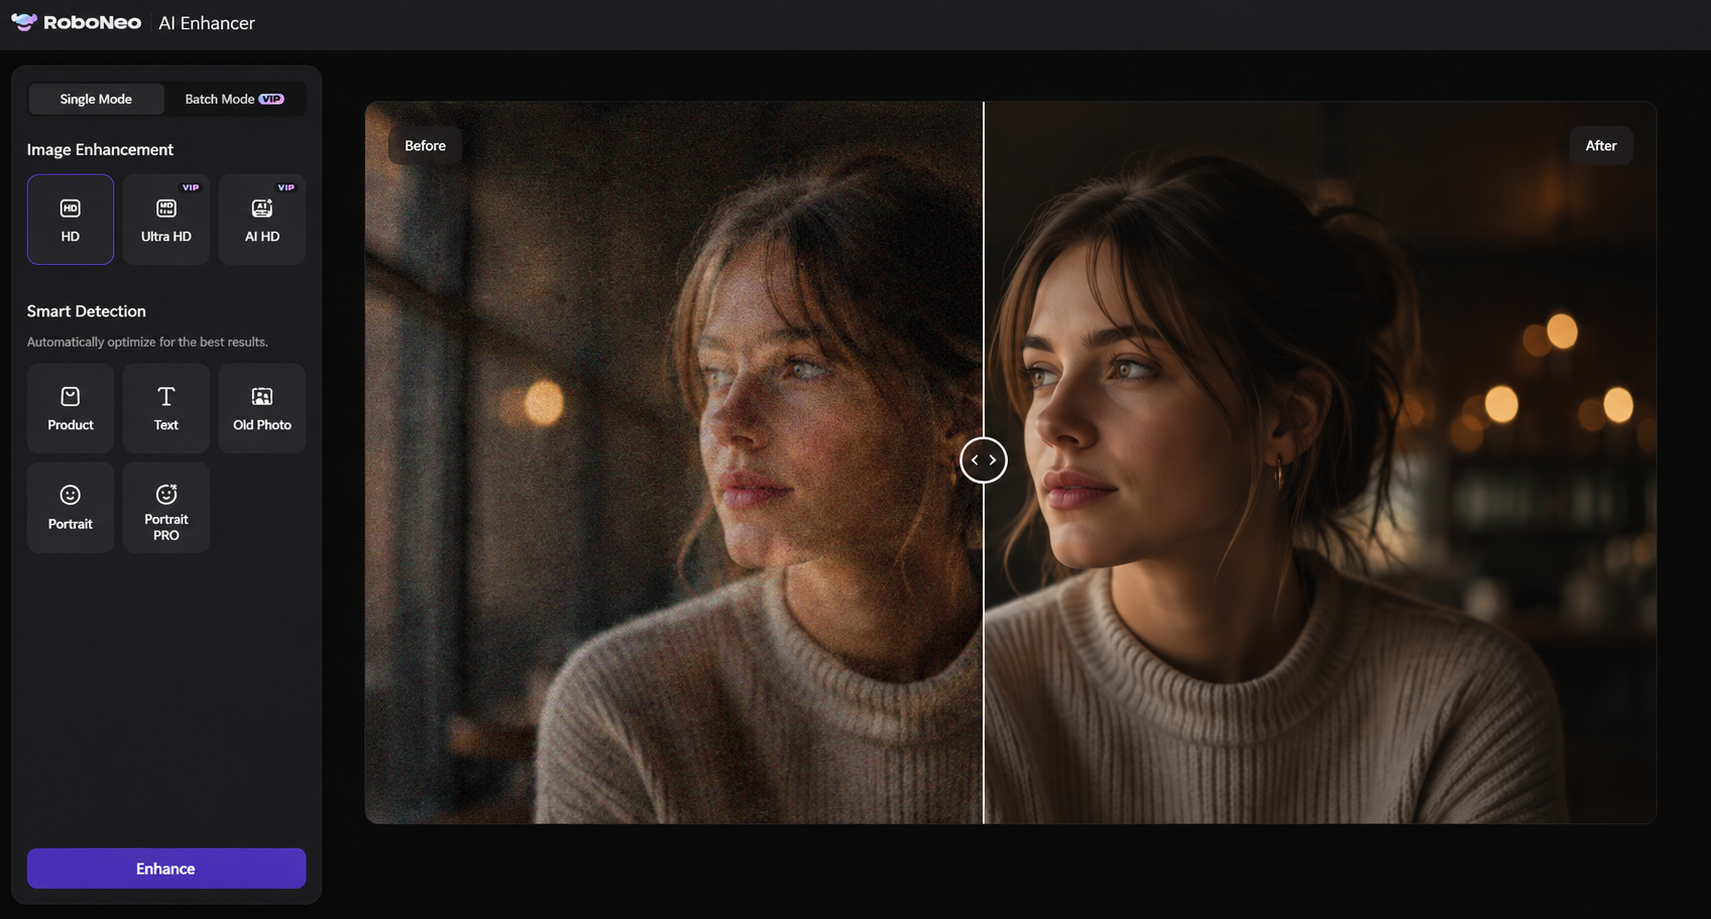
AI enhancement is well suited to grainy smartphone photos, scanned images, downloaded pictures, and low-quality files that need a relatively fast improvement. It is also practical for users who do not want to adjust several professional editing controls manually.
Instead of treating every issue separately, an AI-based workflow may combine denoising, clarity improvement, detail recovery, and resolution enhancement. When a social media photo looks noisy and slightly soft after being downloaded, this combined approach can be more convenient than applying multiple filters one at a time.
RoboNeo AI Enhancer can simplify the process of improving grainy, blurry, or low-quality pictures. After enhancement, examine faces, hair, text, and patterned surfaces closely. These areas reveal whether the result still looks natural or whether too much texture has been removed.
AI processing can improve visual quality, but it cannot guarantee that missing details are restored exactly as they appeared in the original scene. Any newly reconstructed texture should be treated as an enhancement rather than verified original information.
Fix Grainy Photos with RoboNeo
Use Lightroom for RAW and High-ISO Photos
Lightroom is a strong choice for RAW files, night photography, weddings, indoor events, and large groups of images captured under similar conditions. Its noise controls allow luminance noise and color noise to be adjusted separately.
Luminance noise appears as brightness variation or monochrome grain. Color noise produces unwanted red, green, blue, or purple specks, especially in darker areas. Controlling each type independently helps reduce distracting noise without making the entire photo look overly processed.
A practical Lightroom workflow usually includes:
Correcting the main exposure without excessively lifting damaged shadows.
Applying luminance and color noise reduction while checking fine textures.
Balancing the Detail and Sharpening controls after denoising.
Using masking or local adjustments to avoid sharpening flat, noisy areas.
For supported files, AI Denoise can be applied before final color work and local detail adjustments. There is no universal slider setting that works for every photograph. A lightly underexposed portrait from a modern full-frame camera requires different treatment from a severely dark smartphone image. ISO, sensor characteristics, exposure, and subject texture should determine the strength of the adjustment.
Use Photoshop for Precise Local Noise Reduction
Some photographs contain heavy grain only in specific areas. A portrait may have clean facial detail but a noisy shadow behind the subject. A product image might show unwanted grain on the background while its printed label and sharp edges remain clear.
Photoshop provides greater local control through Camera Raw, layers, selections, and masks. Stronger noise reduction can be applied to skies, walls, backgrounds, and dark regions, while eyes, hair, product text, and defined edges receive lighter treatment.
This selective workflow is especially helpful when uniform denoising would damage important details. The advantage is not that Photoshop automatically produces a better result than every AI tool. Its strength lies in manual correction and the ability to control exactly where an adjustment appears.
How Much Can a Grainy Photo Be Improved?
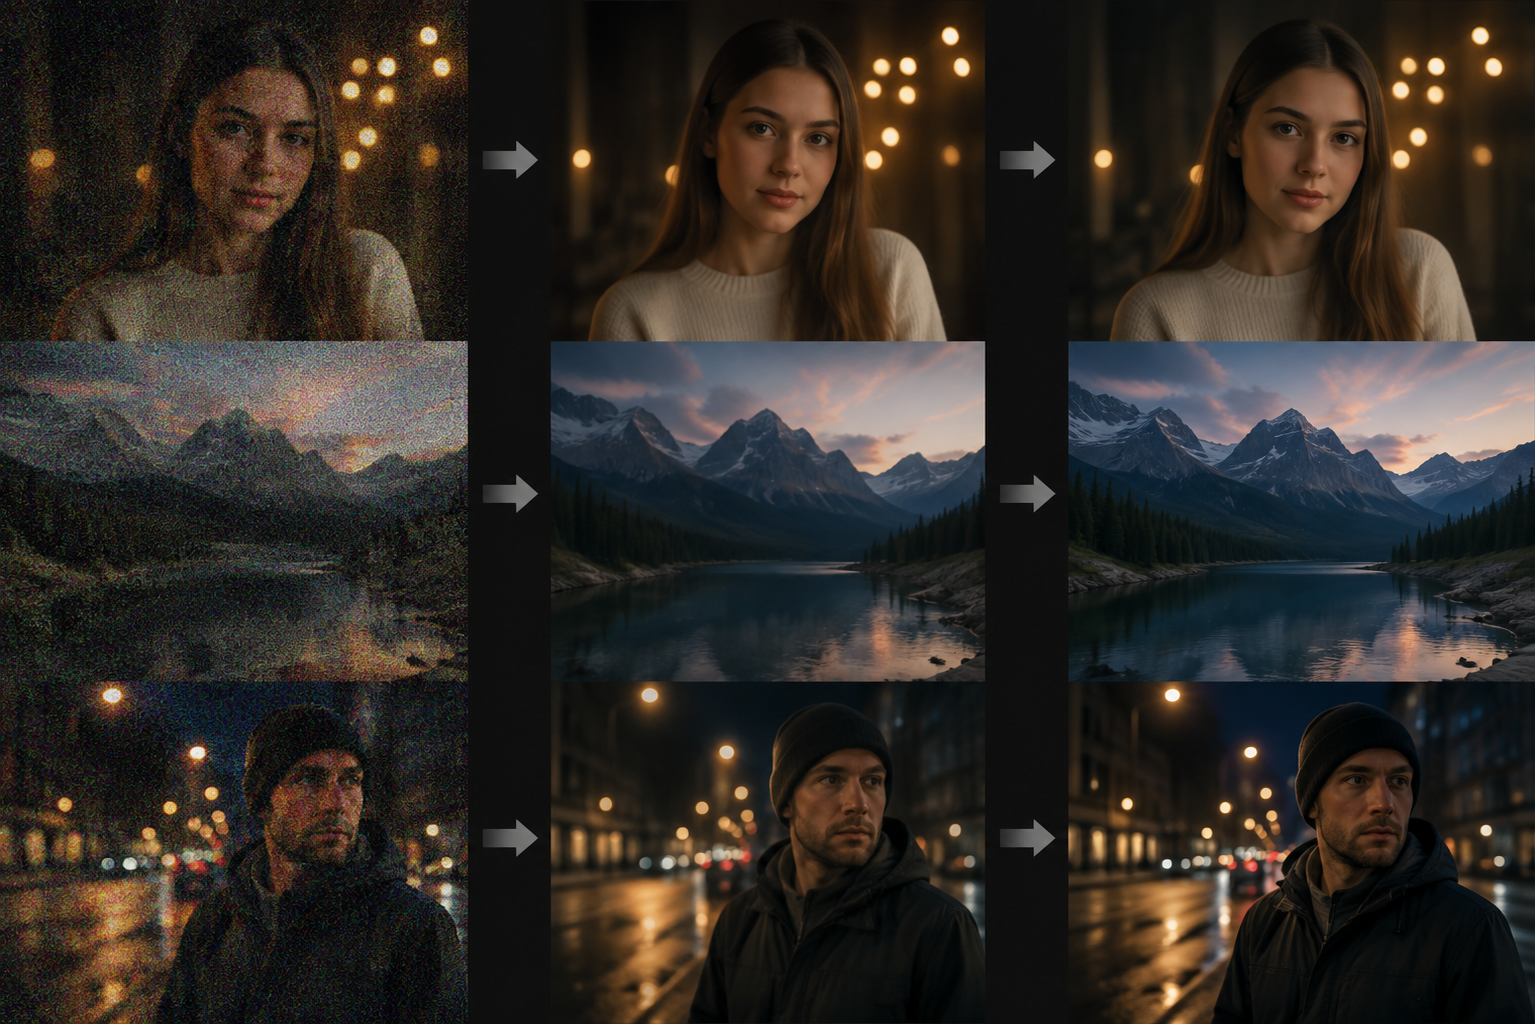
The condition of the underlying image determines how successful the repair can be. Light or moderate high-ISO noise often responds well to editing when the subject remains sharp and the exposure is reasonably intact.
A useful way to assess recovery potential is to separate grainy photographs into three categories:
Good candidate for repair: The main subject is in focus, edges remain clear, and the primary problem is luminance or color noise. These images can usually be cleaned substantially while retaining convincing detail.
Partially recoverable: Noise appears alongside mild blur, underexposure, or compression artifacts. The picture can still look better, but the editor must accept a compromise between smoothness and texture. For images affected by several quality problems at once, AI photo restoration can combine noise reduction with improvements to sharpness, resolution, and clarity.
Limited recovery: Severe defocus, strong motion blur, extreme cropping, or very low pixel dimensions leave little accurate information to recover. Software may create a more presentable image, but it cannot reliably reconstruct the exact facial features, lettering, or textures that were never recorded. The same limitation applies when a low-resolution file is enlarged to 2K resolution: more output pixels do not necessarily mean more genuine detail.
Judging the result only by whether the grain has disappeared can be misleading. Texture, edge quality, and natural appearance matter just as much. A completely smooth face with plastic-looking skin is not necessarily an improvement over a slightly noisy but believable portrait.
How to Prevent Grainy Photos Next Time
The central principle is to give the sensor enough usable light rather than keeping ISO at its lowest setting under every condition.
For indoor still-life photography or stationary night scenes, a wider aperture, slower shutter speed, tripod, or additional light can reduce reliance on high ISO. A person photographing handmade jewelry near a window could move the setup closer to the light or stabilize the camera instead of brightening an extremely dark image afterward.
Moving subjects require a different priority. Children, pets, athletes, and performers need a sufficiently fast shutter speed to prevent motion blur. Lowering ISO too aggressively may produce a cleaner but blurred photograph, and motion blur is usually harder to correct than moderate noise. In these situations, accepting some grain can preserve the movement and facial expression more successfully.
RAW files provide more flexibility for noise reduction, exposure correction, and shadow recovery. They are particularly valuable when substantial editing is expected. JPEG remains useful for convenience, but its compressed data offers less room for major corrections.
With a smartphone, better results often come from simple changes at the moment of capture. Increase the available light, hold the device steadily, and use the main camera rather than heavy digital zoom. Avoid large crops whenever possible, since enlarging a small section of the frame also enlarges its noise and processing artifacts.
Source quality becomes especially important when the pictures will later be used to make videos from photos. Starting with clear, well-lit images reduces the chance that grain, blur, or compression artifacts will become more noticeable during animation or export.
FAQ
Why does my photo look grainier after editing?
Raising Exposure, Shadows, Texture, Clarity, or Sharpening can reveal noise that was less visible in the original image. This is particularly common with underexposed photographs because brightening the shadows amplifies both image information and unwanted luminance or color noise.
Adjust the main exposure first, reduce noise, and then apply moderate sharpening or texture enhancement. Increasing several local-contrast controls at the same time can make the photograph appear rougher than it originally did.
Can old scanned photos be made less grainy?
Yes, although old scans frequently contain more than grain. Dust, fading, blur, scratches, compression, and low resolution may all affect the same image. Effective restoration may therefore require denoising, dust removal, color correction, detail repair, and careful upscaling rather than a single noise reduction adjustment.
Is RAW better than JPEG for removing photo noise?
RAW is generally better because it retains more original image data. This provides greater flexibility for noise reduction, shadow recovery, and exposure correction. JPEG files have already been processed and compressed by the camera, so heavy editing is more likely to reveal artifacts or remove fine detail.
Does sharpening remove grain from a photo?
No. Sharpening increases contrast around edges to make details appear clearer, but it does not remove digital noise. Applying strong sharpening to a grainy photo can make individual specks more prominent. Noise reduction should normally come first, followed by restrained sharpening.
Why does my photo still look grainy at low ISO?
Low ISO does not guarantee a noise-free image. Severe underexposure, aggressive shadow recovery, a small sensor, heavy cropping, JPEG compression, or poor scanning quality can all create a grainy appearance. The exposure and condition of the file should be examined before deciding which correction method to use.
You May Be Interested

480p vs. 720p: Which Resolution Should You Choose?

How to Turn Long YouTube Videos into TikToks with an AI Video Clip Generator

How to Create Stunning Visuals with the Best AI Music Video Generator

5 Best Free AI Story Generators in 2026: Tested & Ranked

5 Best Free Tools to Remove Watermark from Video in 2026 | RoboNeo