
Add Background to a Photo Online

How to Add a Background to a Photo
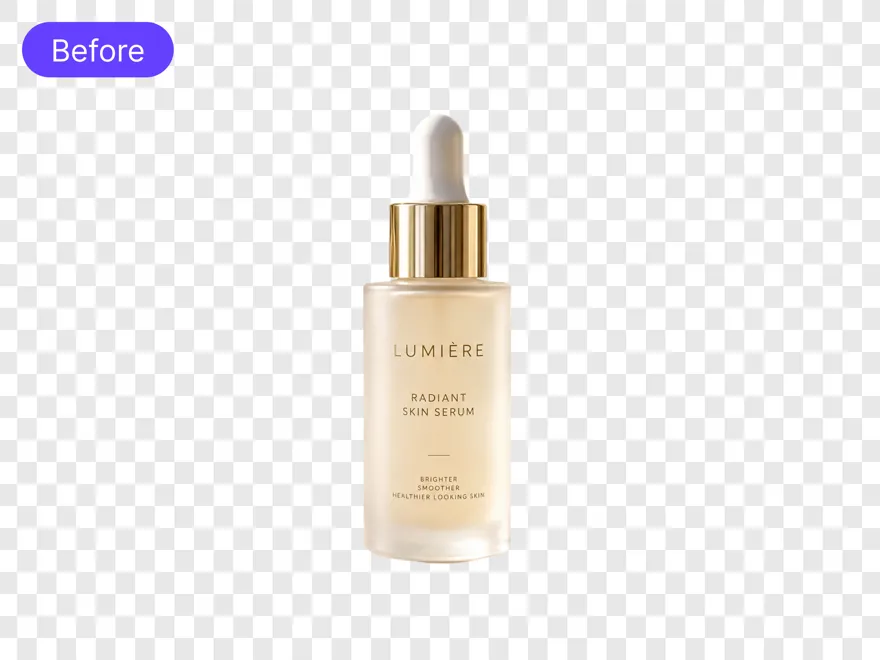
Upload the Subject
Upload a cutout, a transparent PNG, or a regular photo. A clear, well-lit subject helps RoboNeo keep the person or product intact while a new background is added behind it.
Add Background Color to Photo
Add a flat color, upload a backdrop image, or describe the setting you want, such as the location, colors, lighting, and mood.
Place the Background Behind the Subject
RoboNeo keeps the main subject in the composition and adds the chosen background behind it. Check whether the scale and lighting feel natural.
Refine and Download
Adjust the color, image, or description if the backdrop needs another look. When the subject sits cleanly on the new background, download the image.
Why Add a Background to Your Photo in RoboNeo
Place a New Backdrop Behind Your Subject
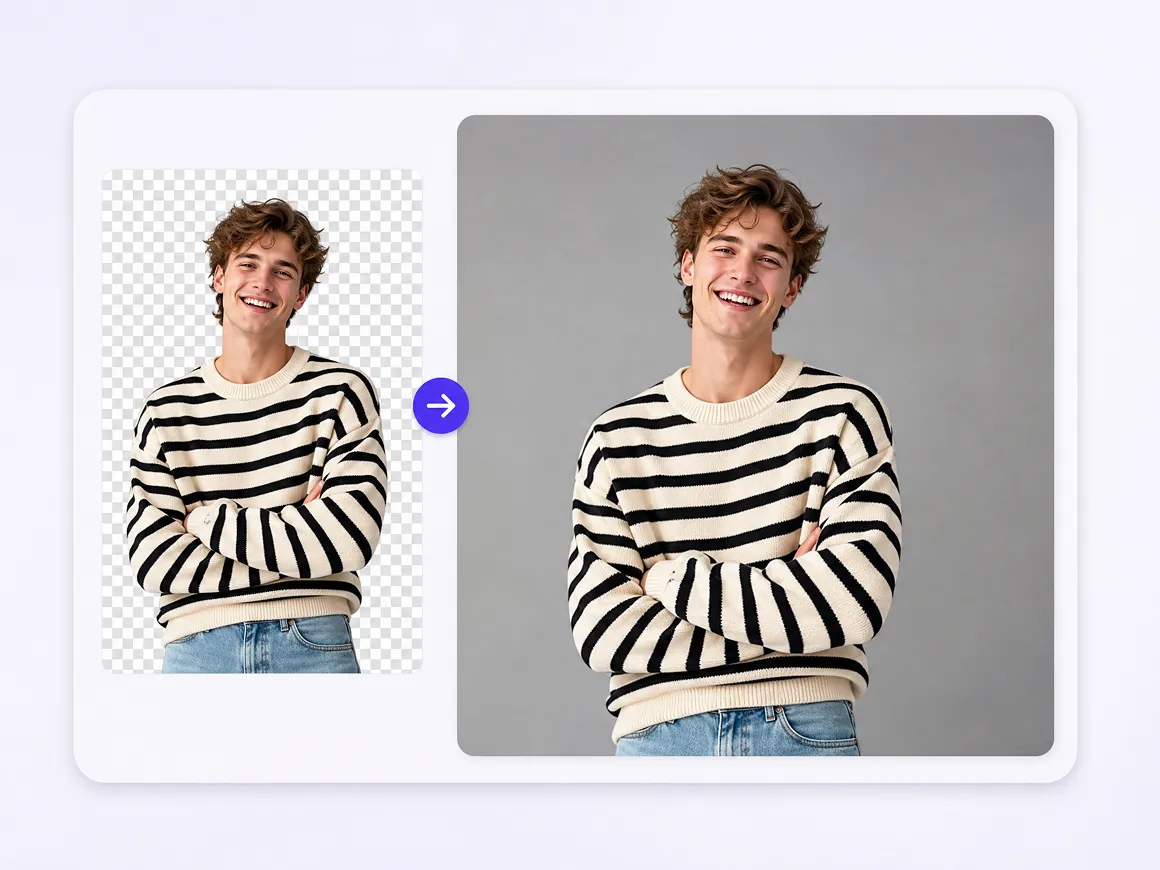
RoboNeo keeps the main subject in place while a new backdrop is added behind it. Start with a cutout, a transparent PNG, or a regular photo. The person or product stays put, so you can add a background without rebuilding the image by hand.

Describe the New Backdrop in Plain Words
Describe the backdrop in plain language, such as a soft gray sweep or a marble counter. You can also choose a flat color or use an image you already have. This gives the edit a clear direction without complicated editing software.
Compare Added Backgrounds on One Canvas
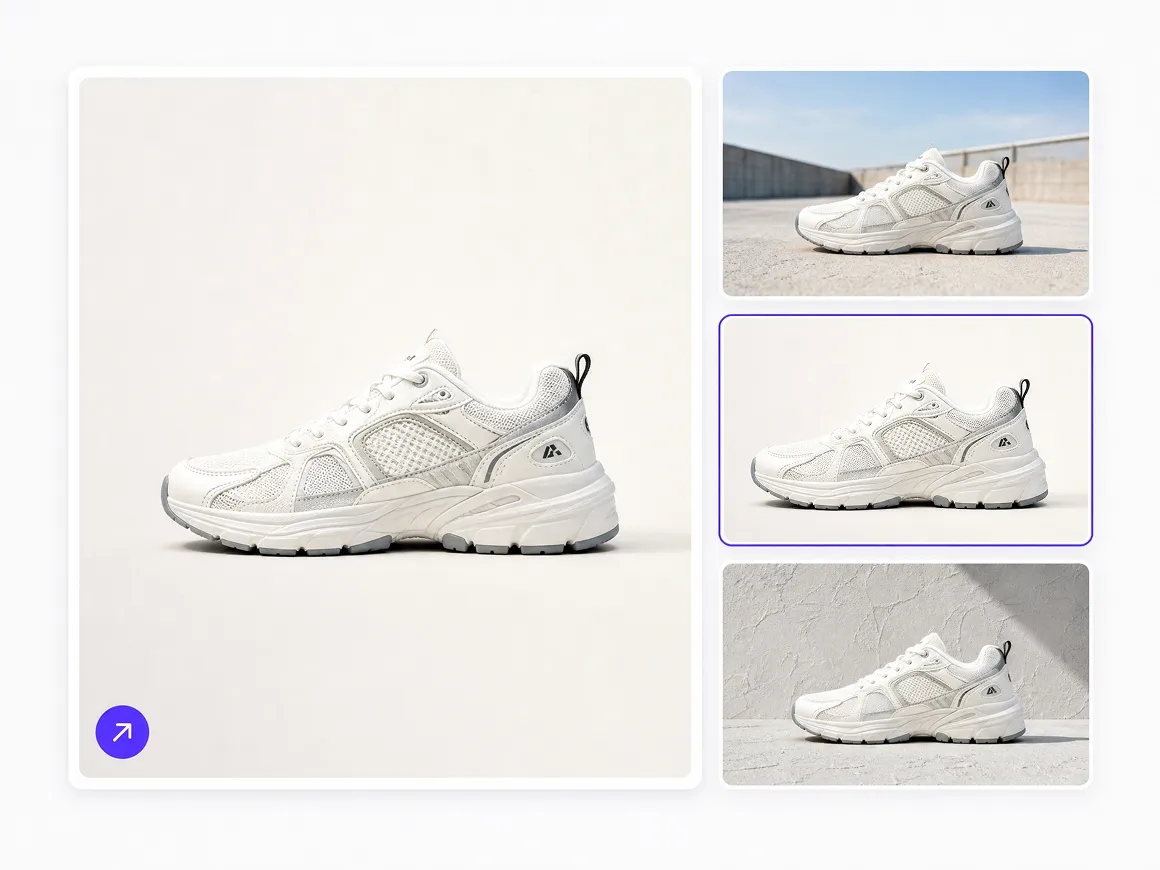
Adding a background often takes a few versions before the setting feels right. The canvas keeps those results together, so you can compare colors, uploaded images, and described scenes in one workspace and keep the version that fits the project.
Reuse Saved Cutouts for Fresh Backgrounds
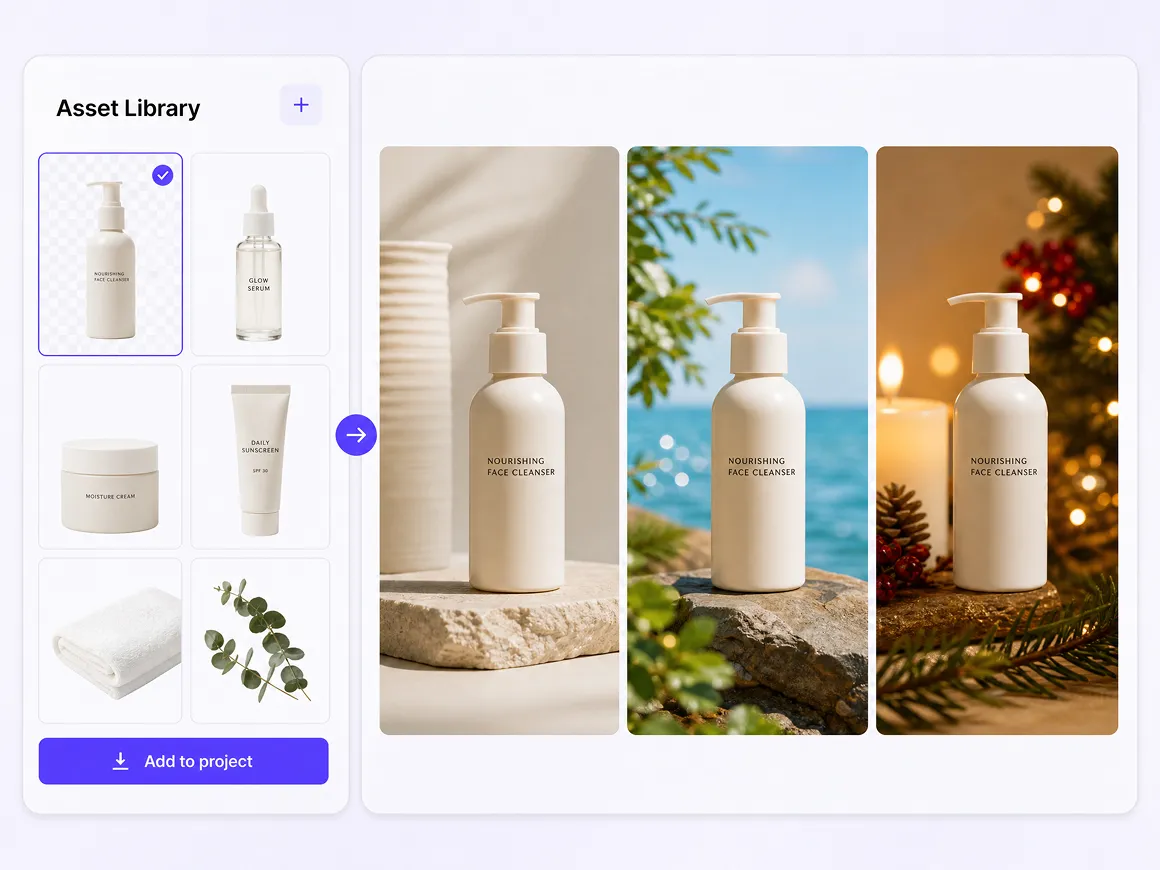
Save useful cutouts and finished images in the asset library. When the next campaign needs a different backdrop, reuse the same subject instead of uploading again. This makes it easier to add a background to later photos with a consistent person, product, or visual reference.
A Backdrop for the Subject You Already Have
Product Cutouts Ready for a Listing
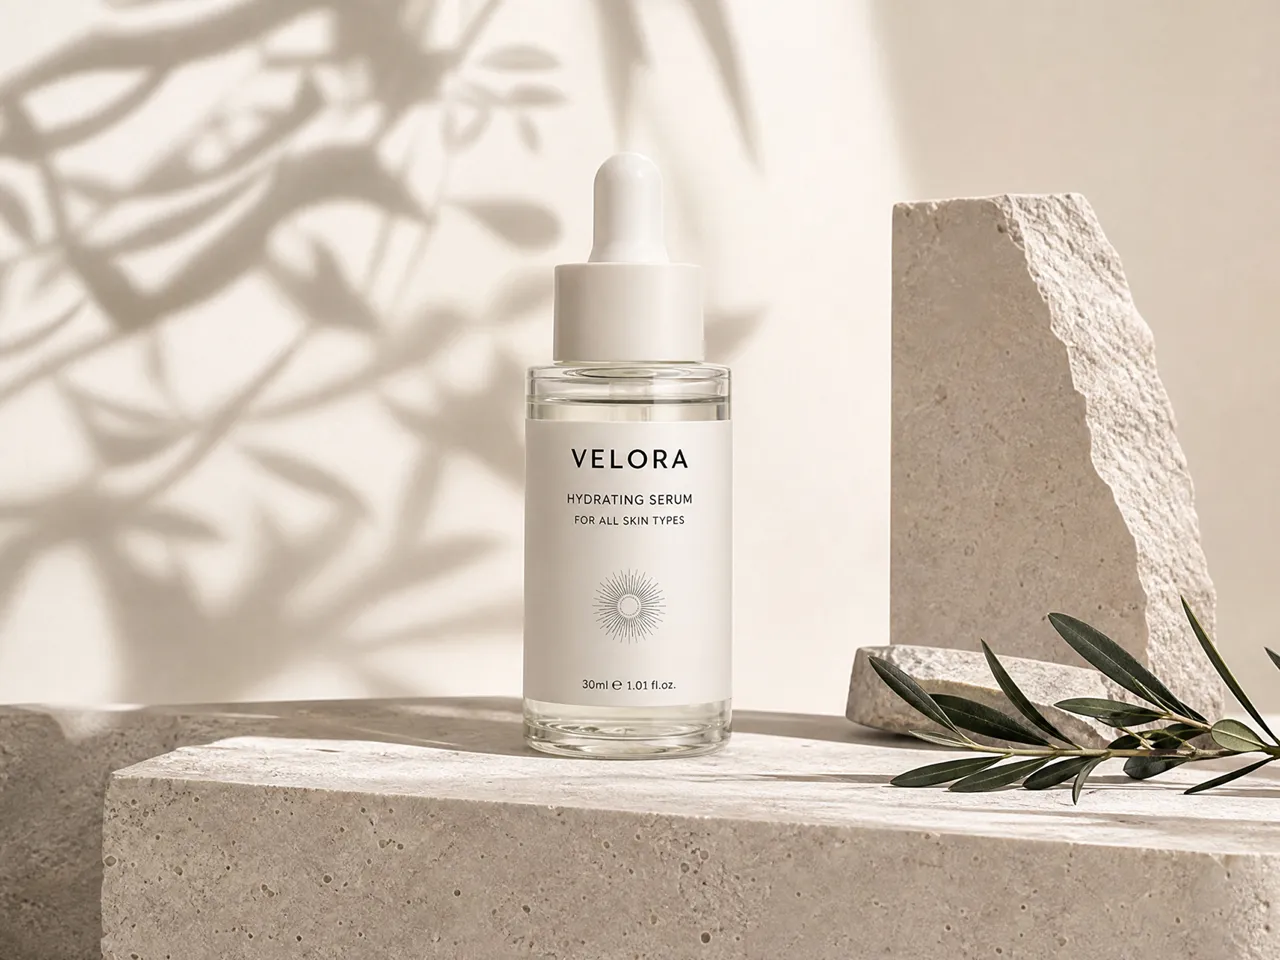
Sellers often have a clean product cutout and still need a backdrop for the page. Add a background to the photo to give the item a place in the frame, whether that is a simple color, a studio sweep, or a seasonal setting.


Frequently Asked Questions
How do I add a background to a photo?
Do I need a transparent PNG before adding a background?
A transparent PNG or clean cutout is the most direct starting point. If you upload a regular photo, RoboNeo isolates the subject first, then you add the background behind it.
Can I add a plain color behind the subject?
Yes. Choose a flat color, or describe a solid backdrop such as light gray with a soft shadow. The subject stays in place while the new color fills the area behind it.
Can I add my own image as the background?
Yes. Use a background image you already have, or describe the setting you want. Check scale, lighting, and edges before downloading so the subject sits naturally on the new backdrop.
What kind of file works best when I add a background?
A sharp, well-lit subject with a complete outline works best. Hair, glass, and thin straps need a closer look after the background is added, especially around the edges.
How is adding a background different from changing a background?
Adding a background starts from a cutout or isolated subject and places a new setting behind it. Changing a background starts from a full photo and replaces the original scene in one step.
Keep the Subject. Add the Background.
A cutout or empty backdrop does not have to stay unfinished. Upload your image to RoboNeo, add the background you want, and give the subject a place to sit without another shoot.
What Users Say About Adding Backgrounds with RoboNeo
I already had a product cutout, but it still needed a setting for the listing. Adding a background gave me a finished image without arranging another photo shoot.
Keeping the added backgrounds together on the canvas made review easier. I could compare a flat color, an uploaded image, and a described scene in one place.
We often start with a subject that is already isolated. Adding a background in plain language gave me a starting point, and I could adjust it after seeing the result.
The agent portrait was a clean cutout, but it needed a calmer setting for listing materials. I added a simple backdrop and refined it when the first version felt too formal.
I keep the same product cutouts and add a new background for each season. A brighter backdrop works for summer, and a warmer one works for holiday campaigns.